Have you ever experienced printmaking? Are you even clear what it is?
If we put aside technical terms like etching, woodcuts, lithographs, screen printing, engraving, first editions and limited editions we can talk about my definition of printmaking and how it translates to simple, fun printmaking activities you can do to have fun and make great art.
Three types of printmaking
Printmaking is an activity that allows you to create the same type of image or mark over and over again without doing it free hand. As a result printing includes stamping which uses the same image over and over again and stenciling. Since I already wrote posts on those topics I am not including stamping and stenciling here but, will discuss 3 types of printmaking.
- 3D printing plates
- Relief printing
- Monoprinting
Printmaking is often a great way to create repeat patterns and you can make background papers, wrapping papers, cards, scrapbooking pages and real works of art.
Make your own 3D printing plates
Traditional printing plates usually have an image on them that are used to recreate that same image many times. The way to make 3D printing plates is to embed objects onto a sticky surface so you can then roll ink or paint onto that surface to print with it.You then get to repeat that pattern as many times as you like.
To create a 3D printing plate you need a sticky surface (better to stay away from glues for this). I have found that there are 3 good sticky options for making your own printing plates. (Some people call them collographs or even stamps. 🙂
The first one is a double sided carpet tape which you tape down and then peel off to reveal the sticky side. The second one is peel and stick foam and the third is peel and stick mounting board. I got the idea for the mounting board when I found some old boards from my photography days and realized how sturdy it is. (Below are pictures and links to all three)
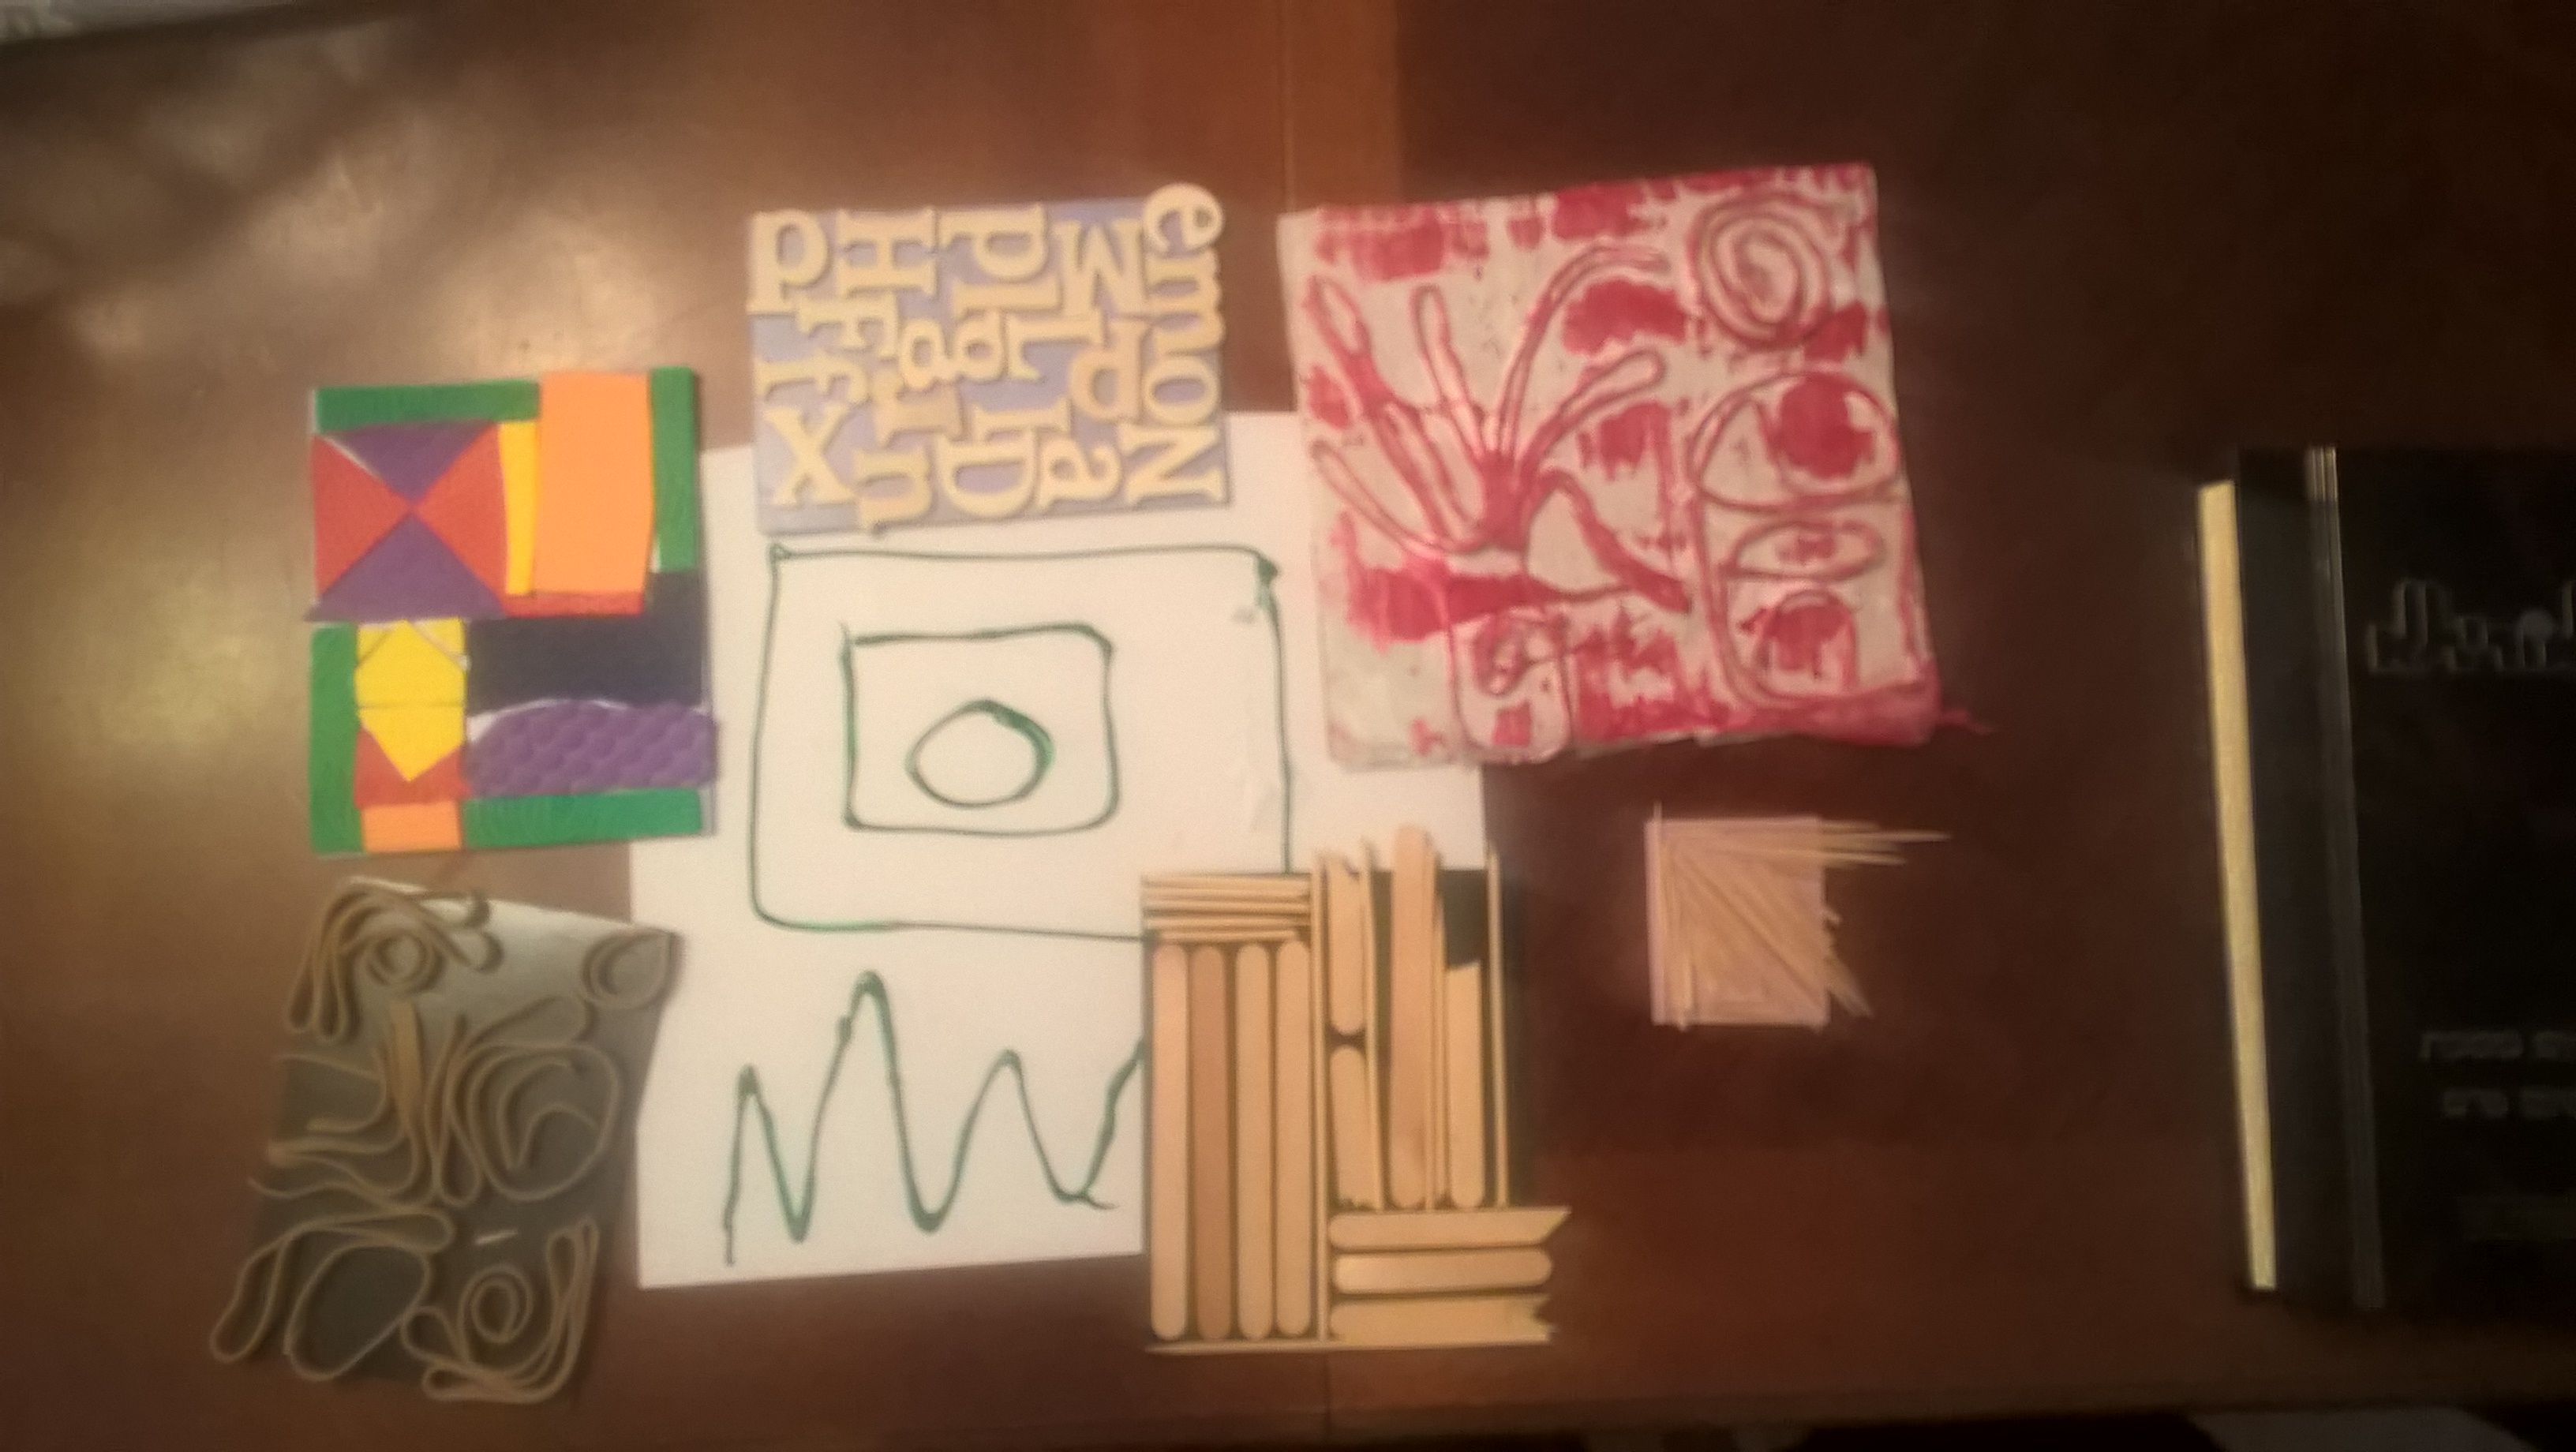
8 different materials to make printing plates with
#1- String or twine
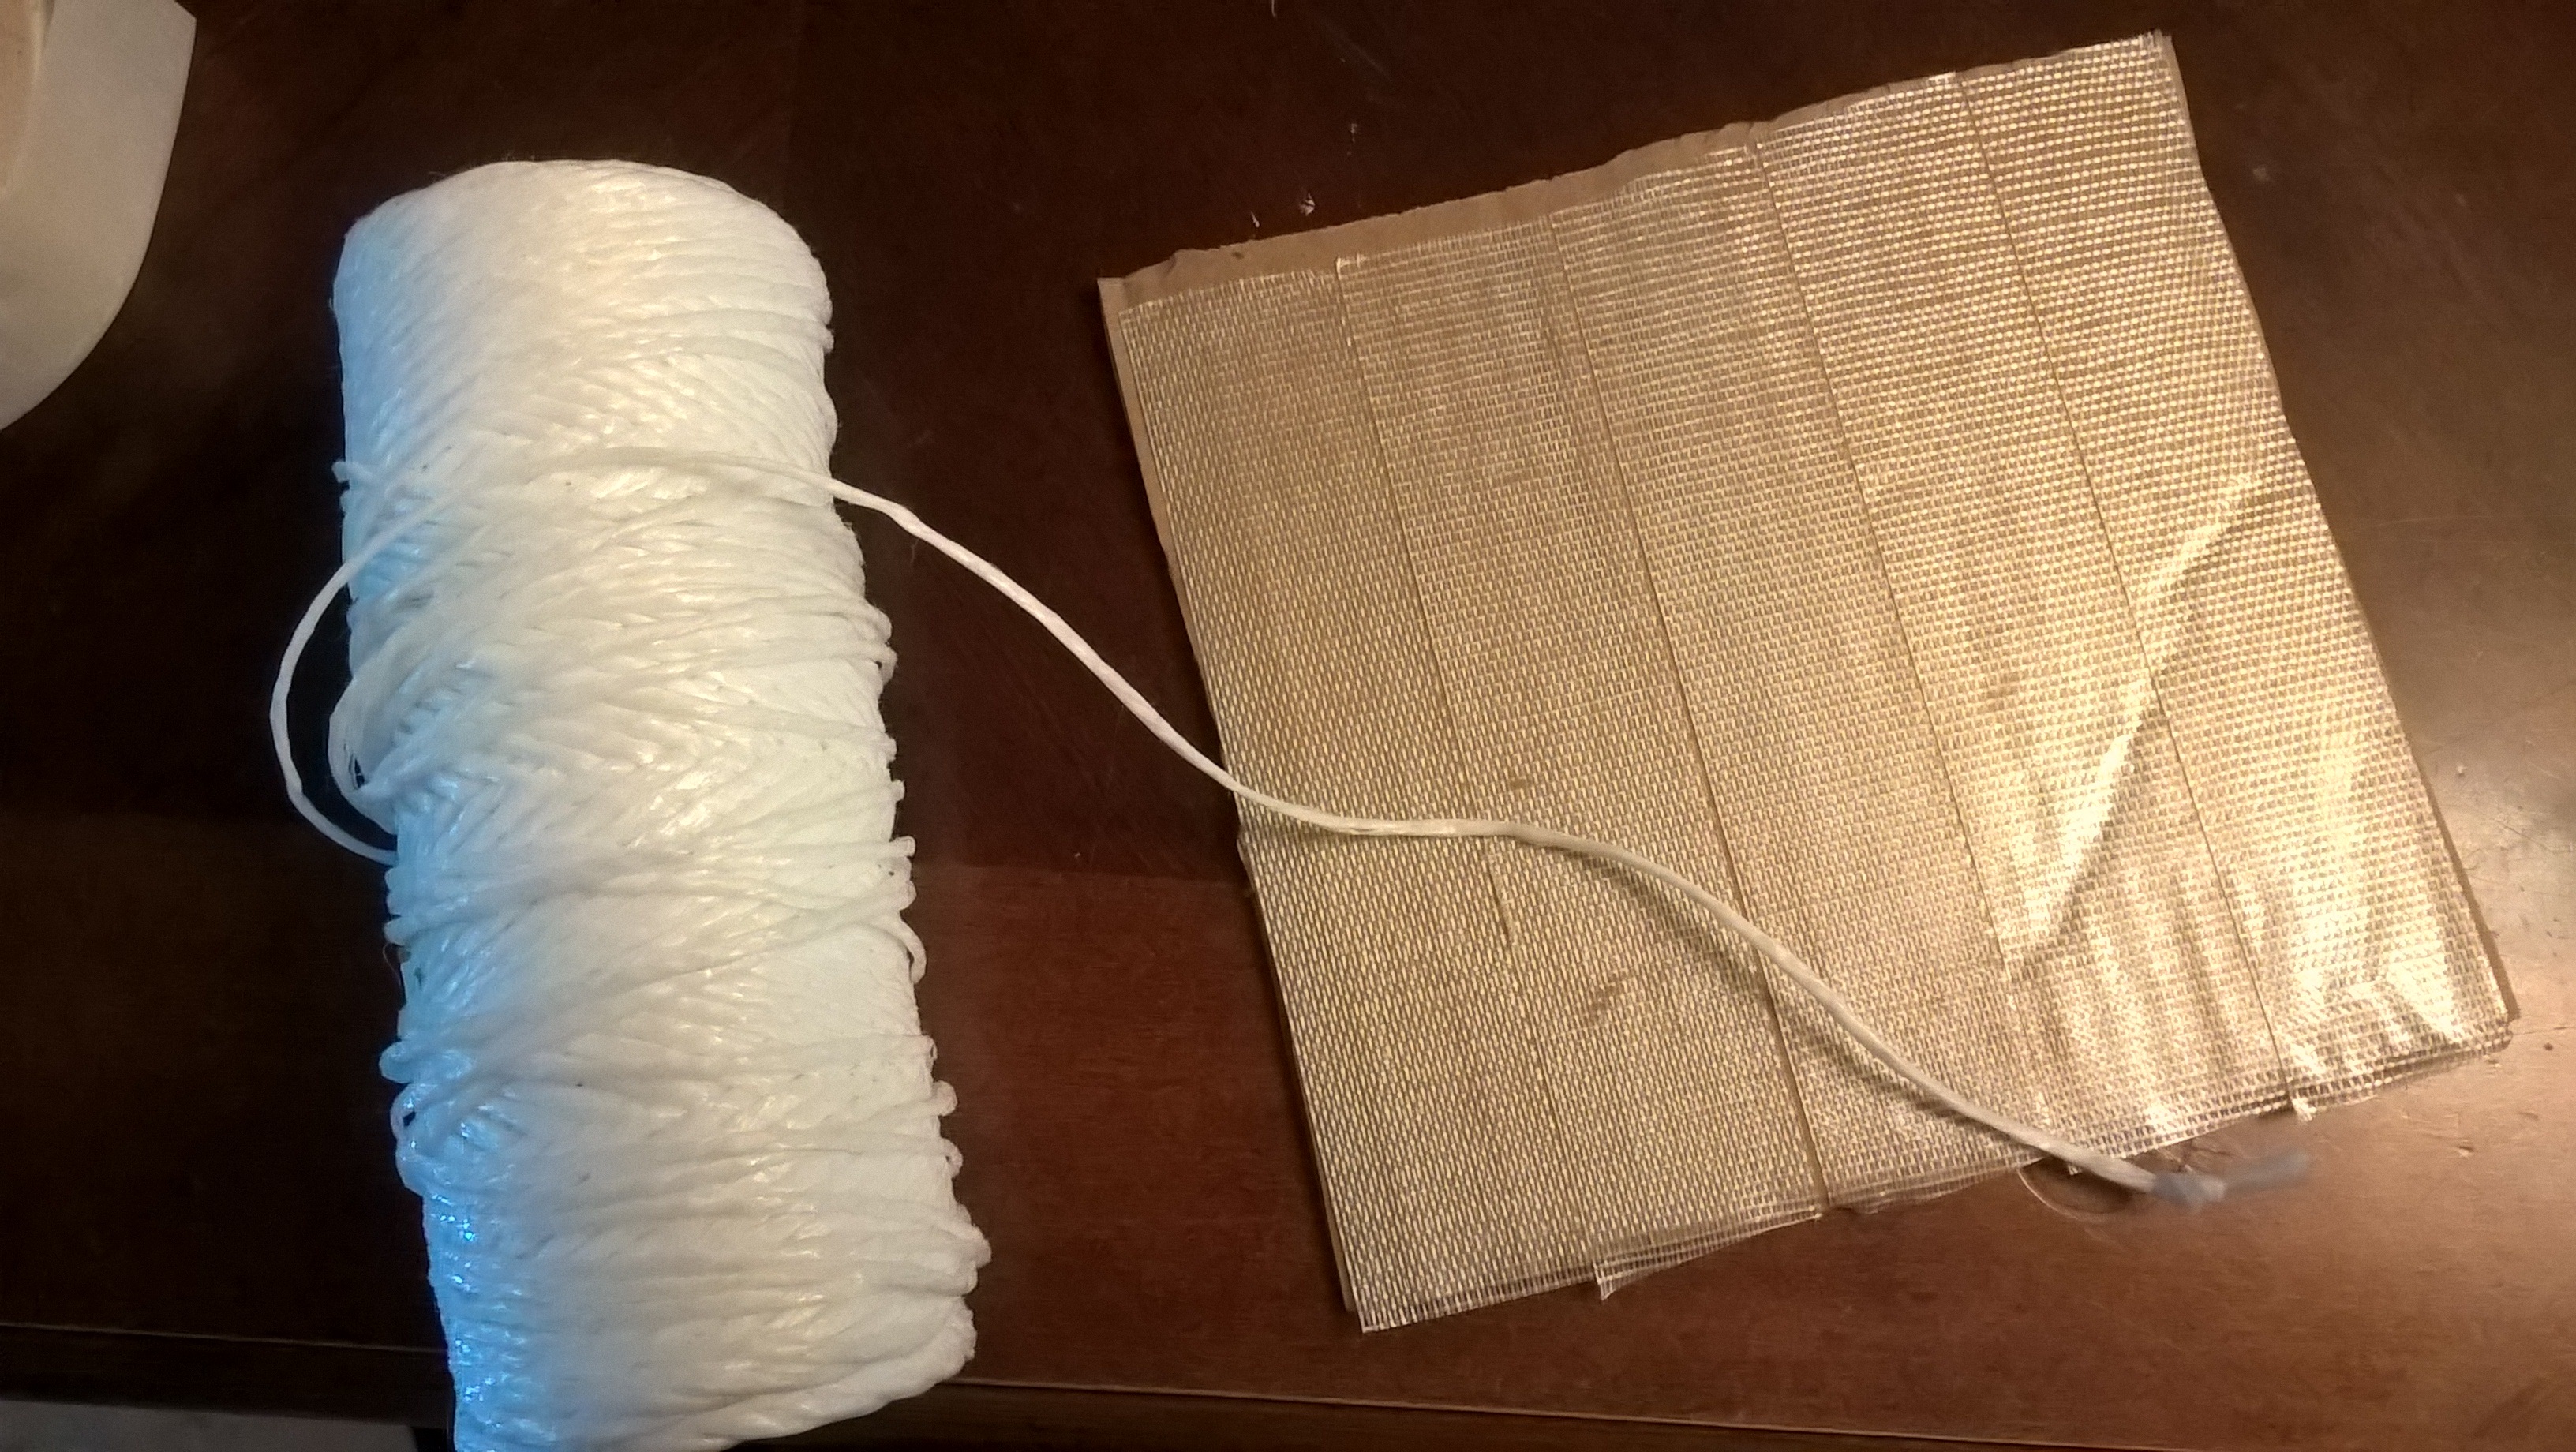
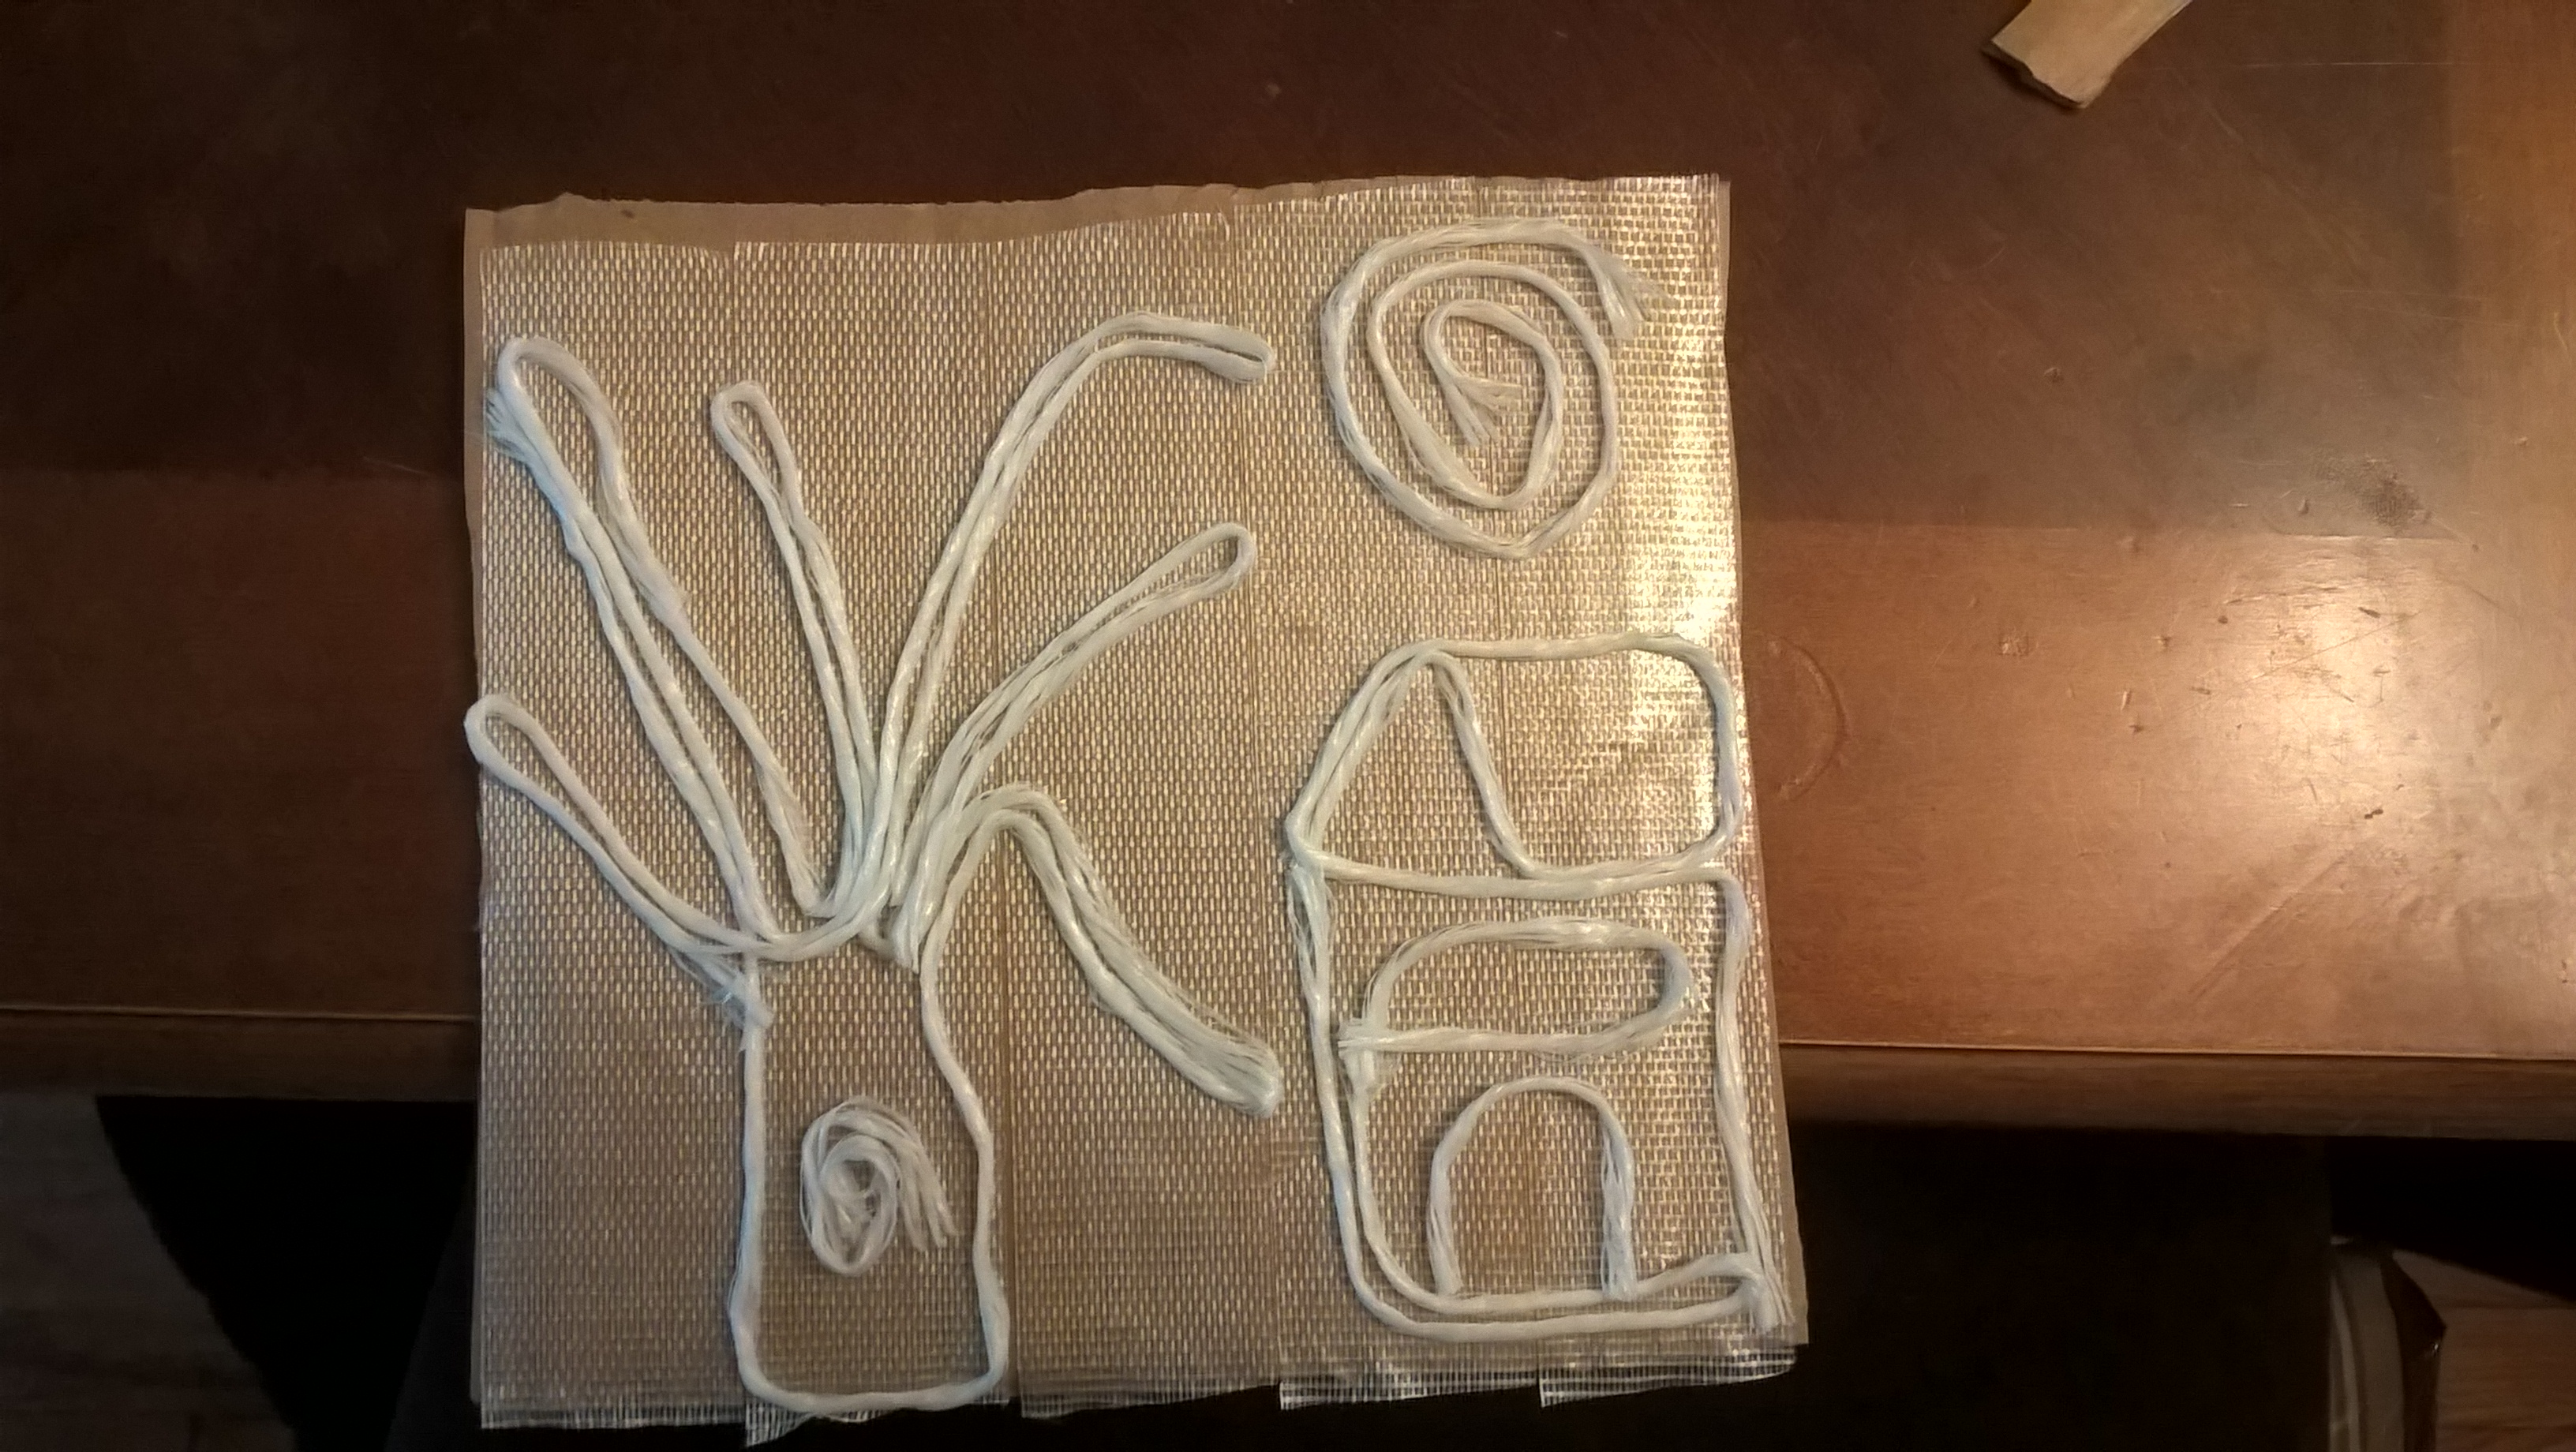
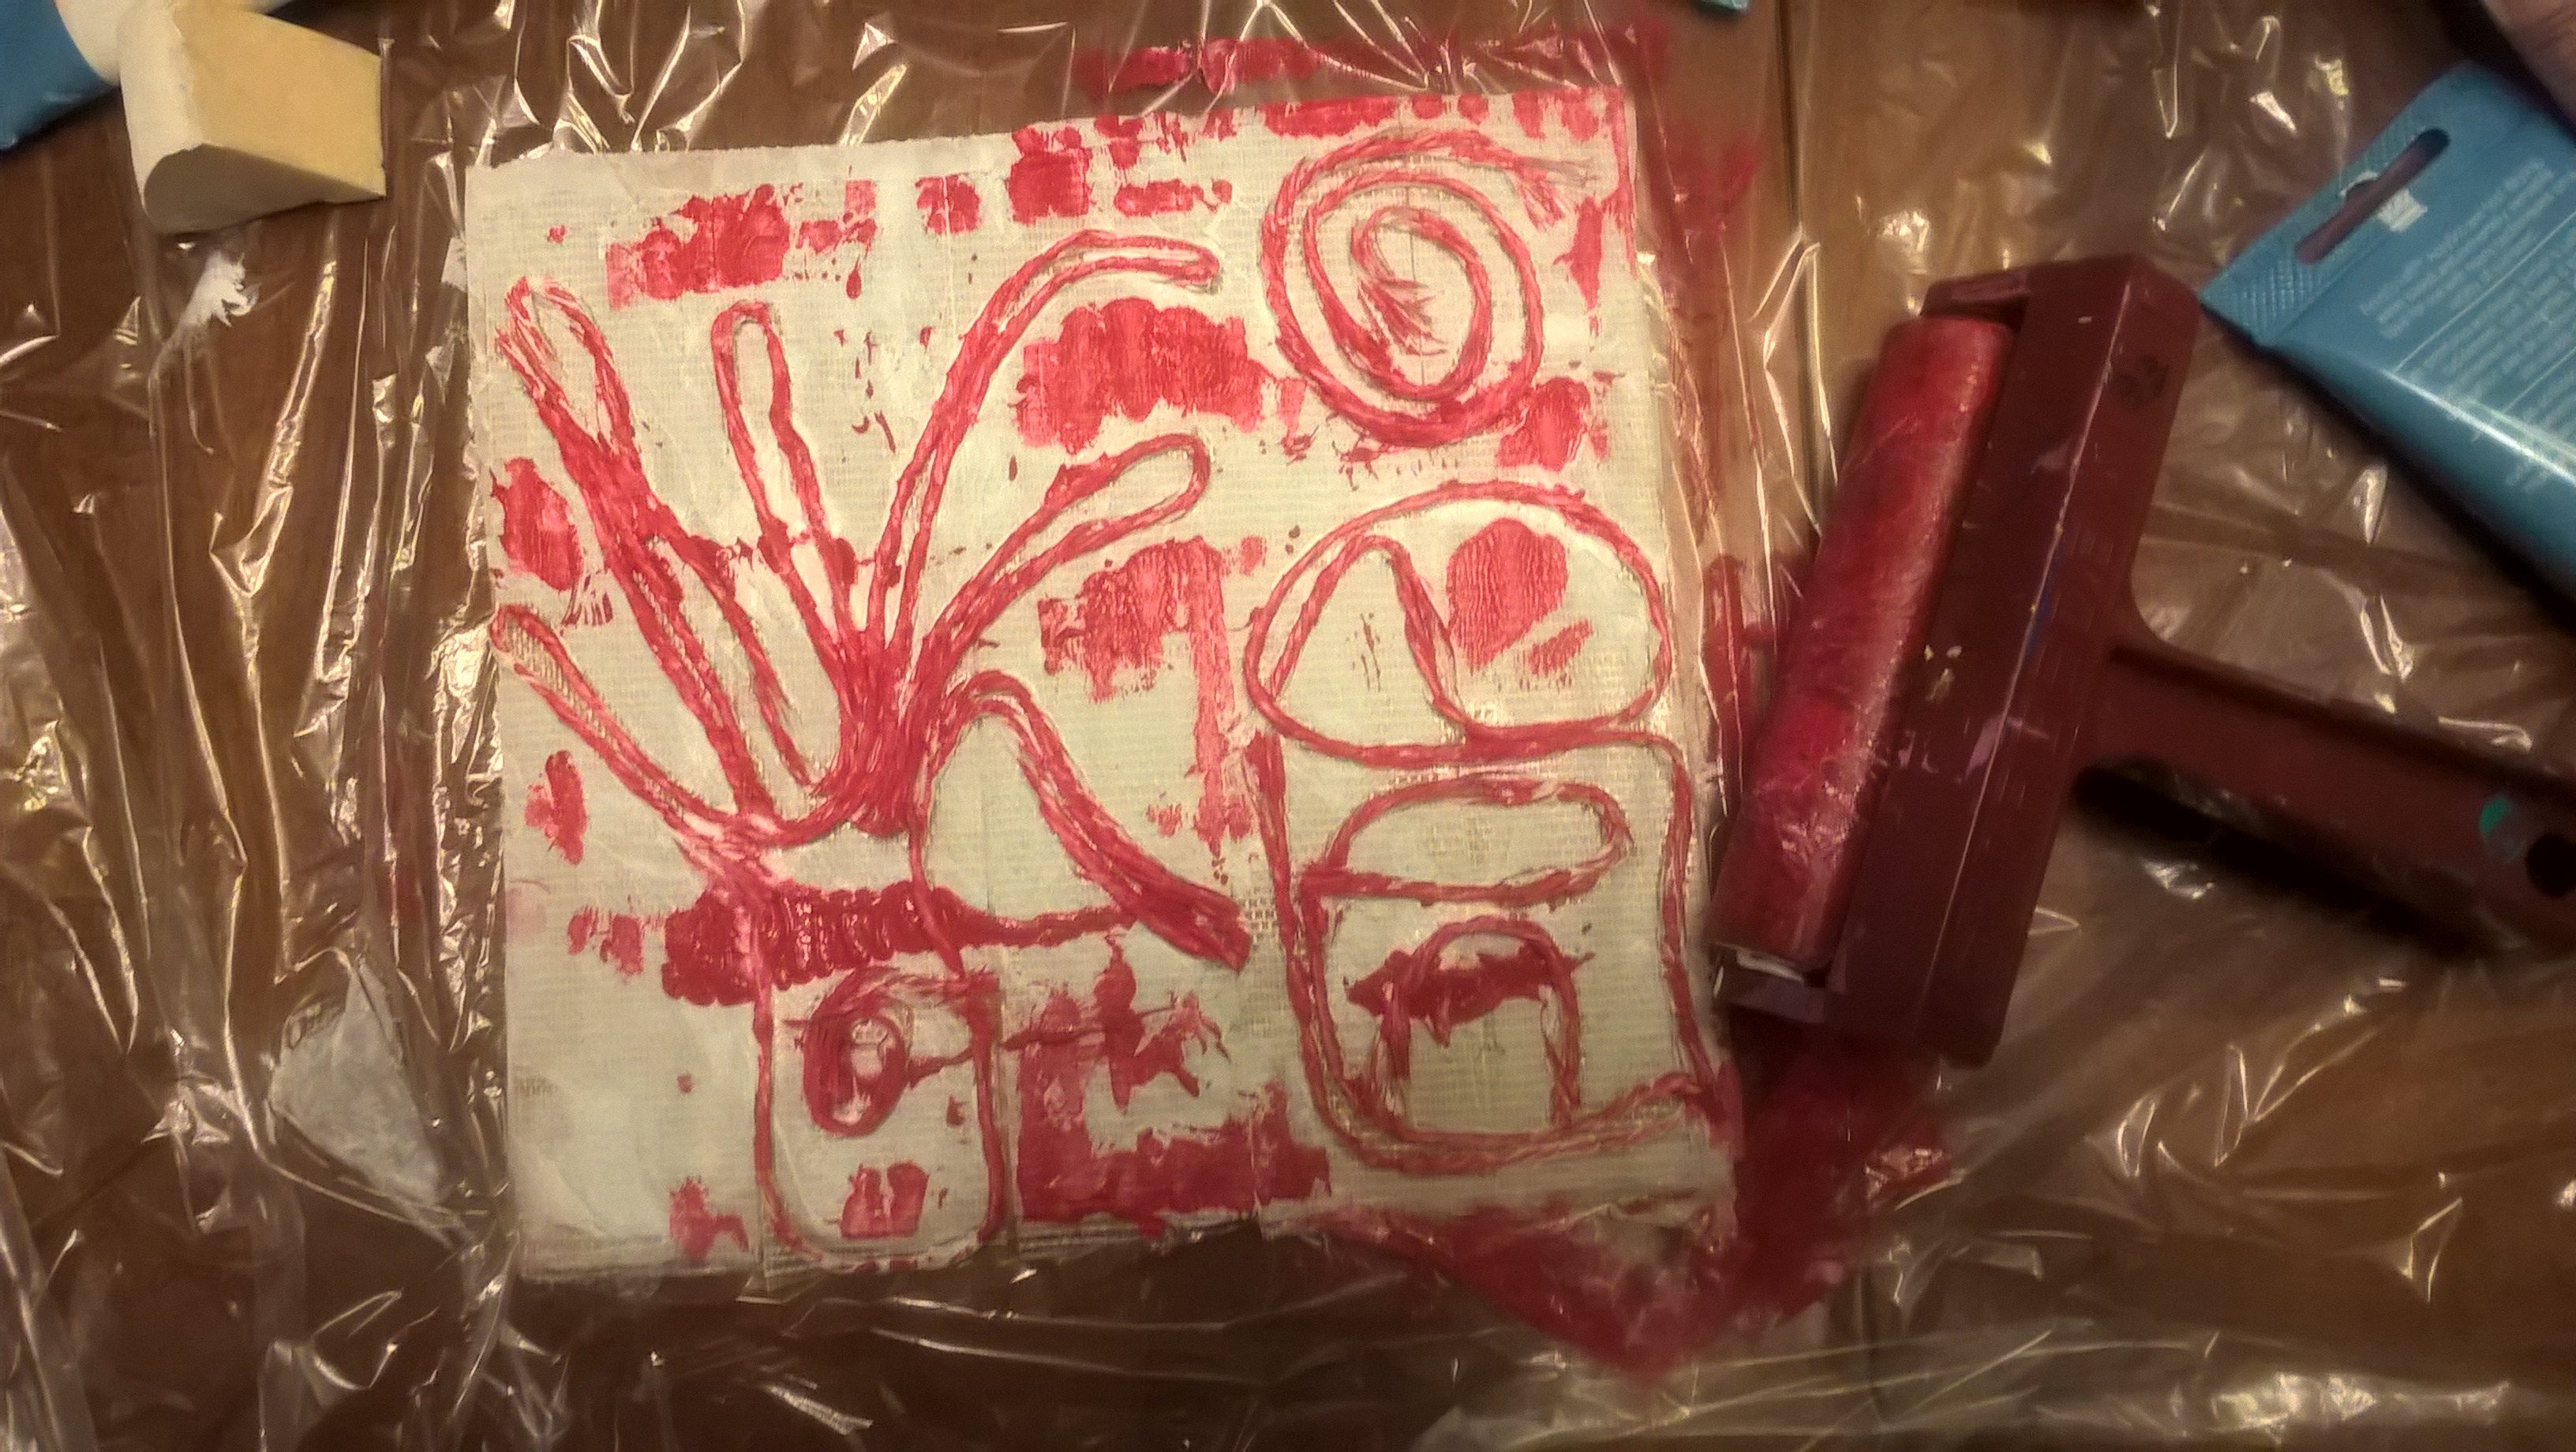
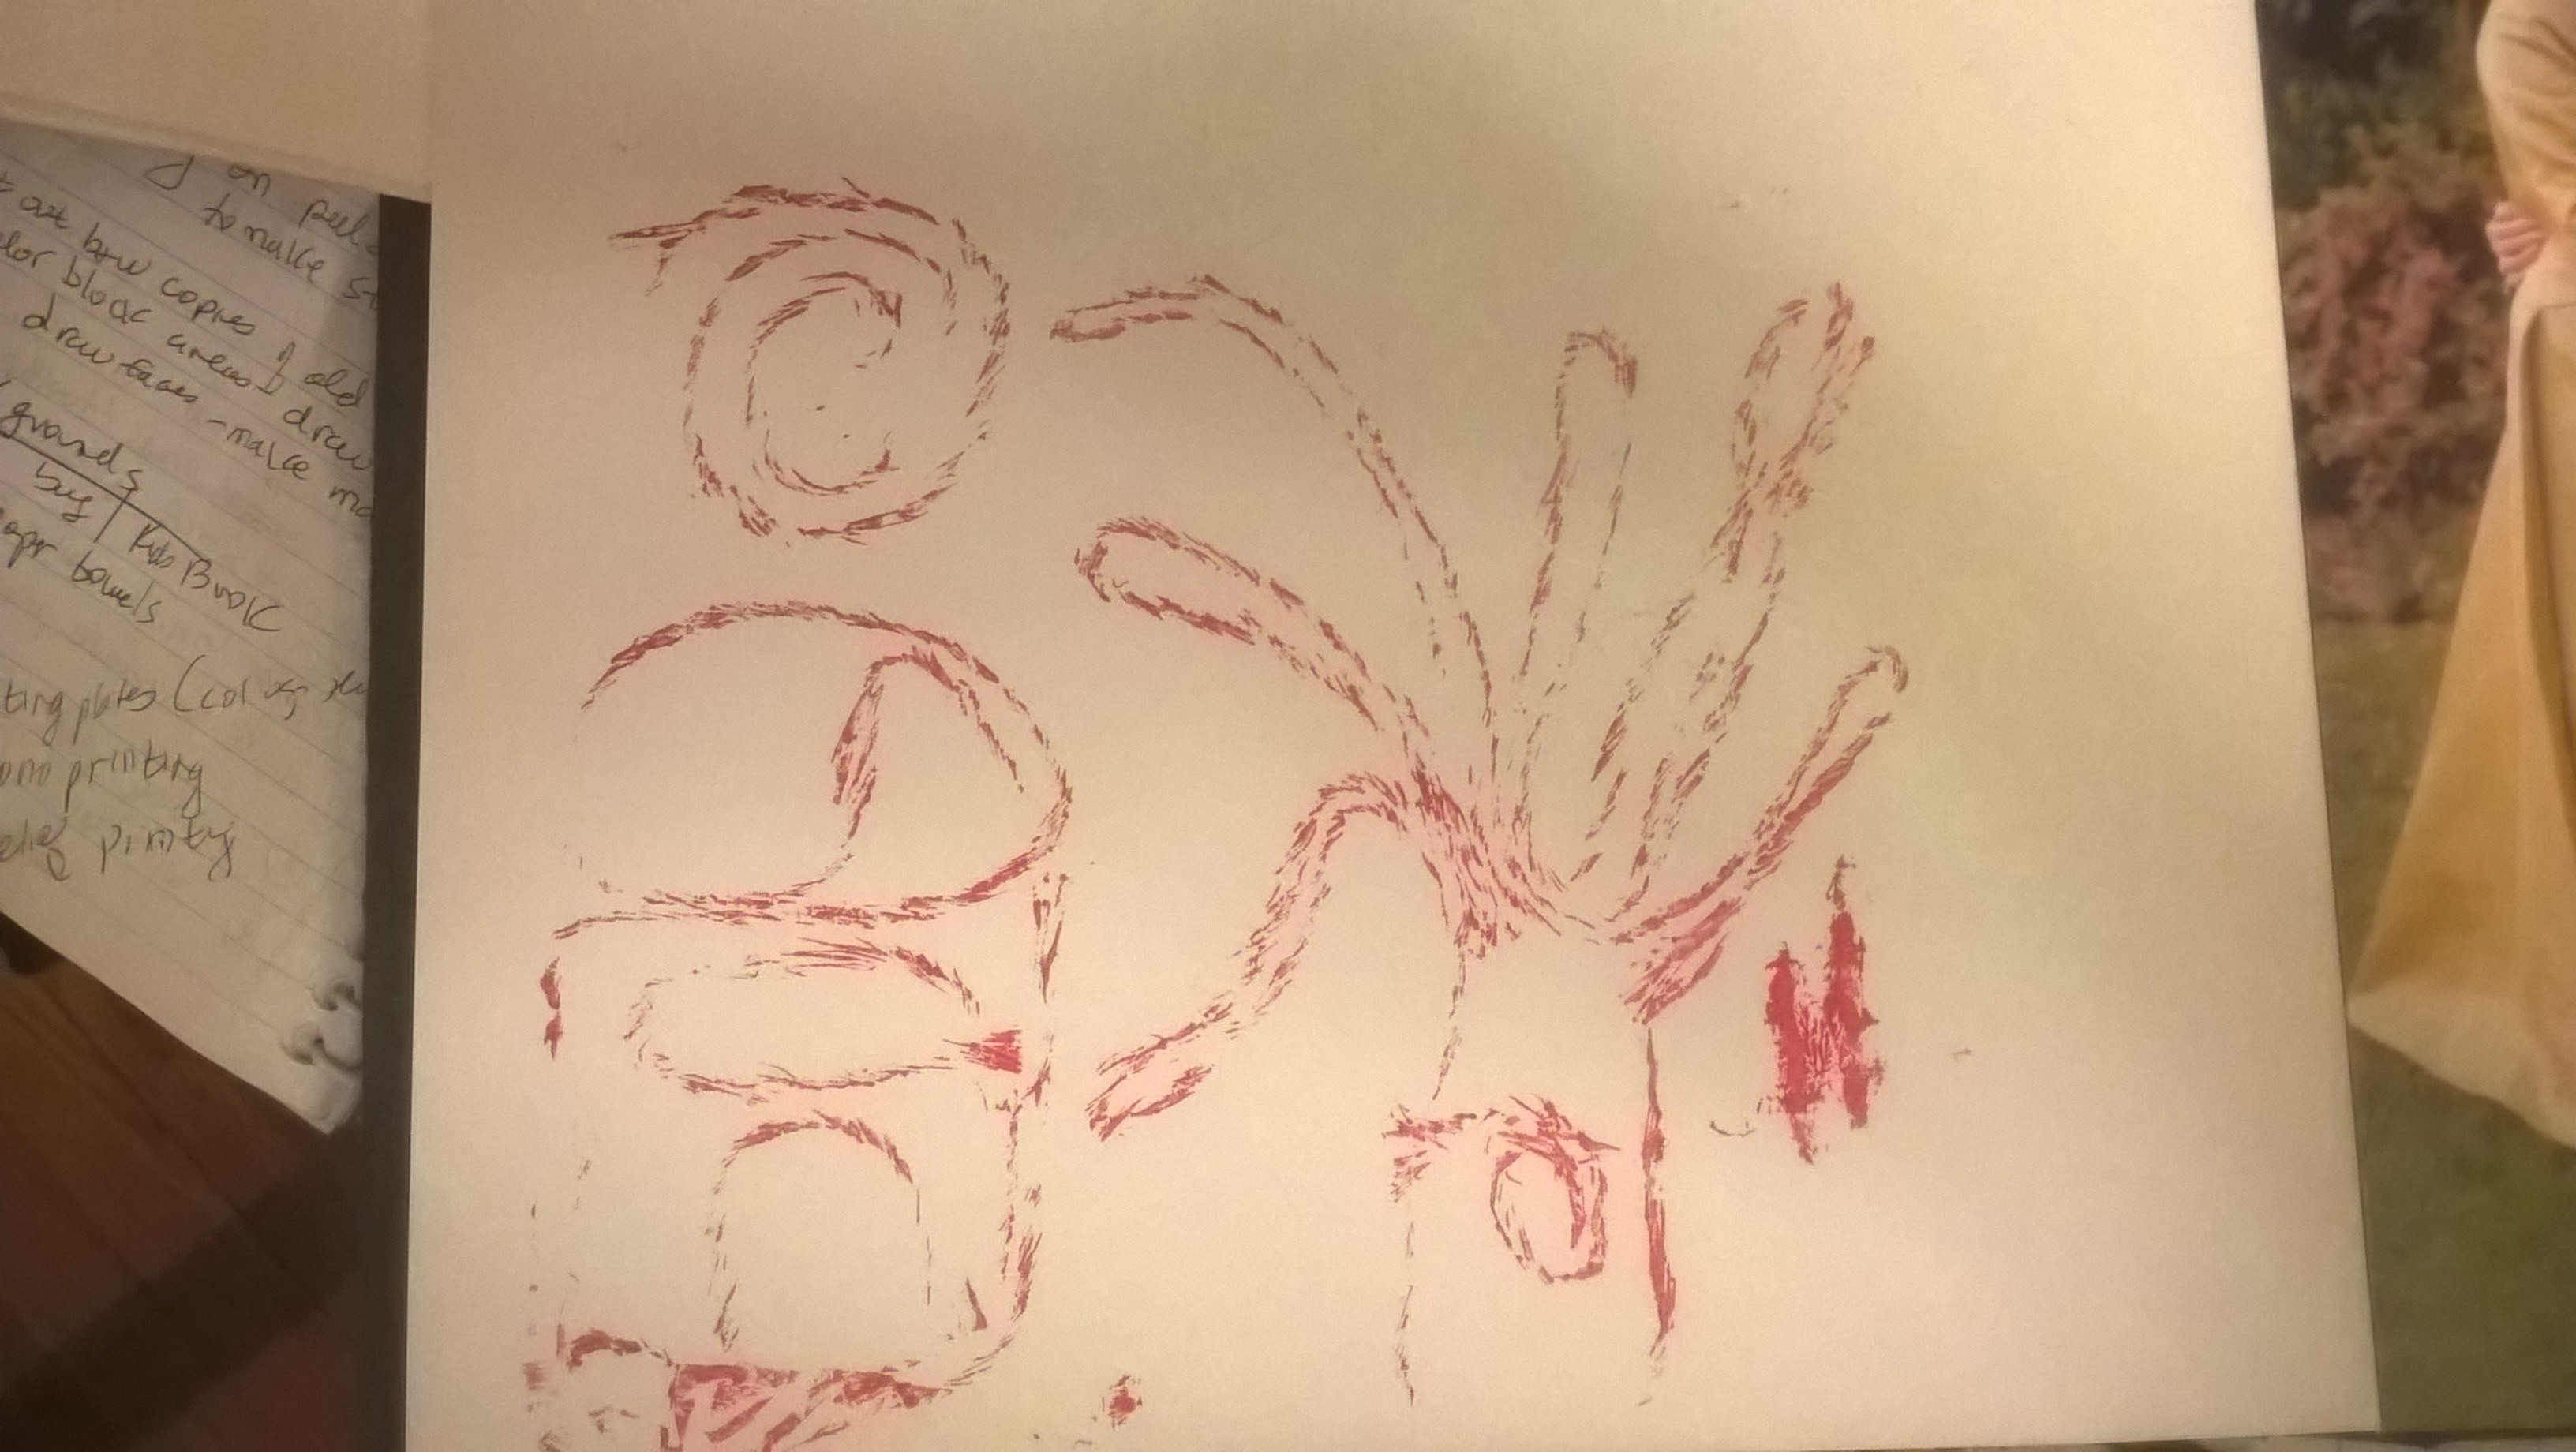
I originally did this project using thick twine I had but it wasn't great as the string kept unraveling. Last week I was standing outside and I watched something fall off of a construction truck. I tried yelling after them but, they didn't hear me and when I checked I saw it was a nice roll of white twine, 🙂 I guess the signs were all pointing to my using this for a string printing plate.
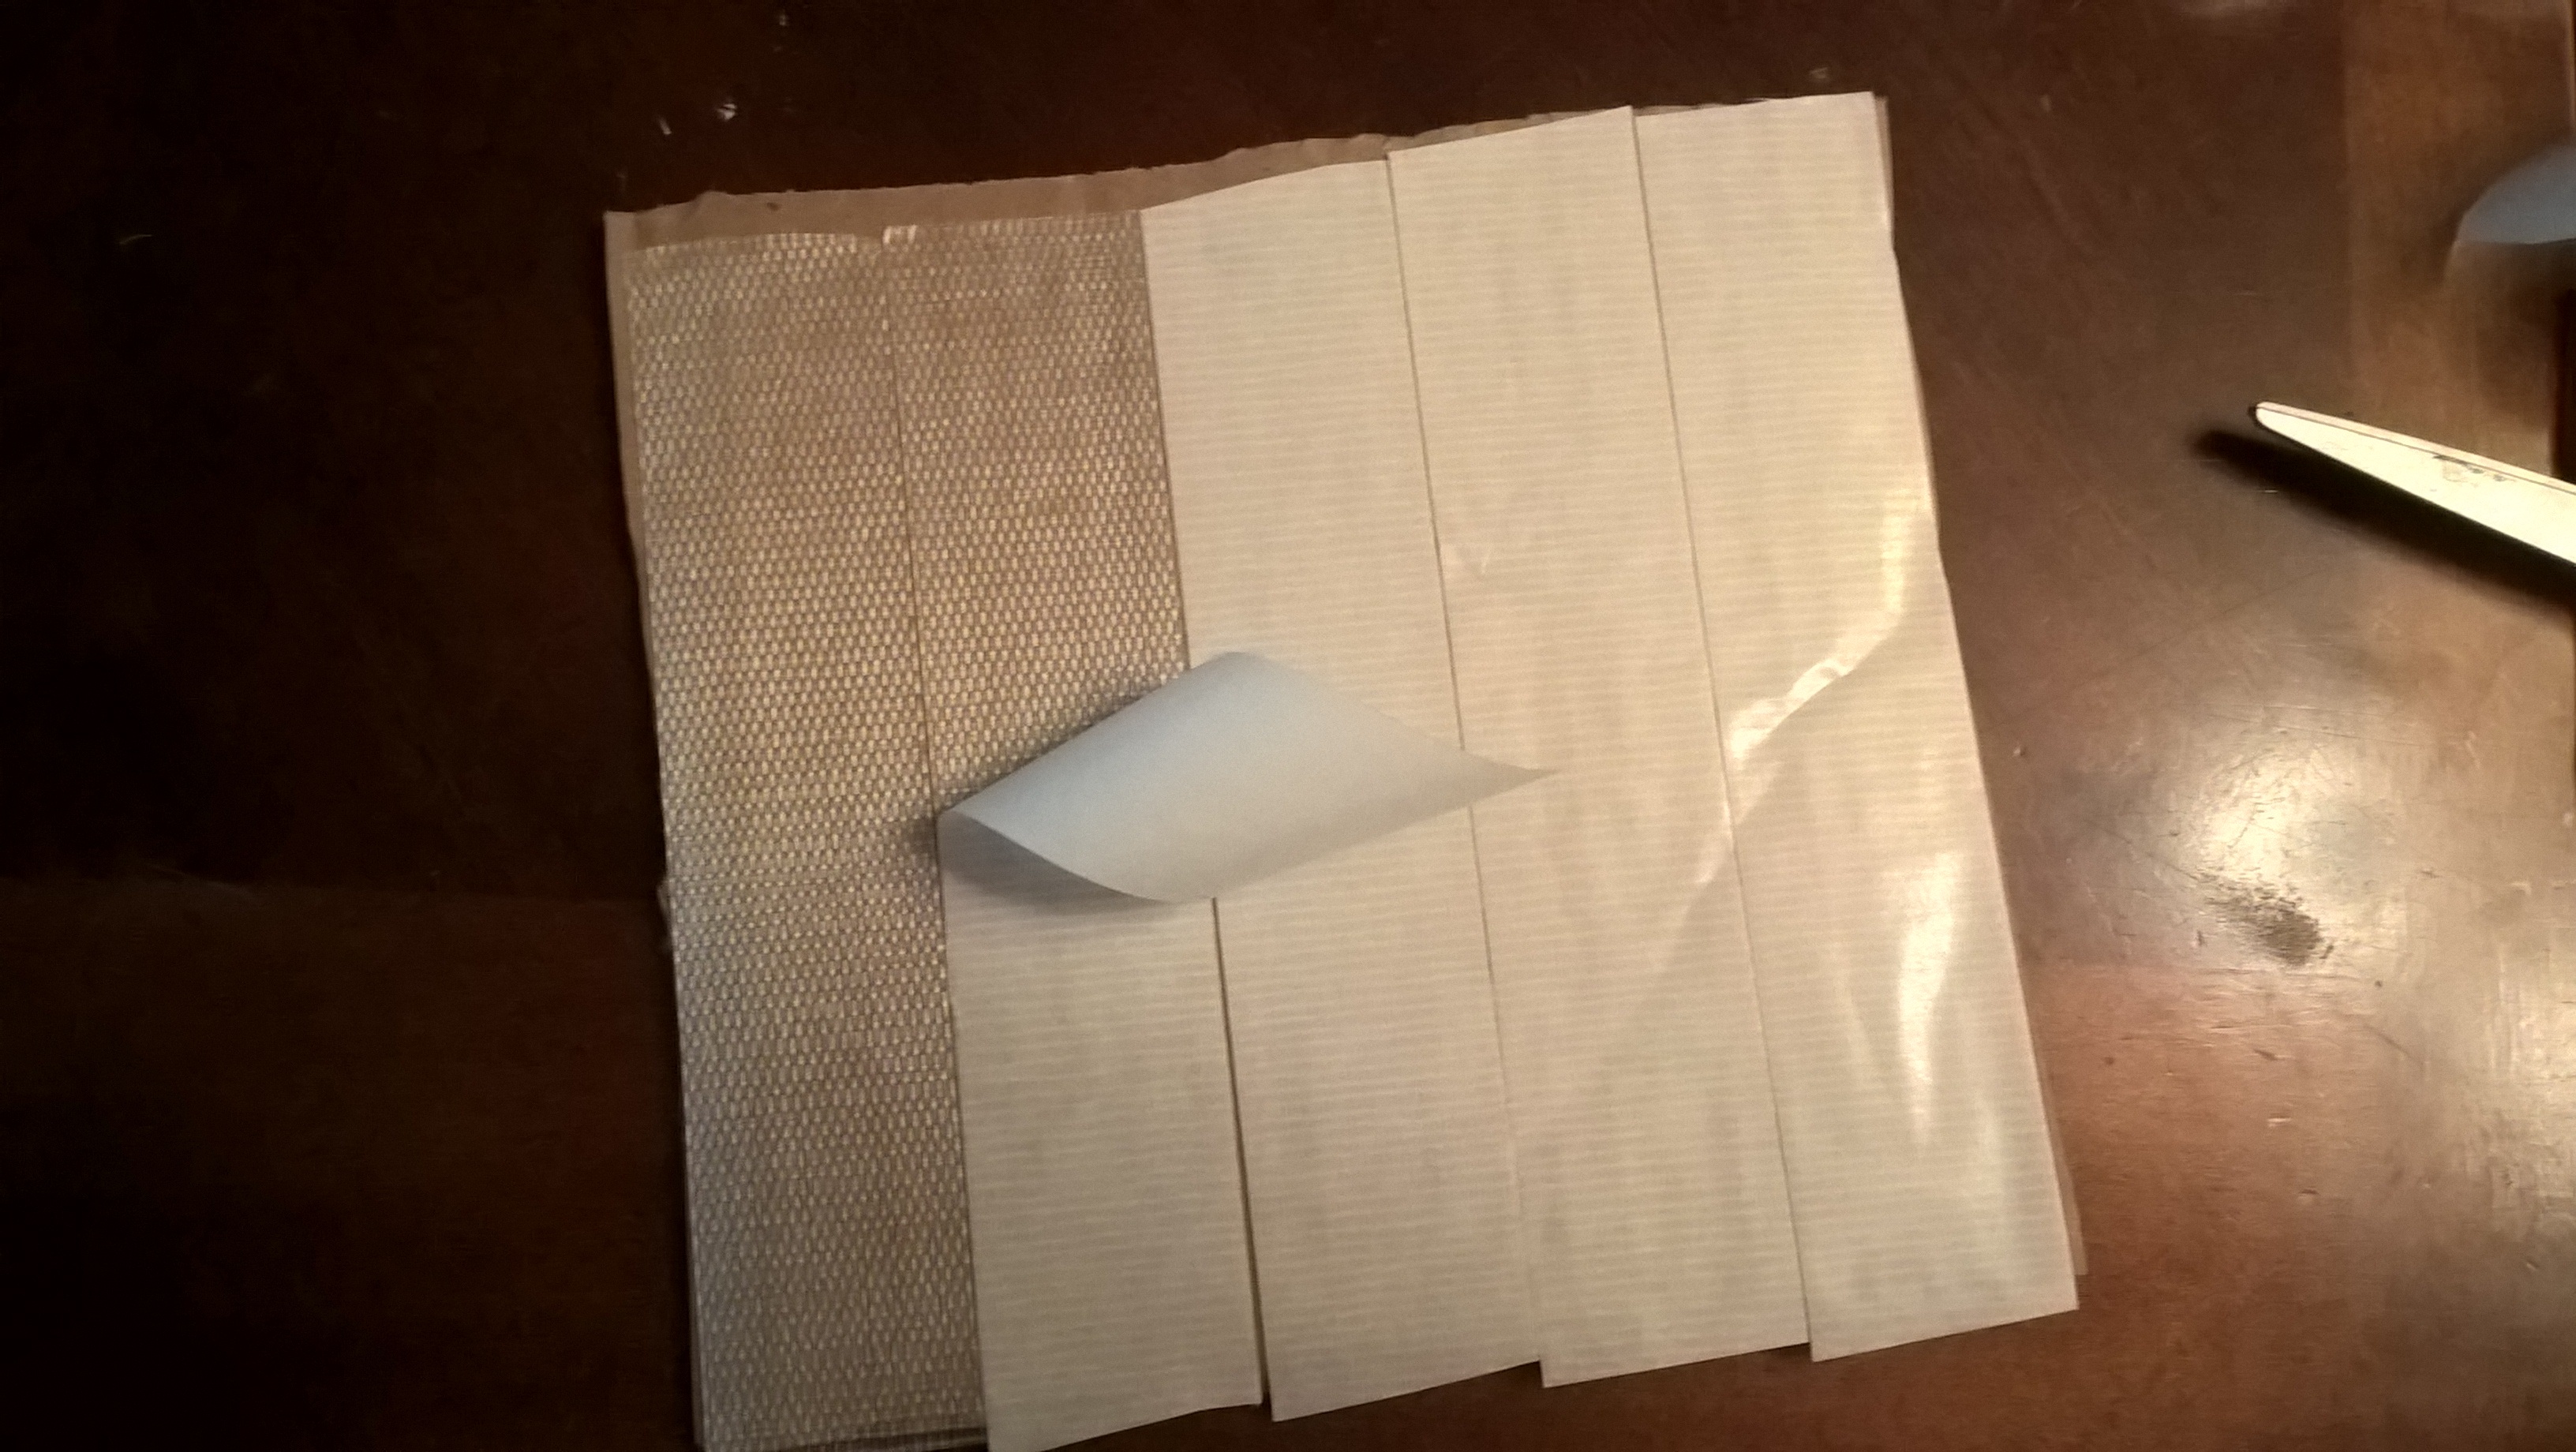
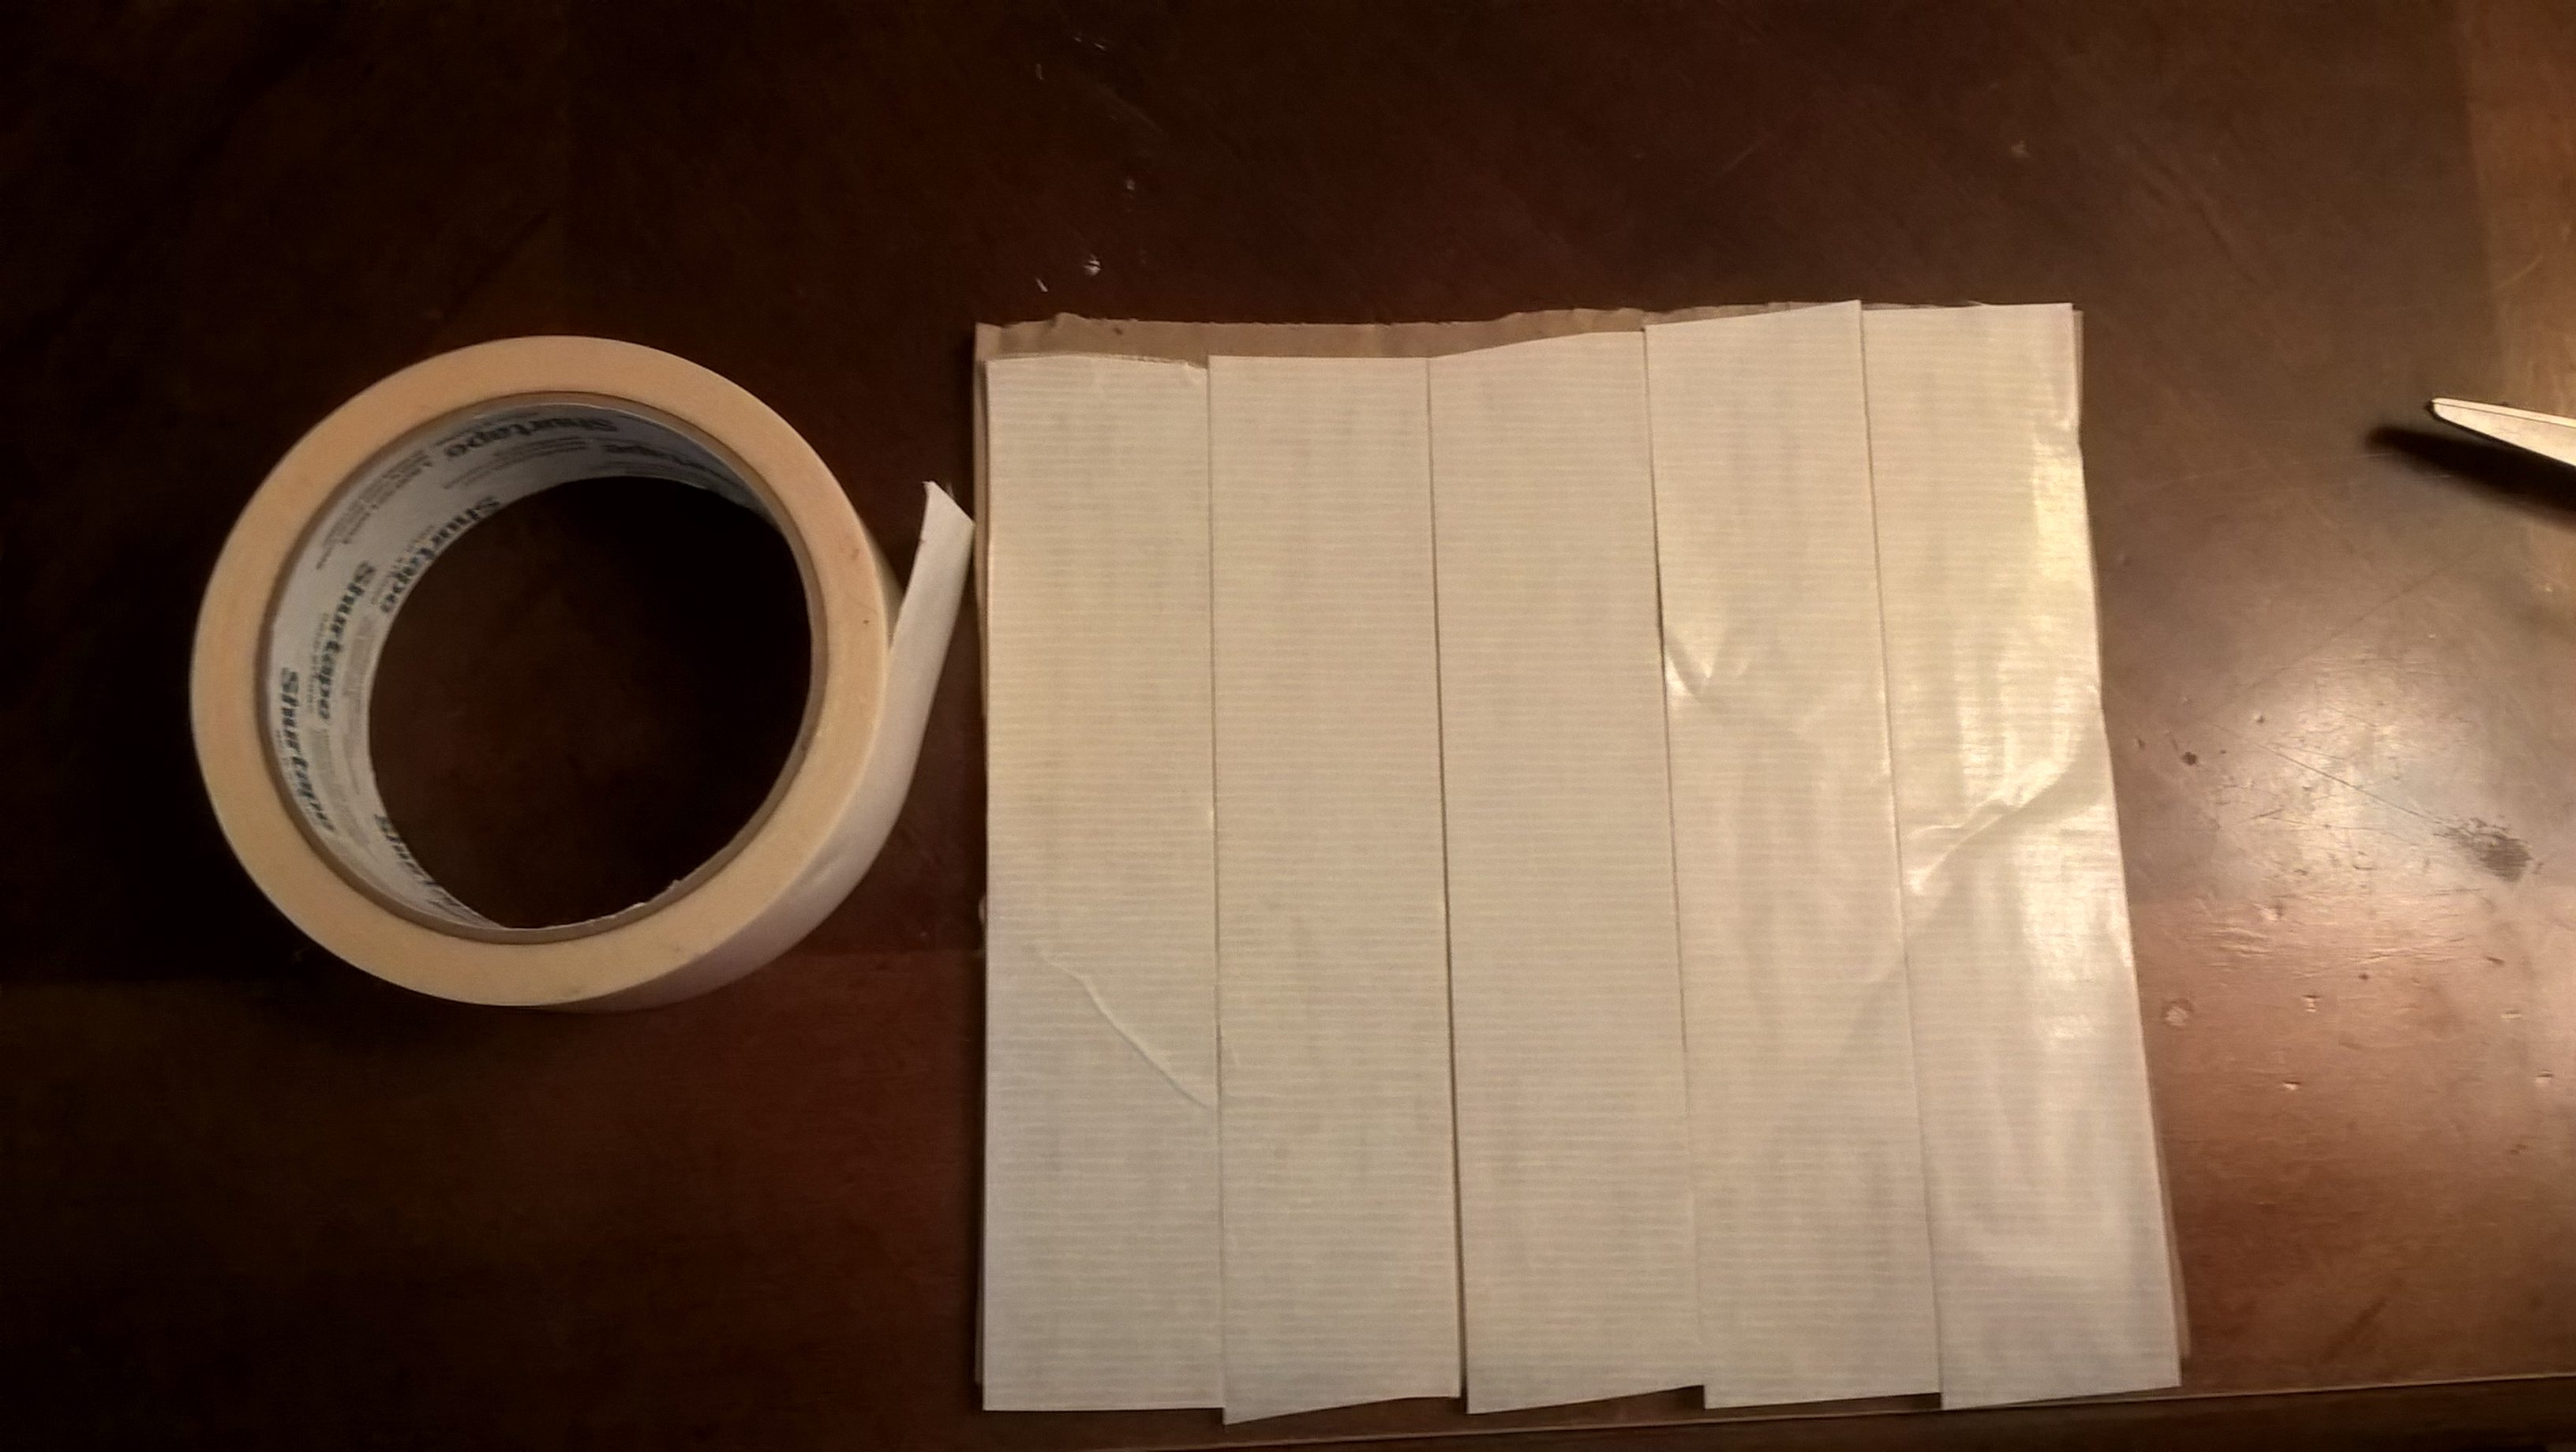
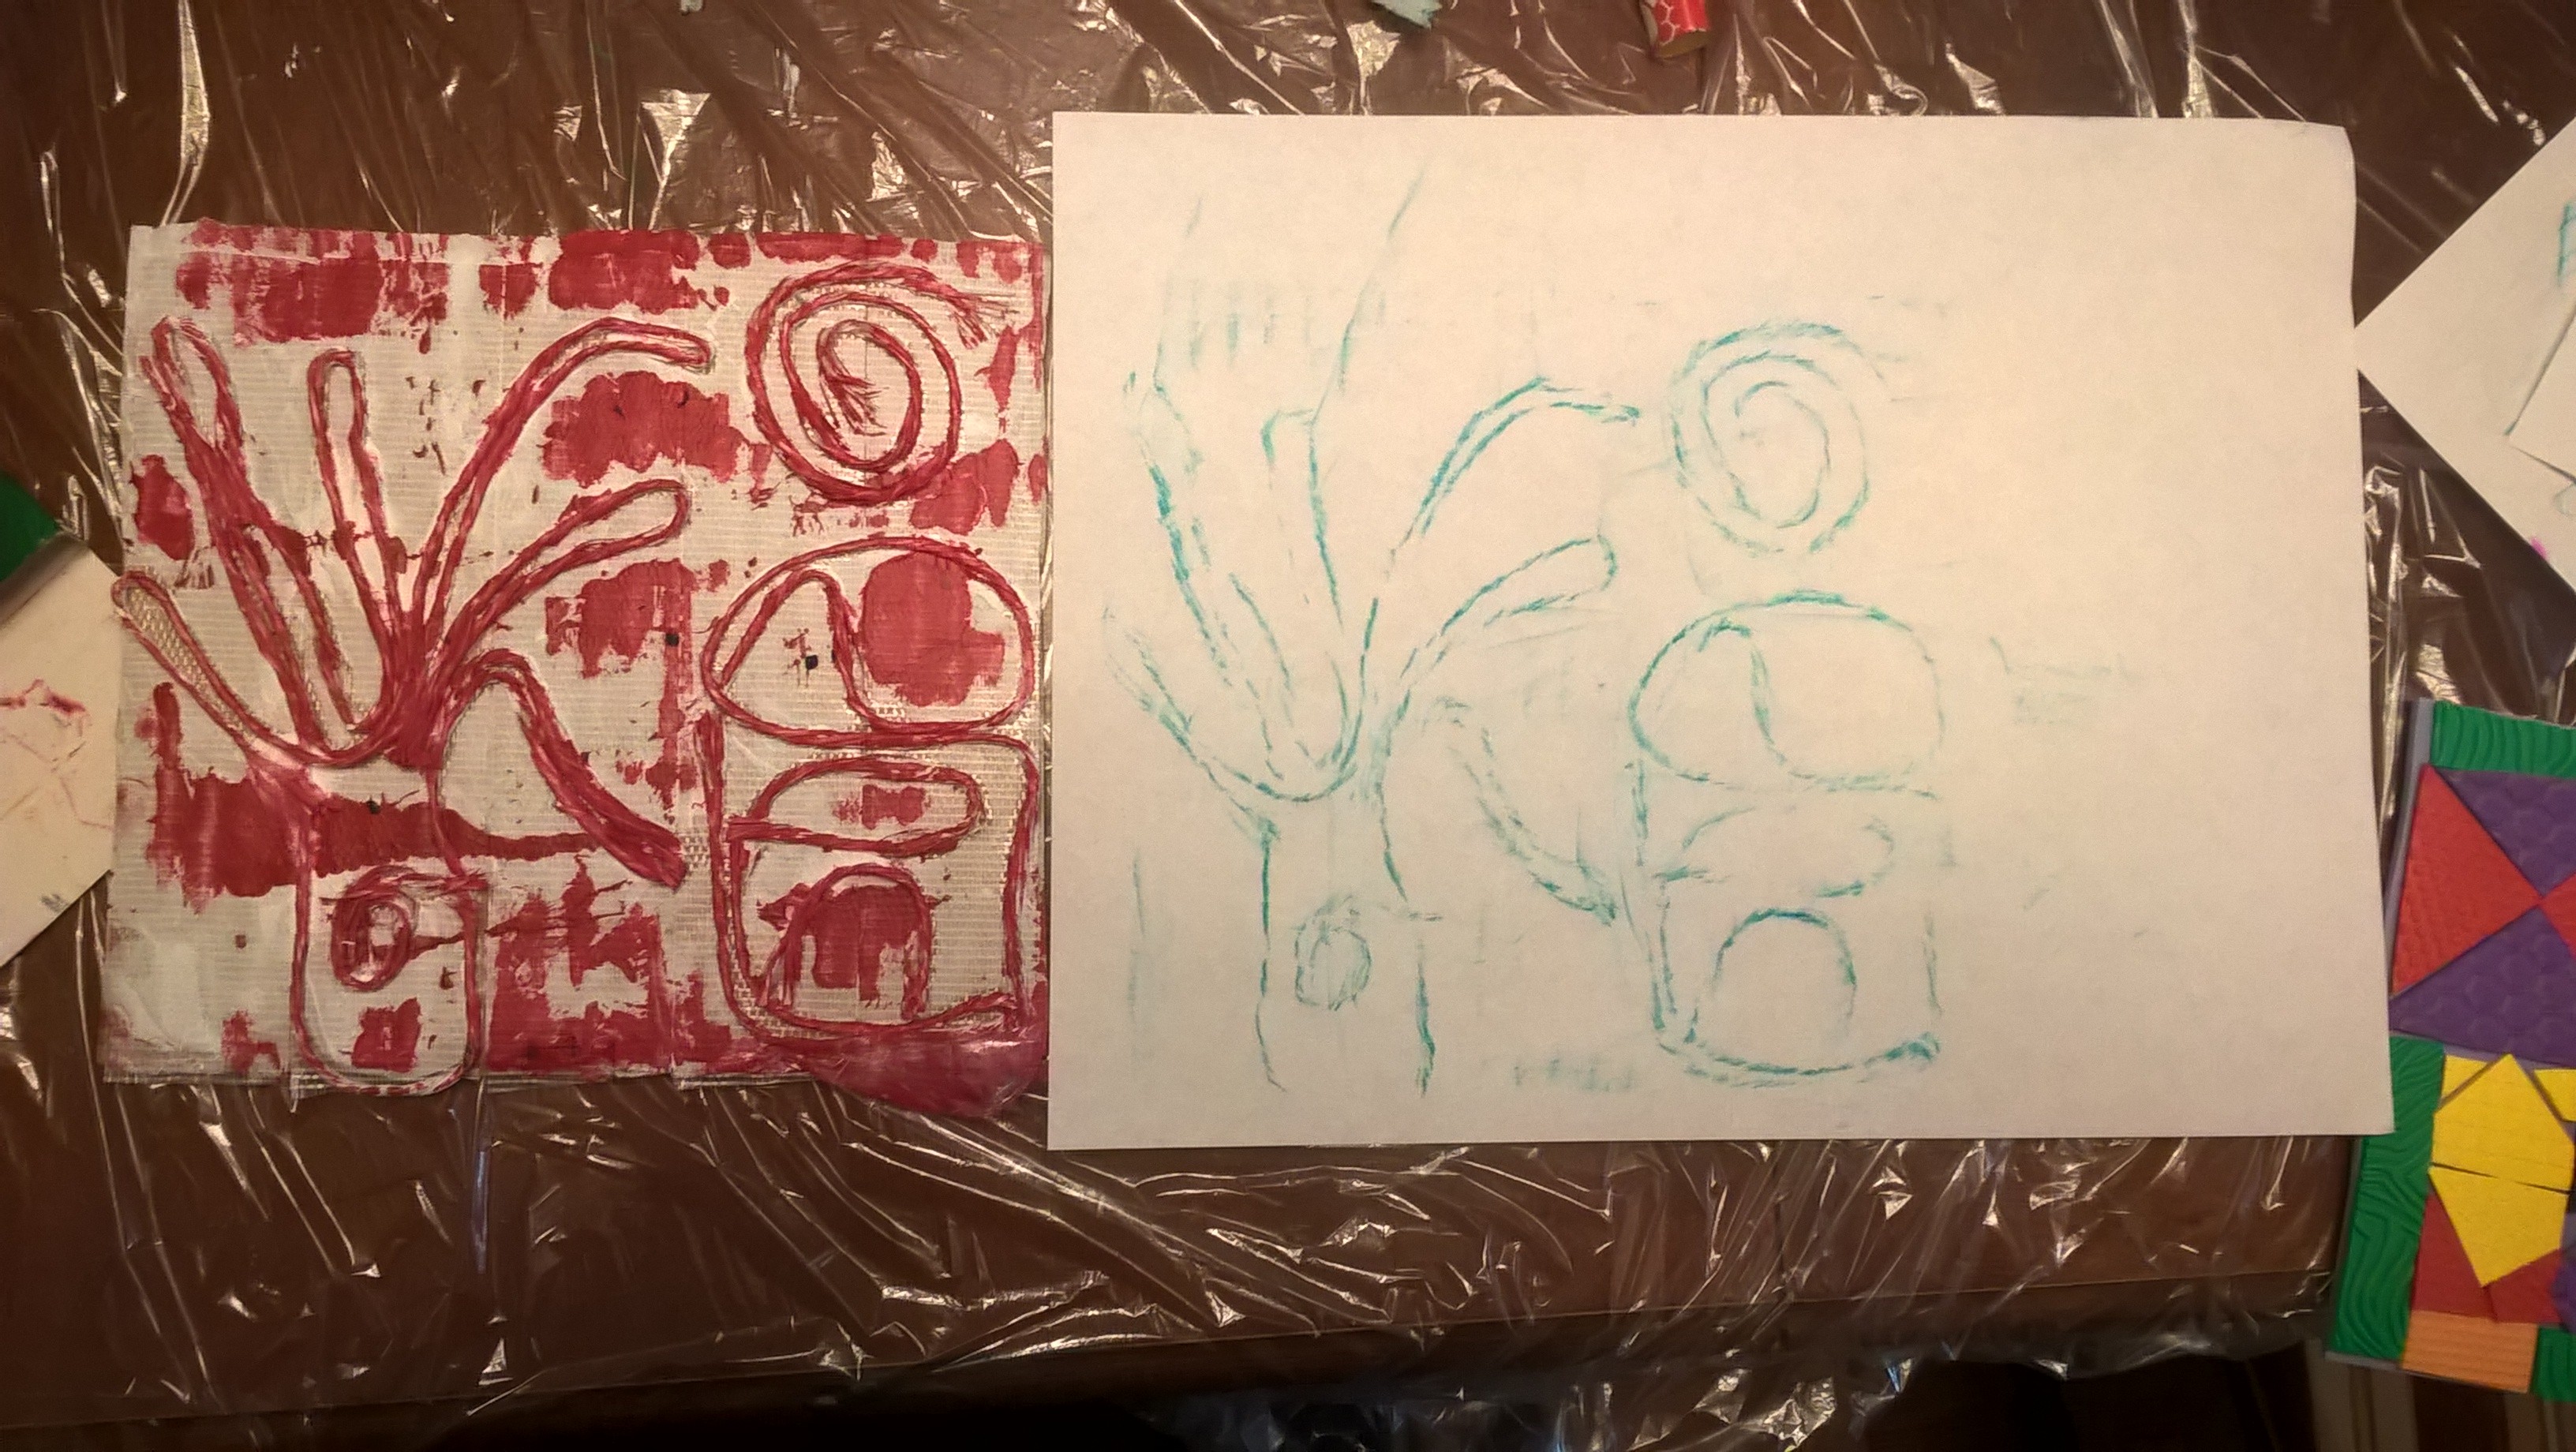
You simply cover a piece of cardboard or other surface with double sided carpet tape and lay a design or pattern on the tape with the twine.. It works well if you double the string as you lay it down. I then painted over the whole plate with white so it wouldn't be sticky anymore and then rolled red paint on it for my impression. This impression was done on a plain white paper and I think it would work really well over a colored background, maybe even with a sky and ground as an under painting.
#2 Peel and stick floor tiles
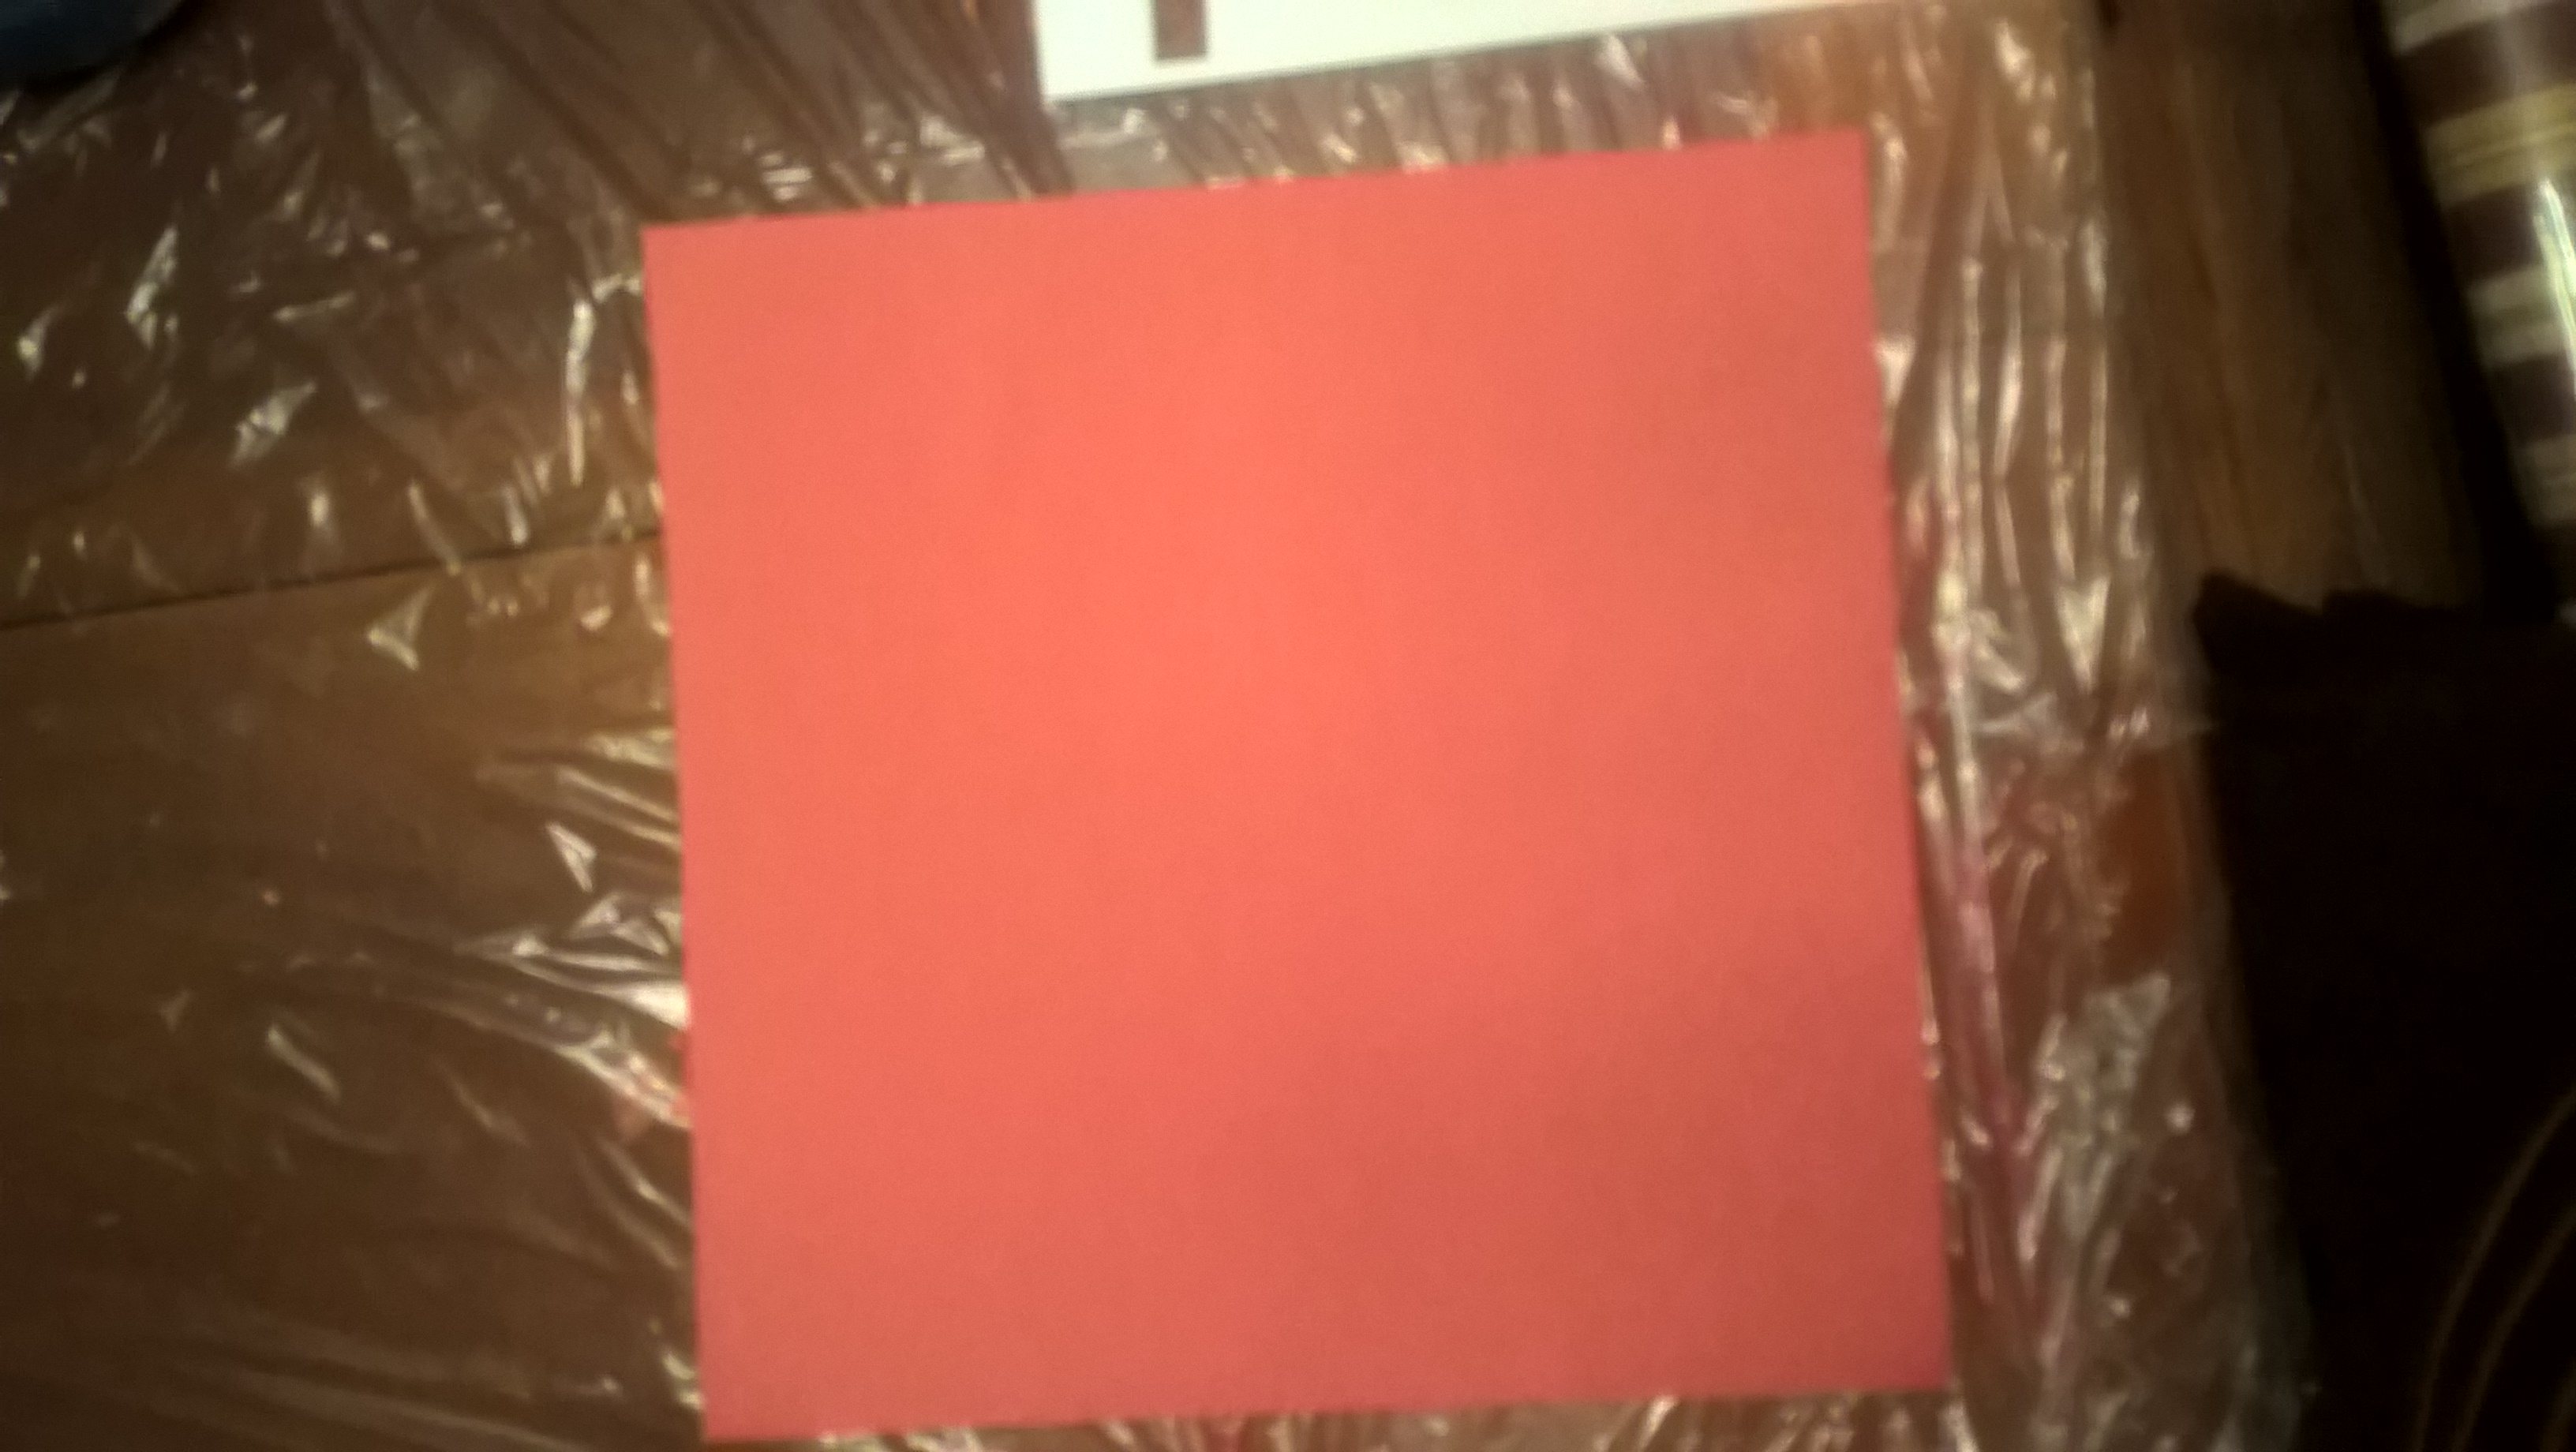
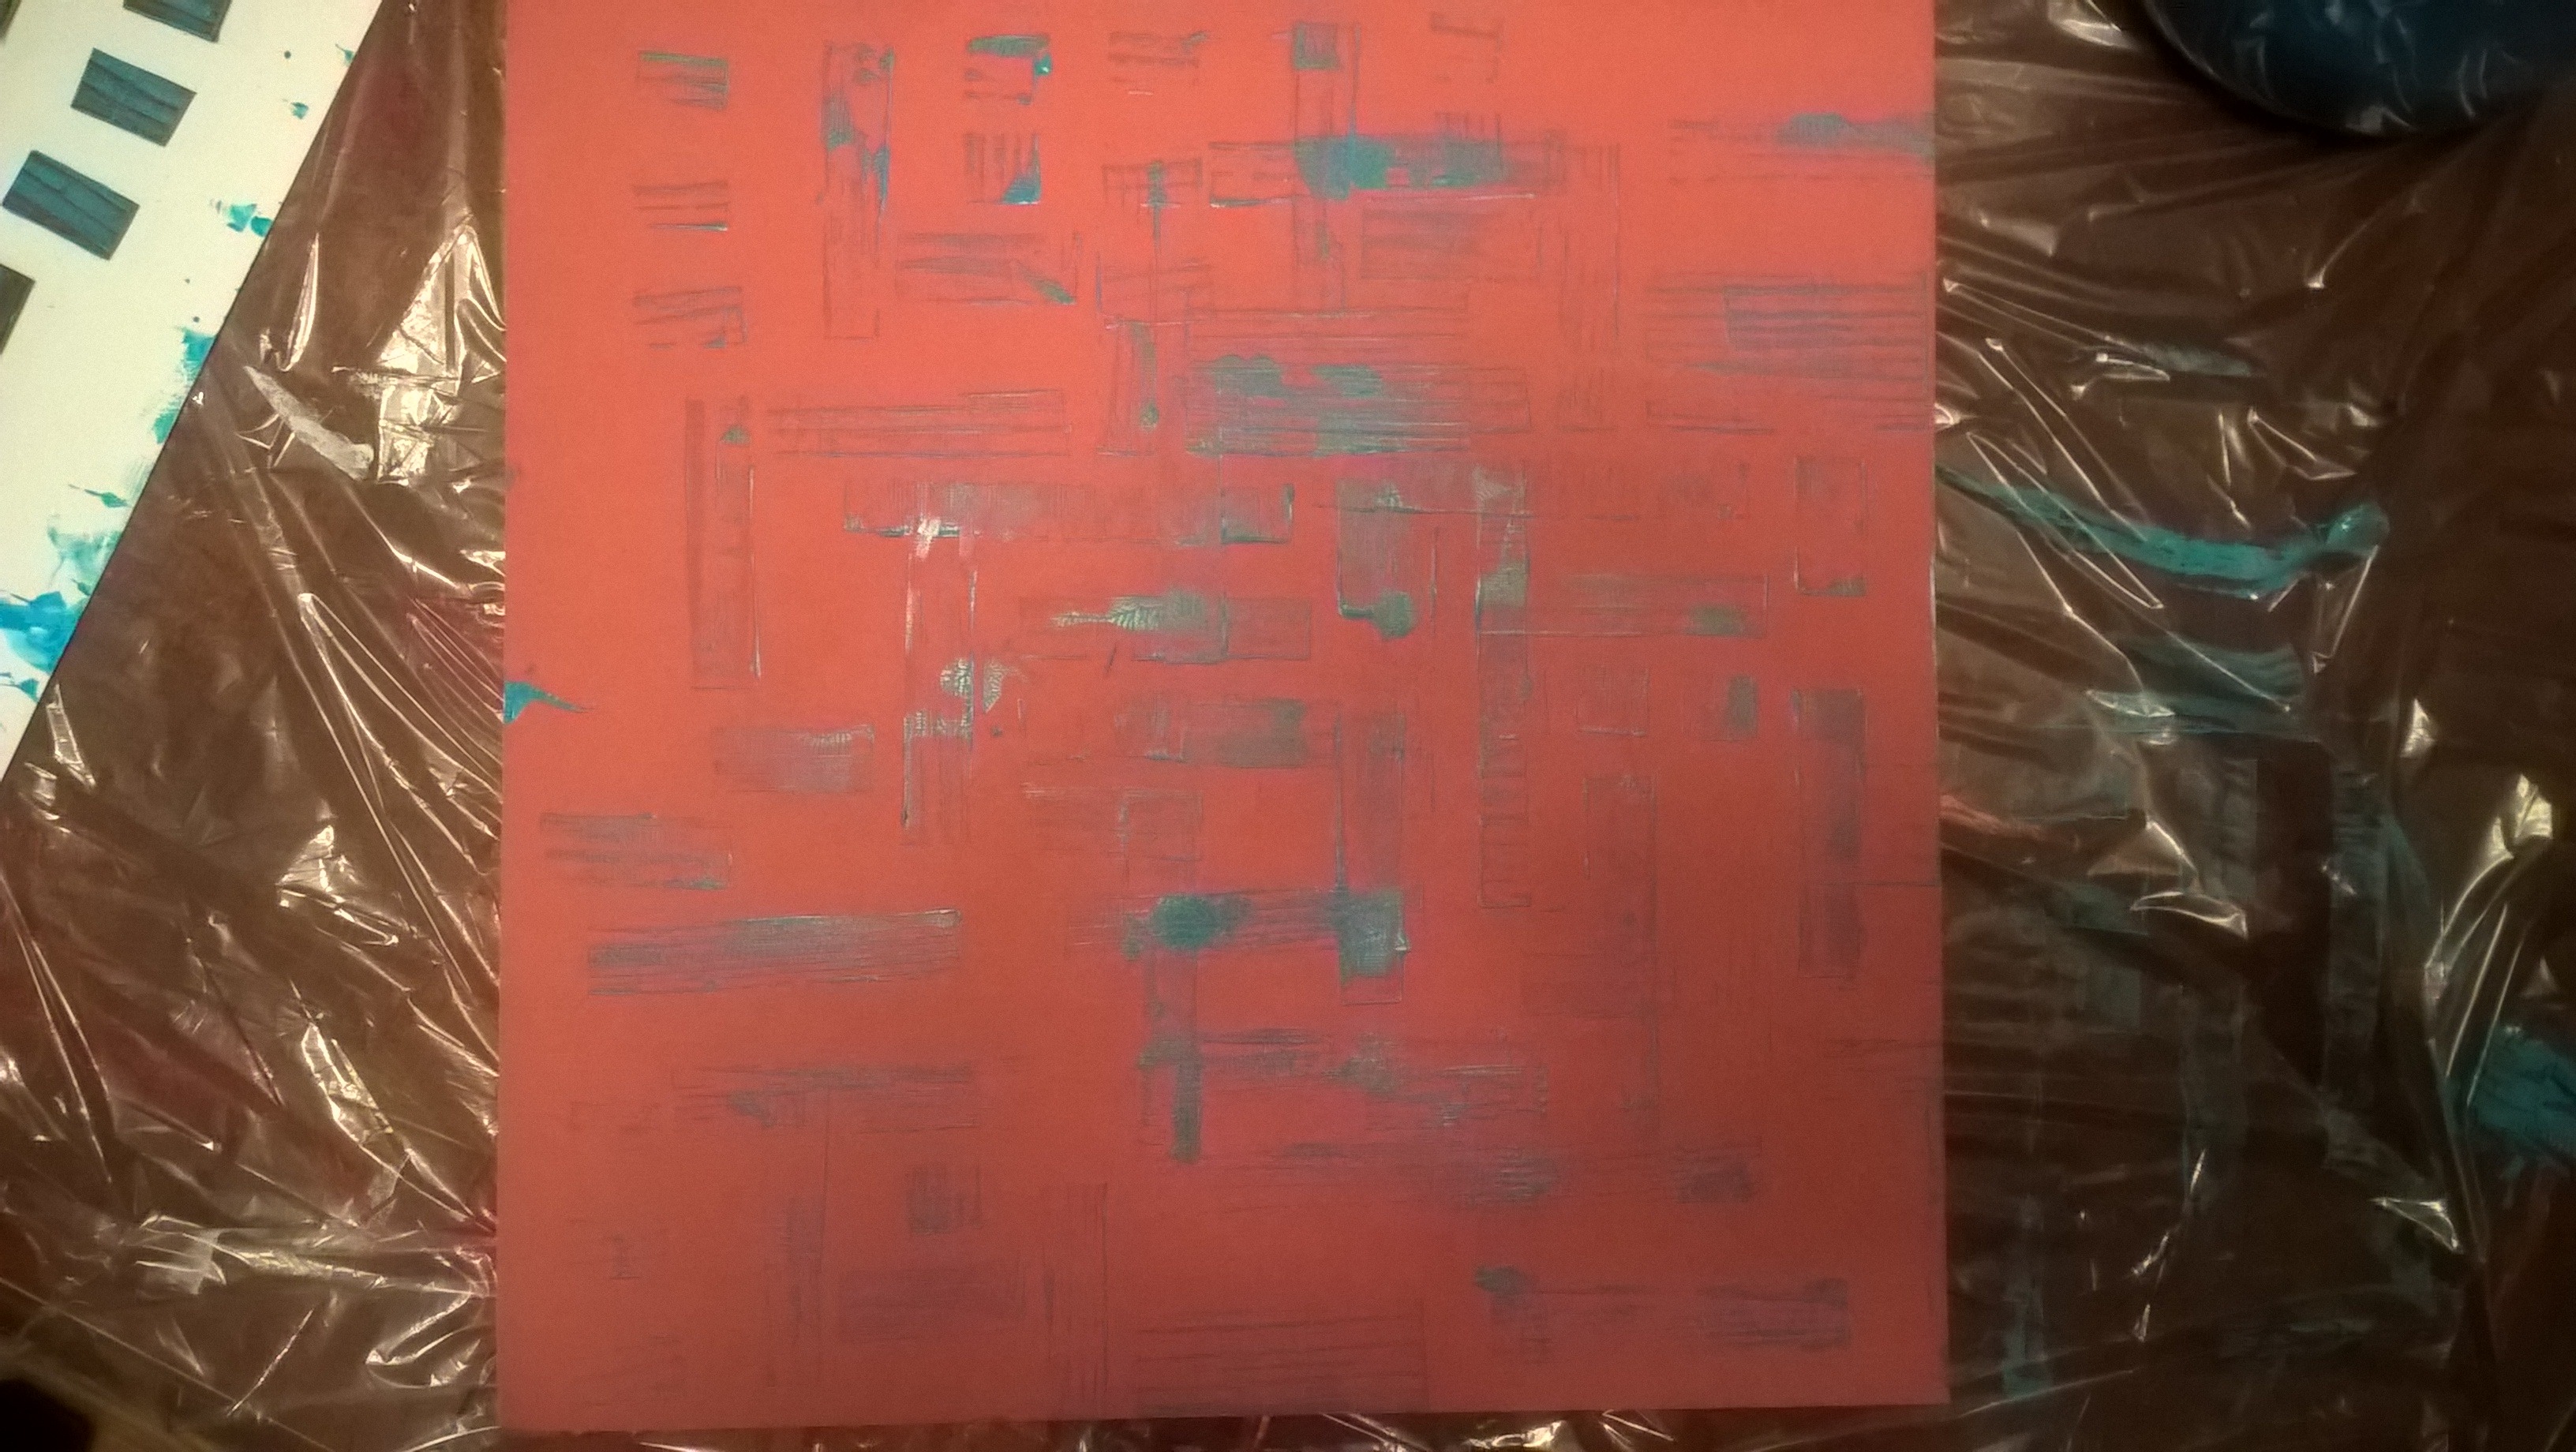
I found some cut up old peel and stick tiles that I had saved from when I covered a bedroom floor. These cut quite easily. I cut them into squares and rectangles, stuck them onto a large scrap booking sheet and changed the color I rolled over it a few times to get the effect I did.

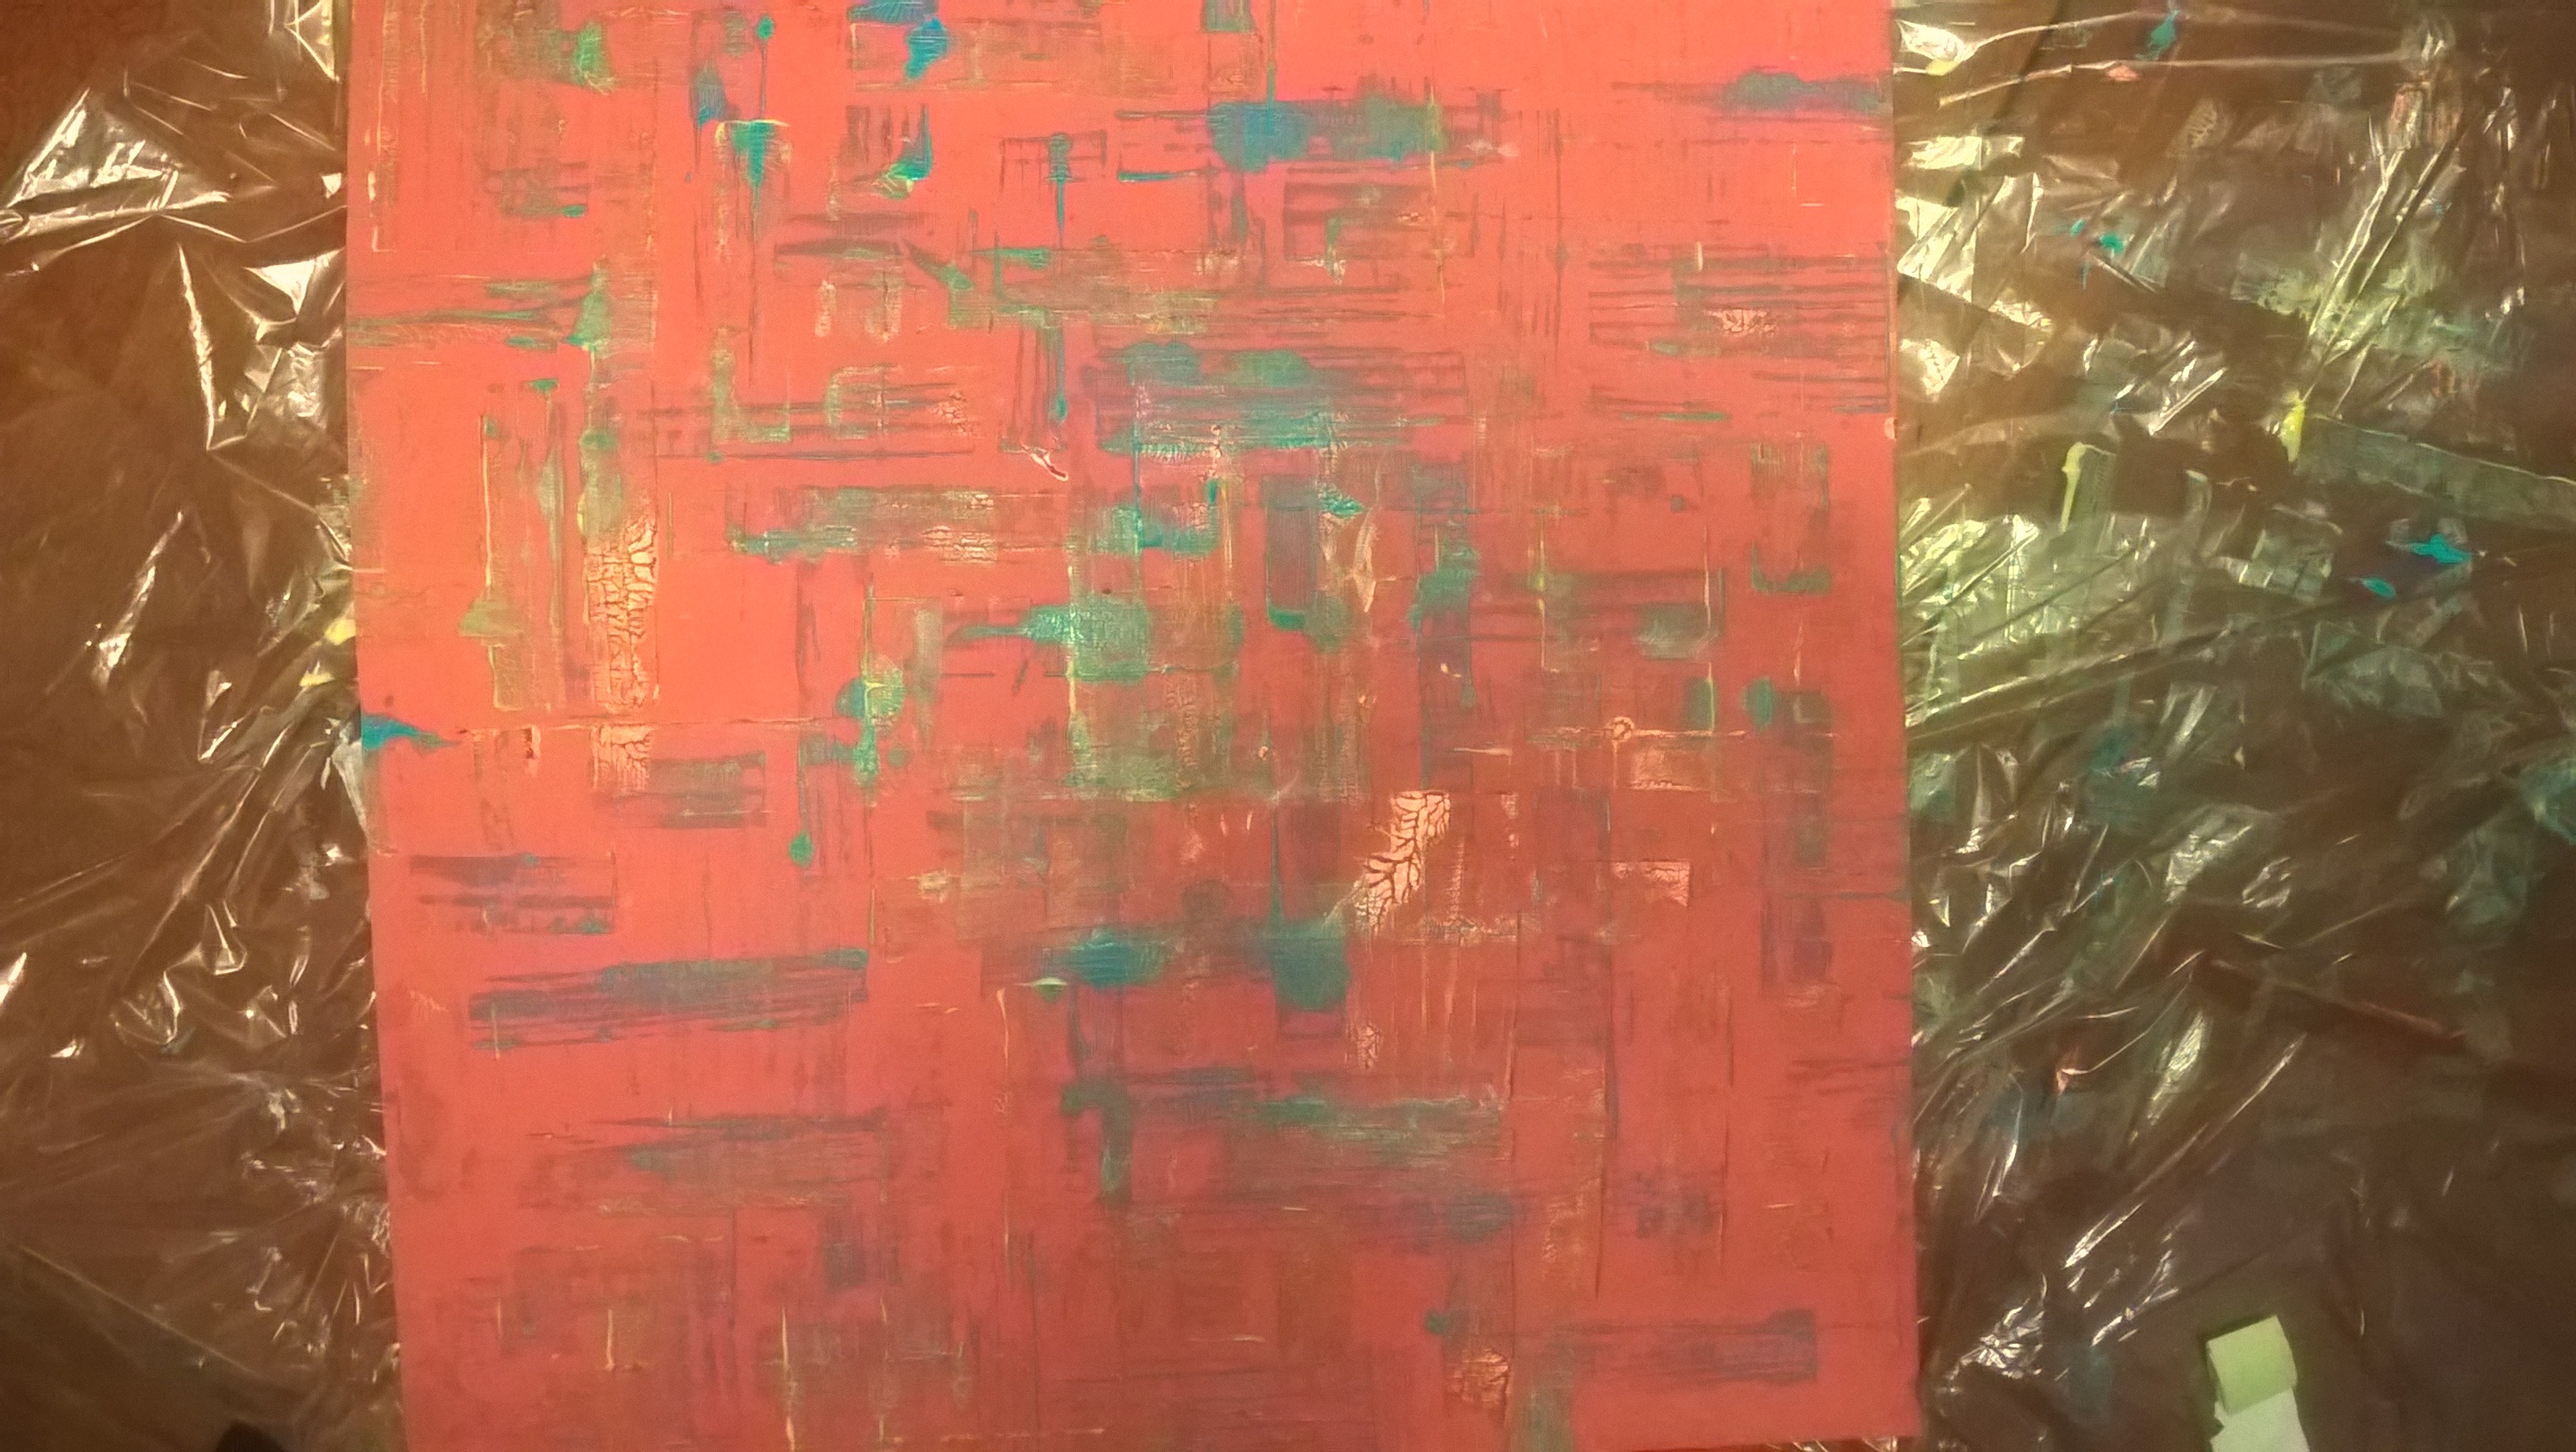
#3 Textured foam
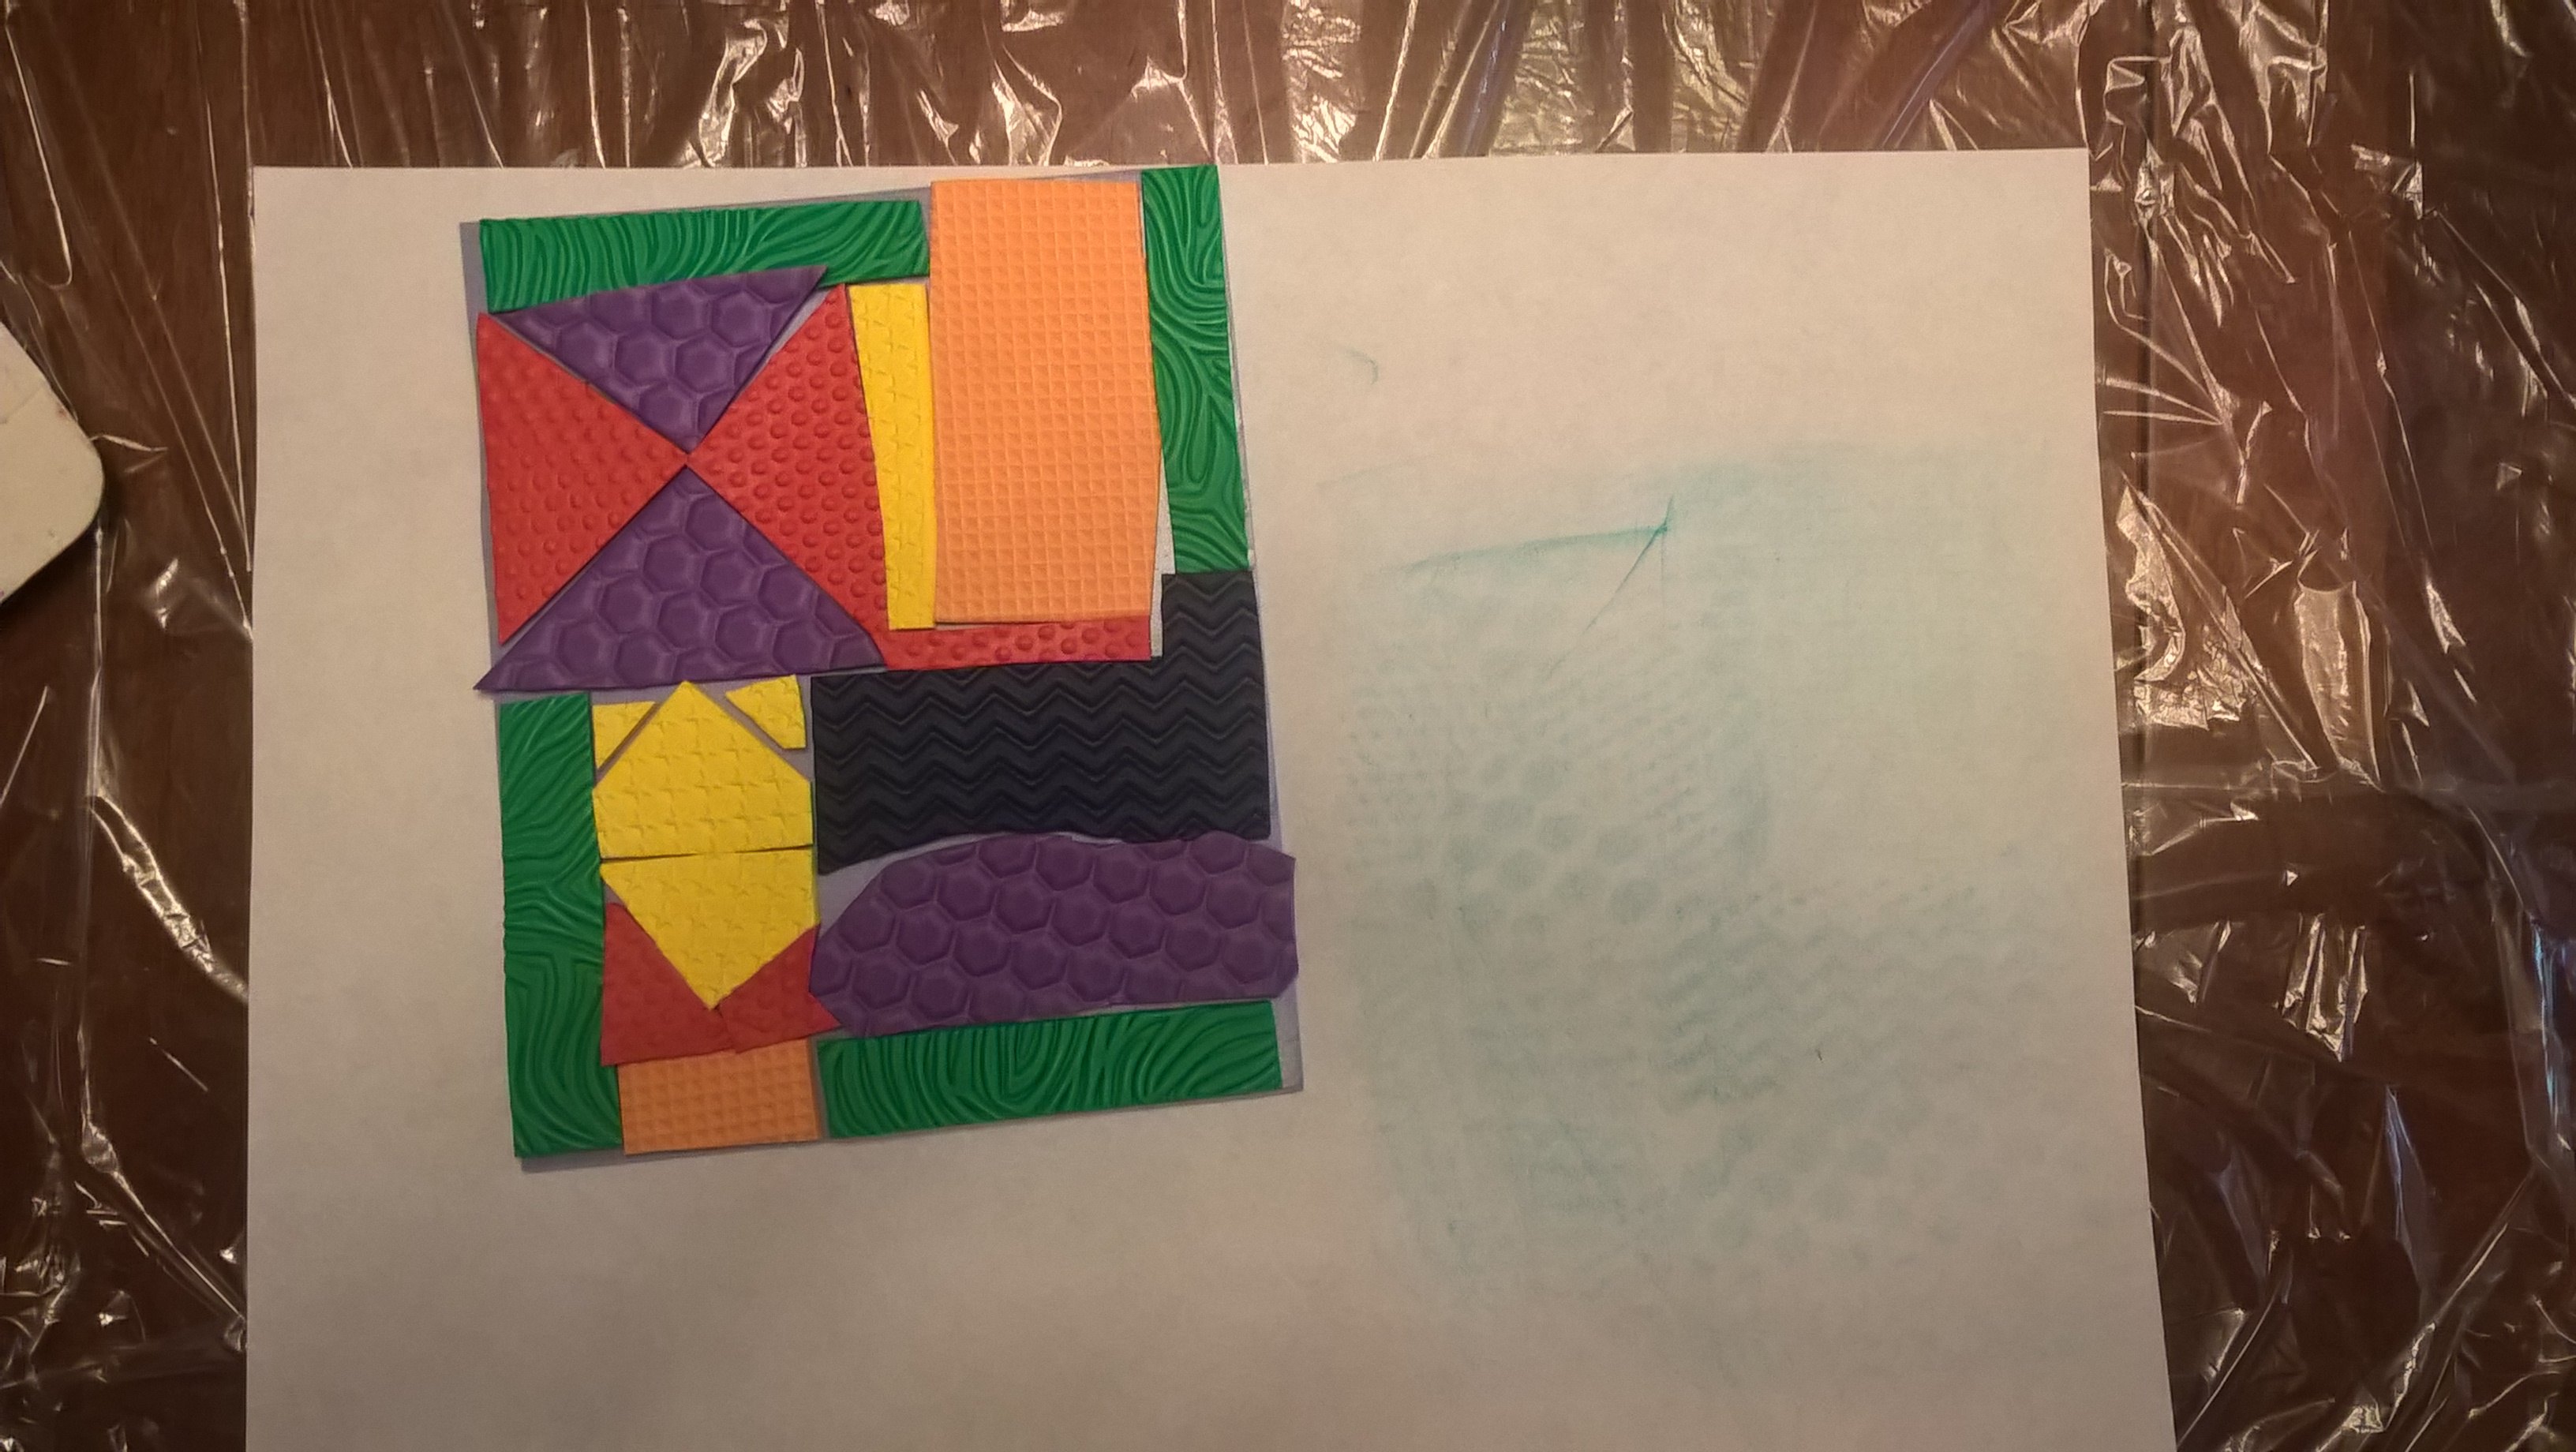
I found these foam sheets in my local Amazing Savings (a really cheap, fun bargain store). I cut them up into small pieces and put these different textures on the plate to create all these different textures.
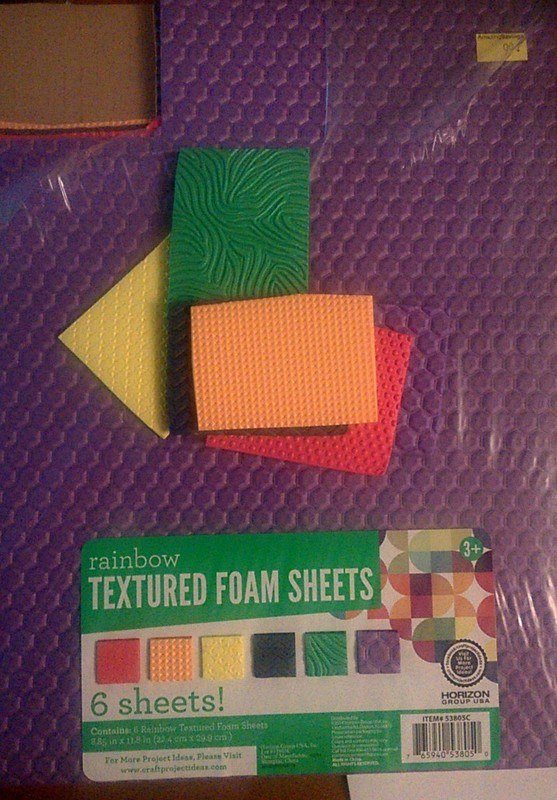
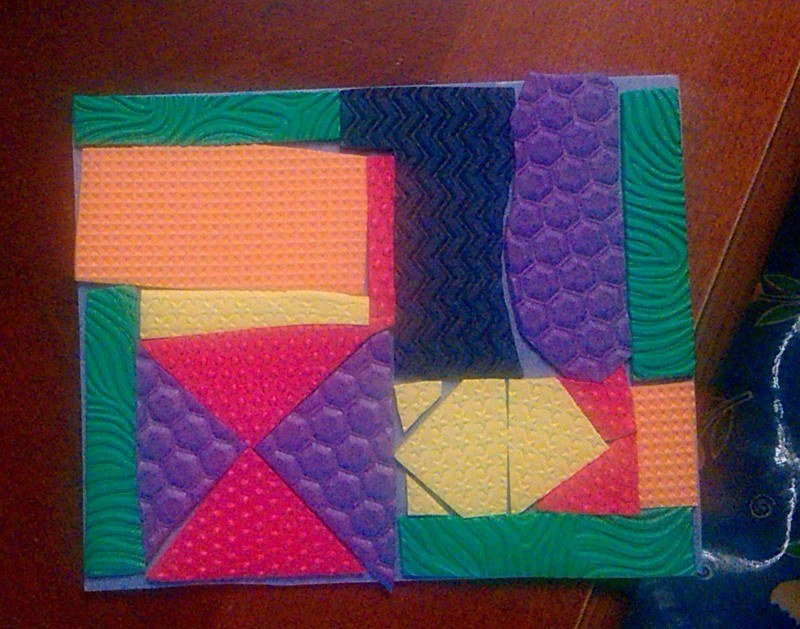
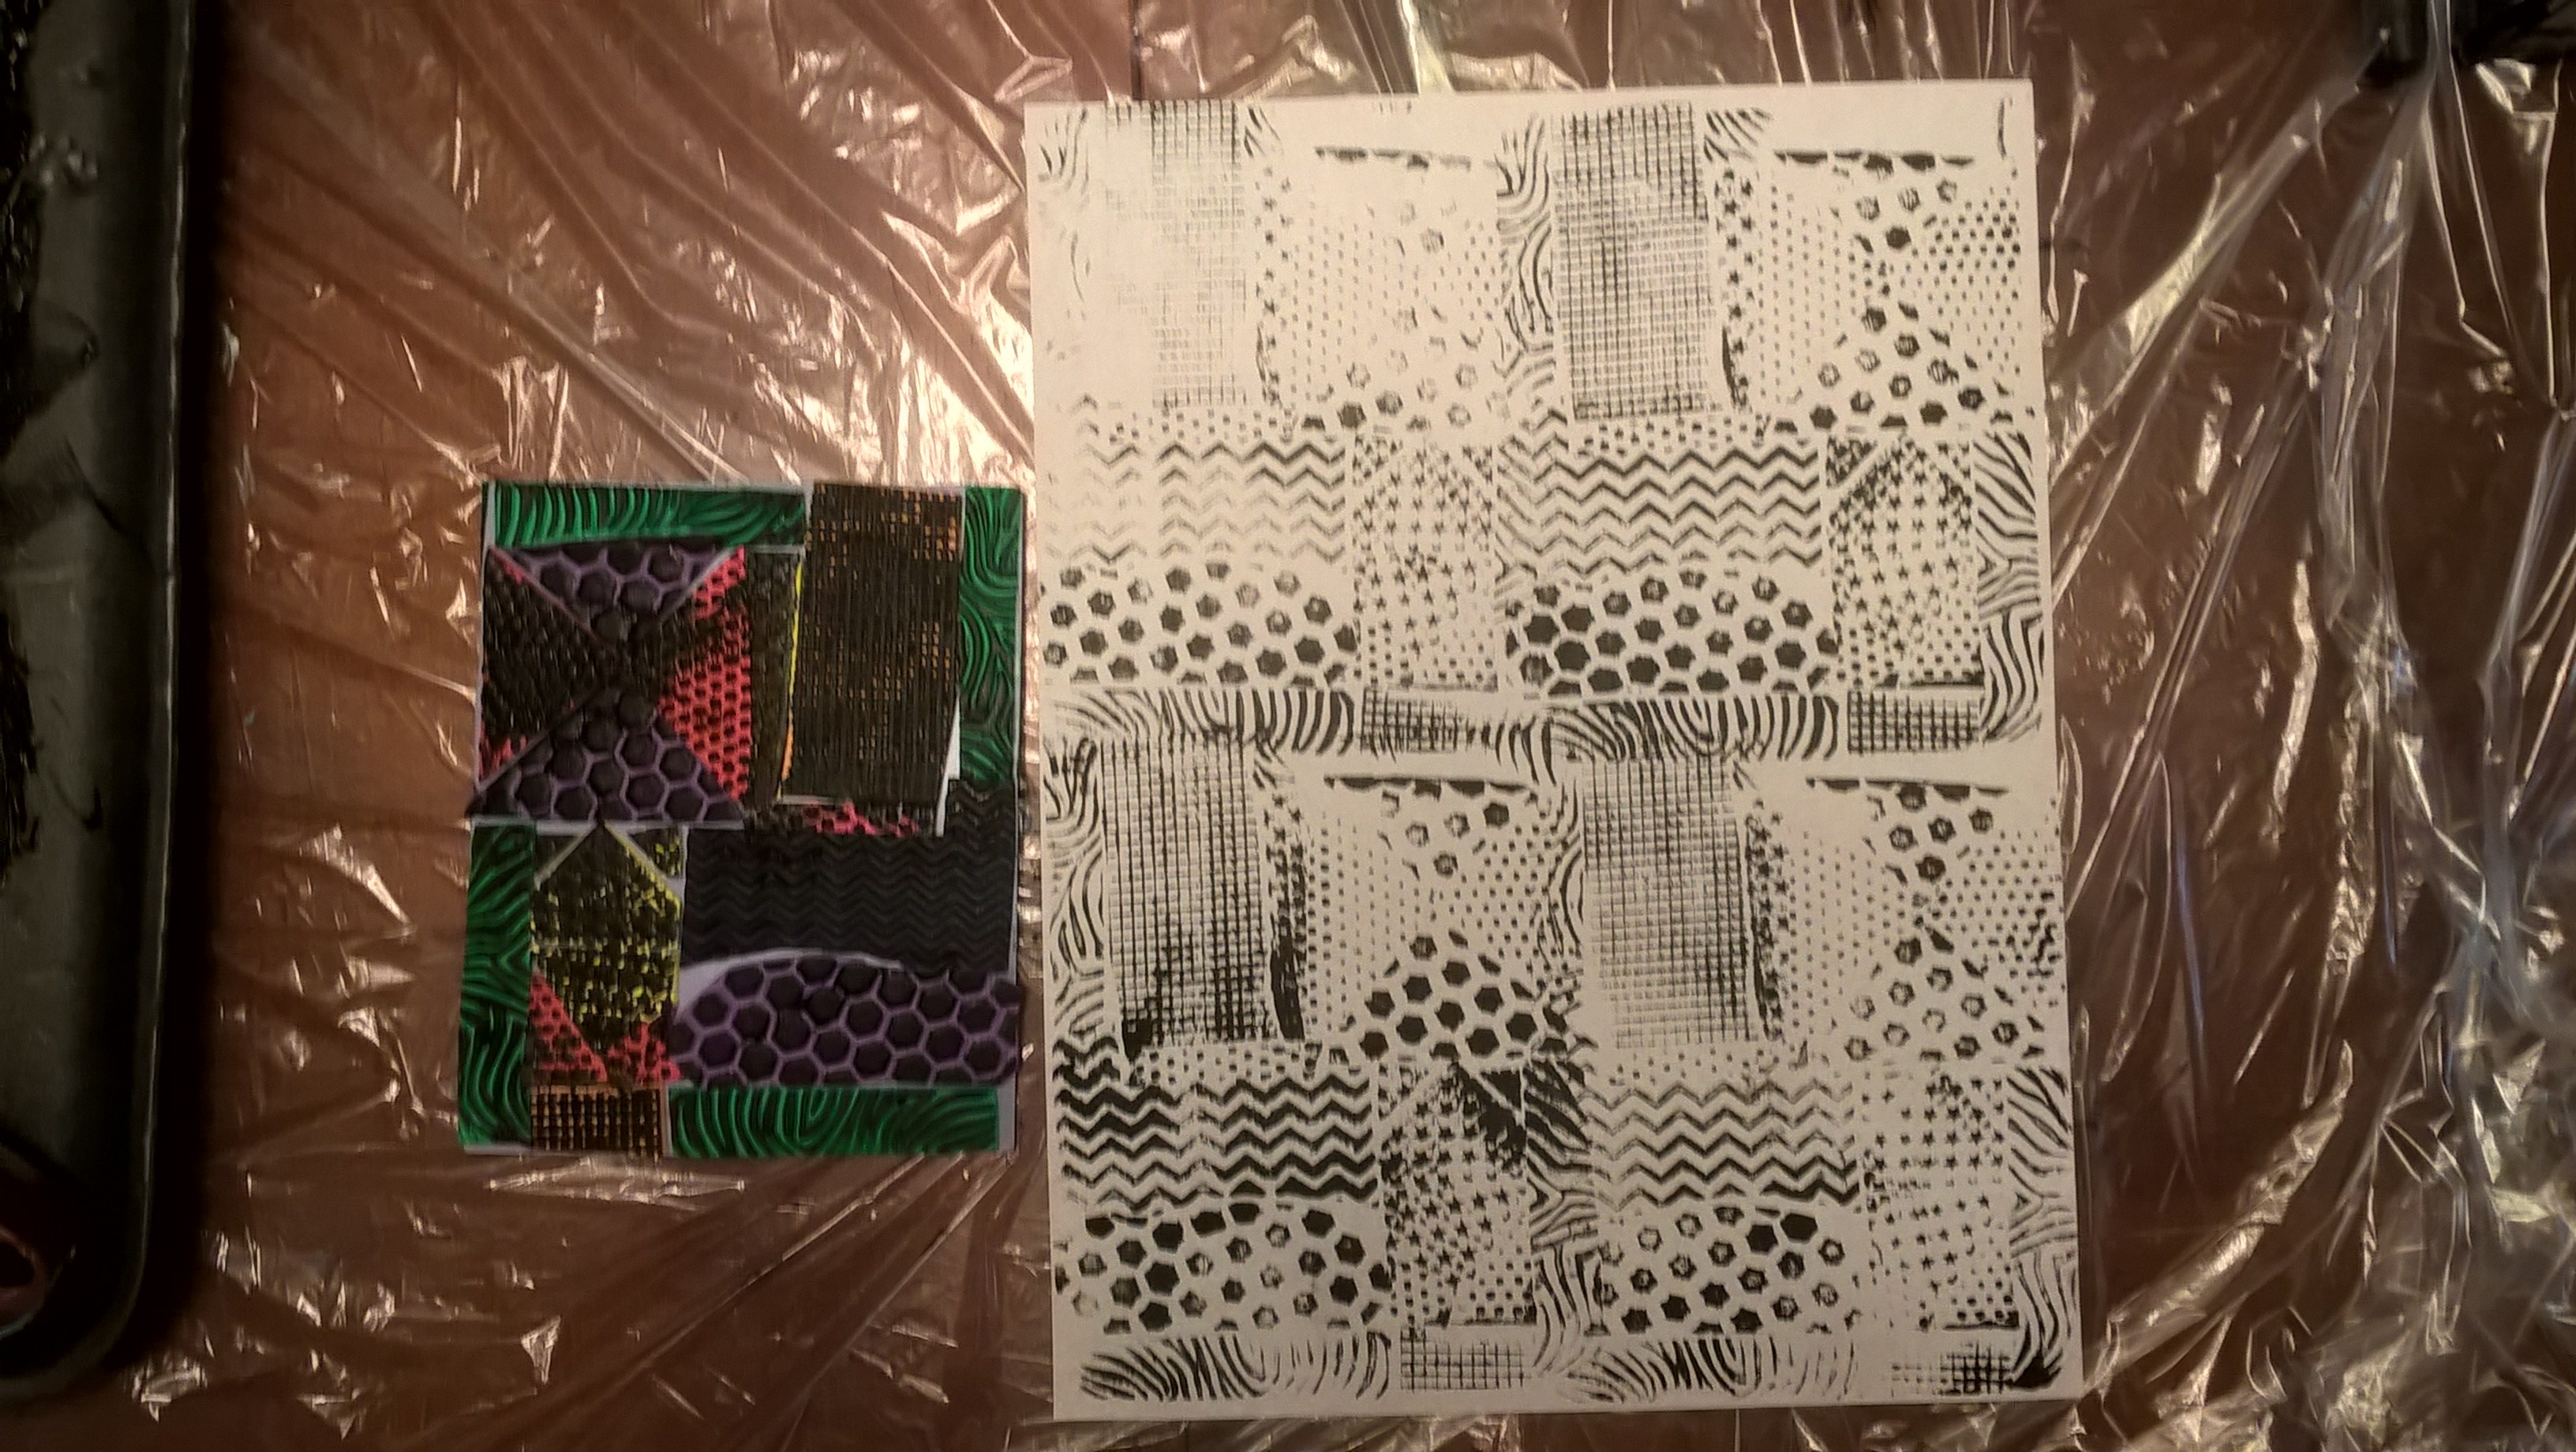
#4 Rubber bands
When you have a sticky surface the rubber bands stay quite well. Stand them up and make a really cool abstract design.
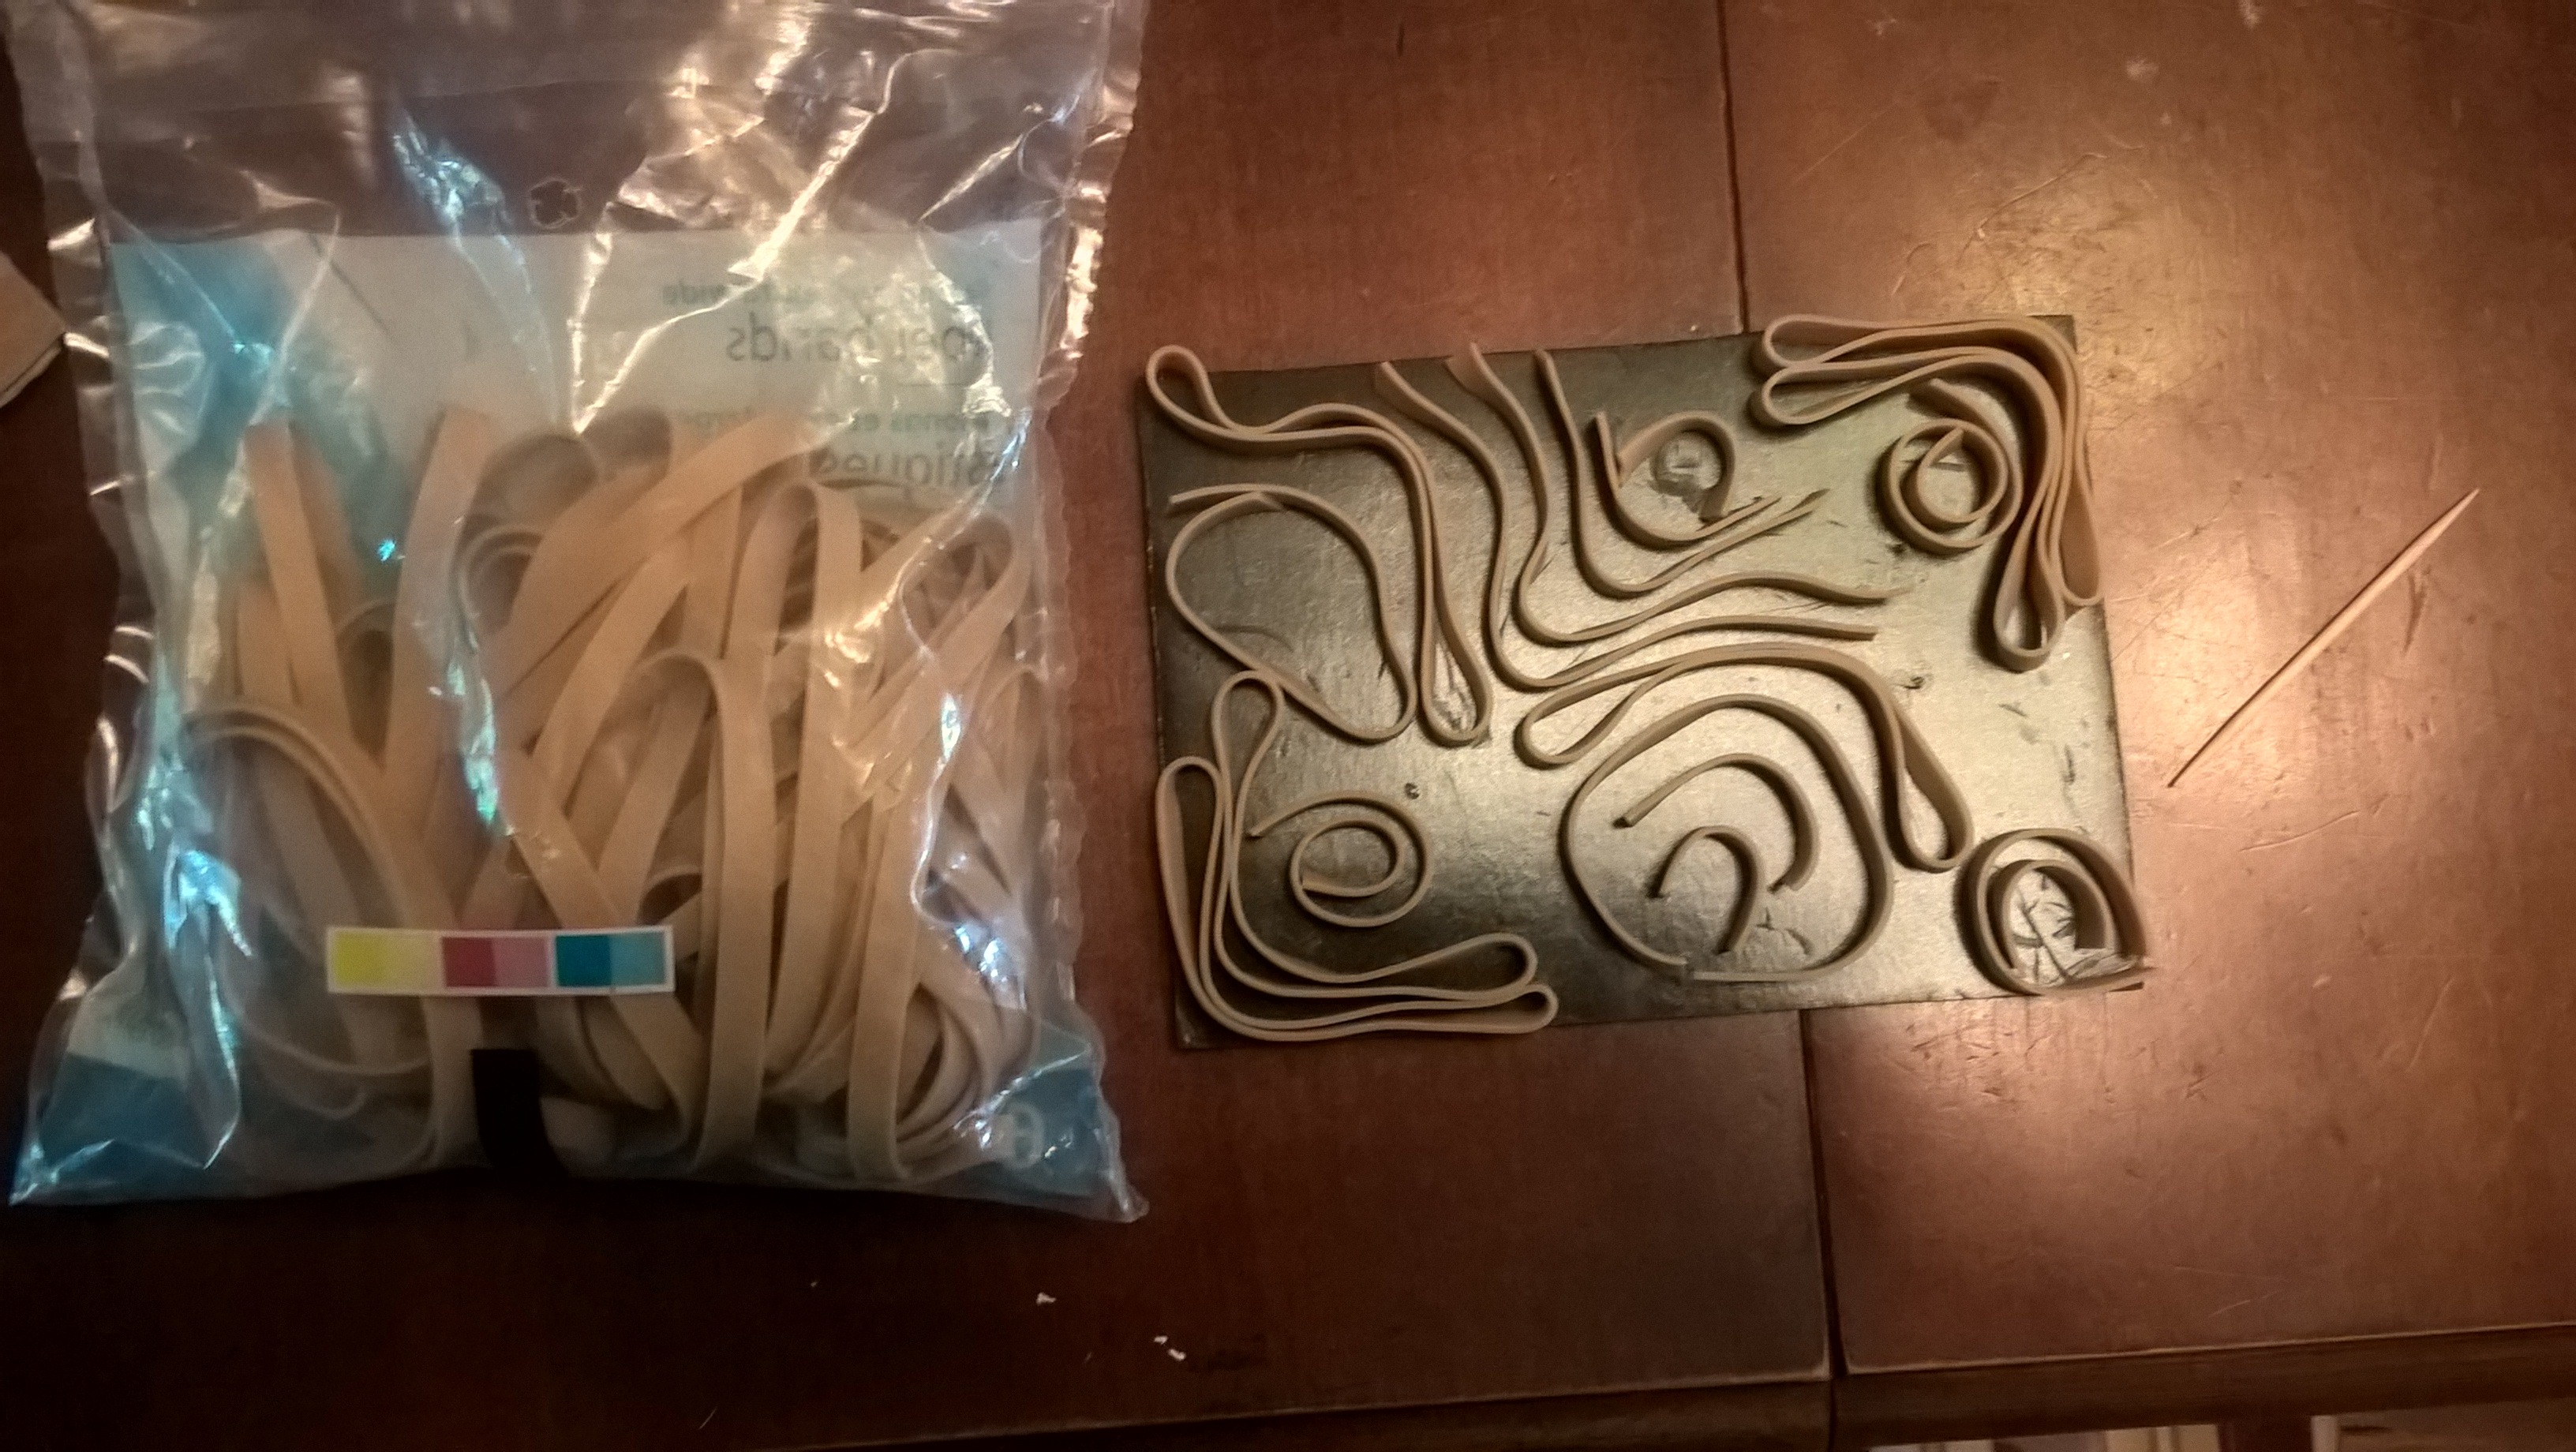
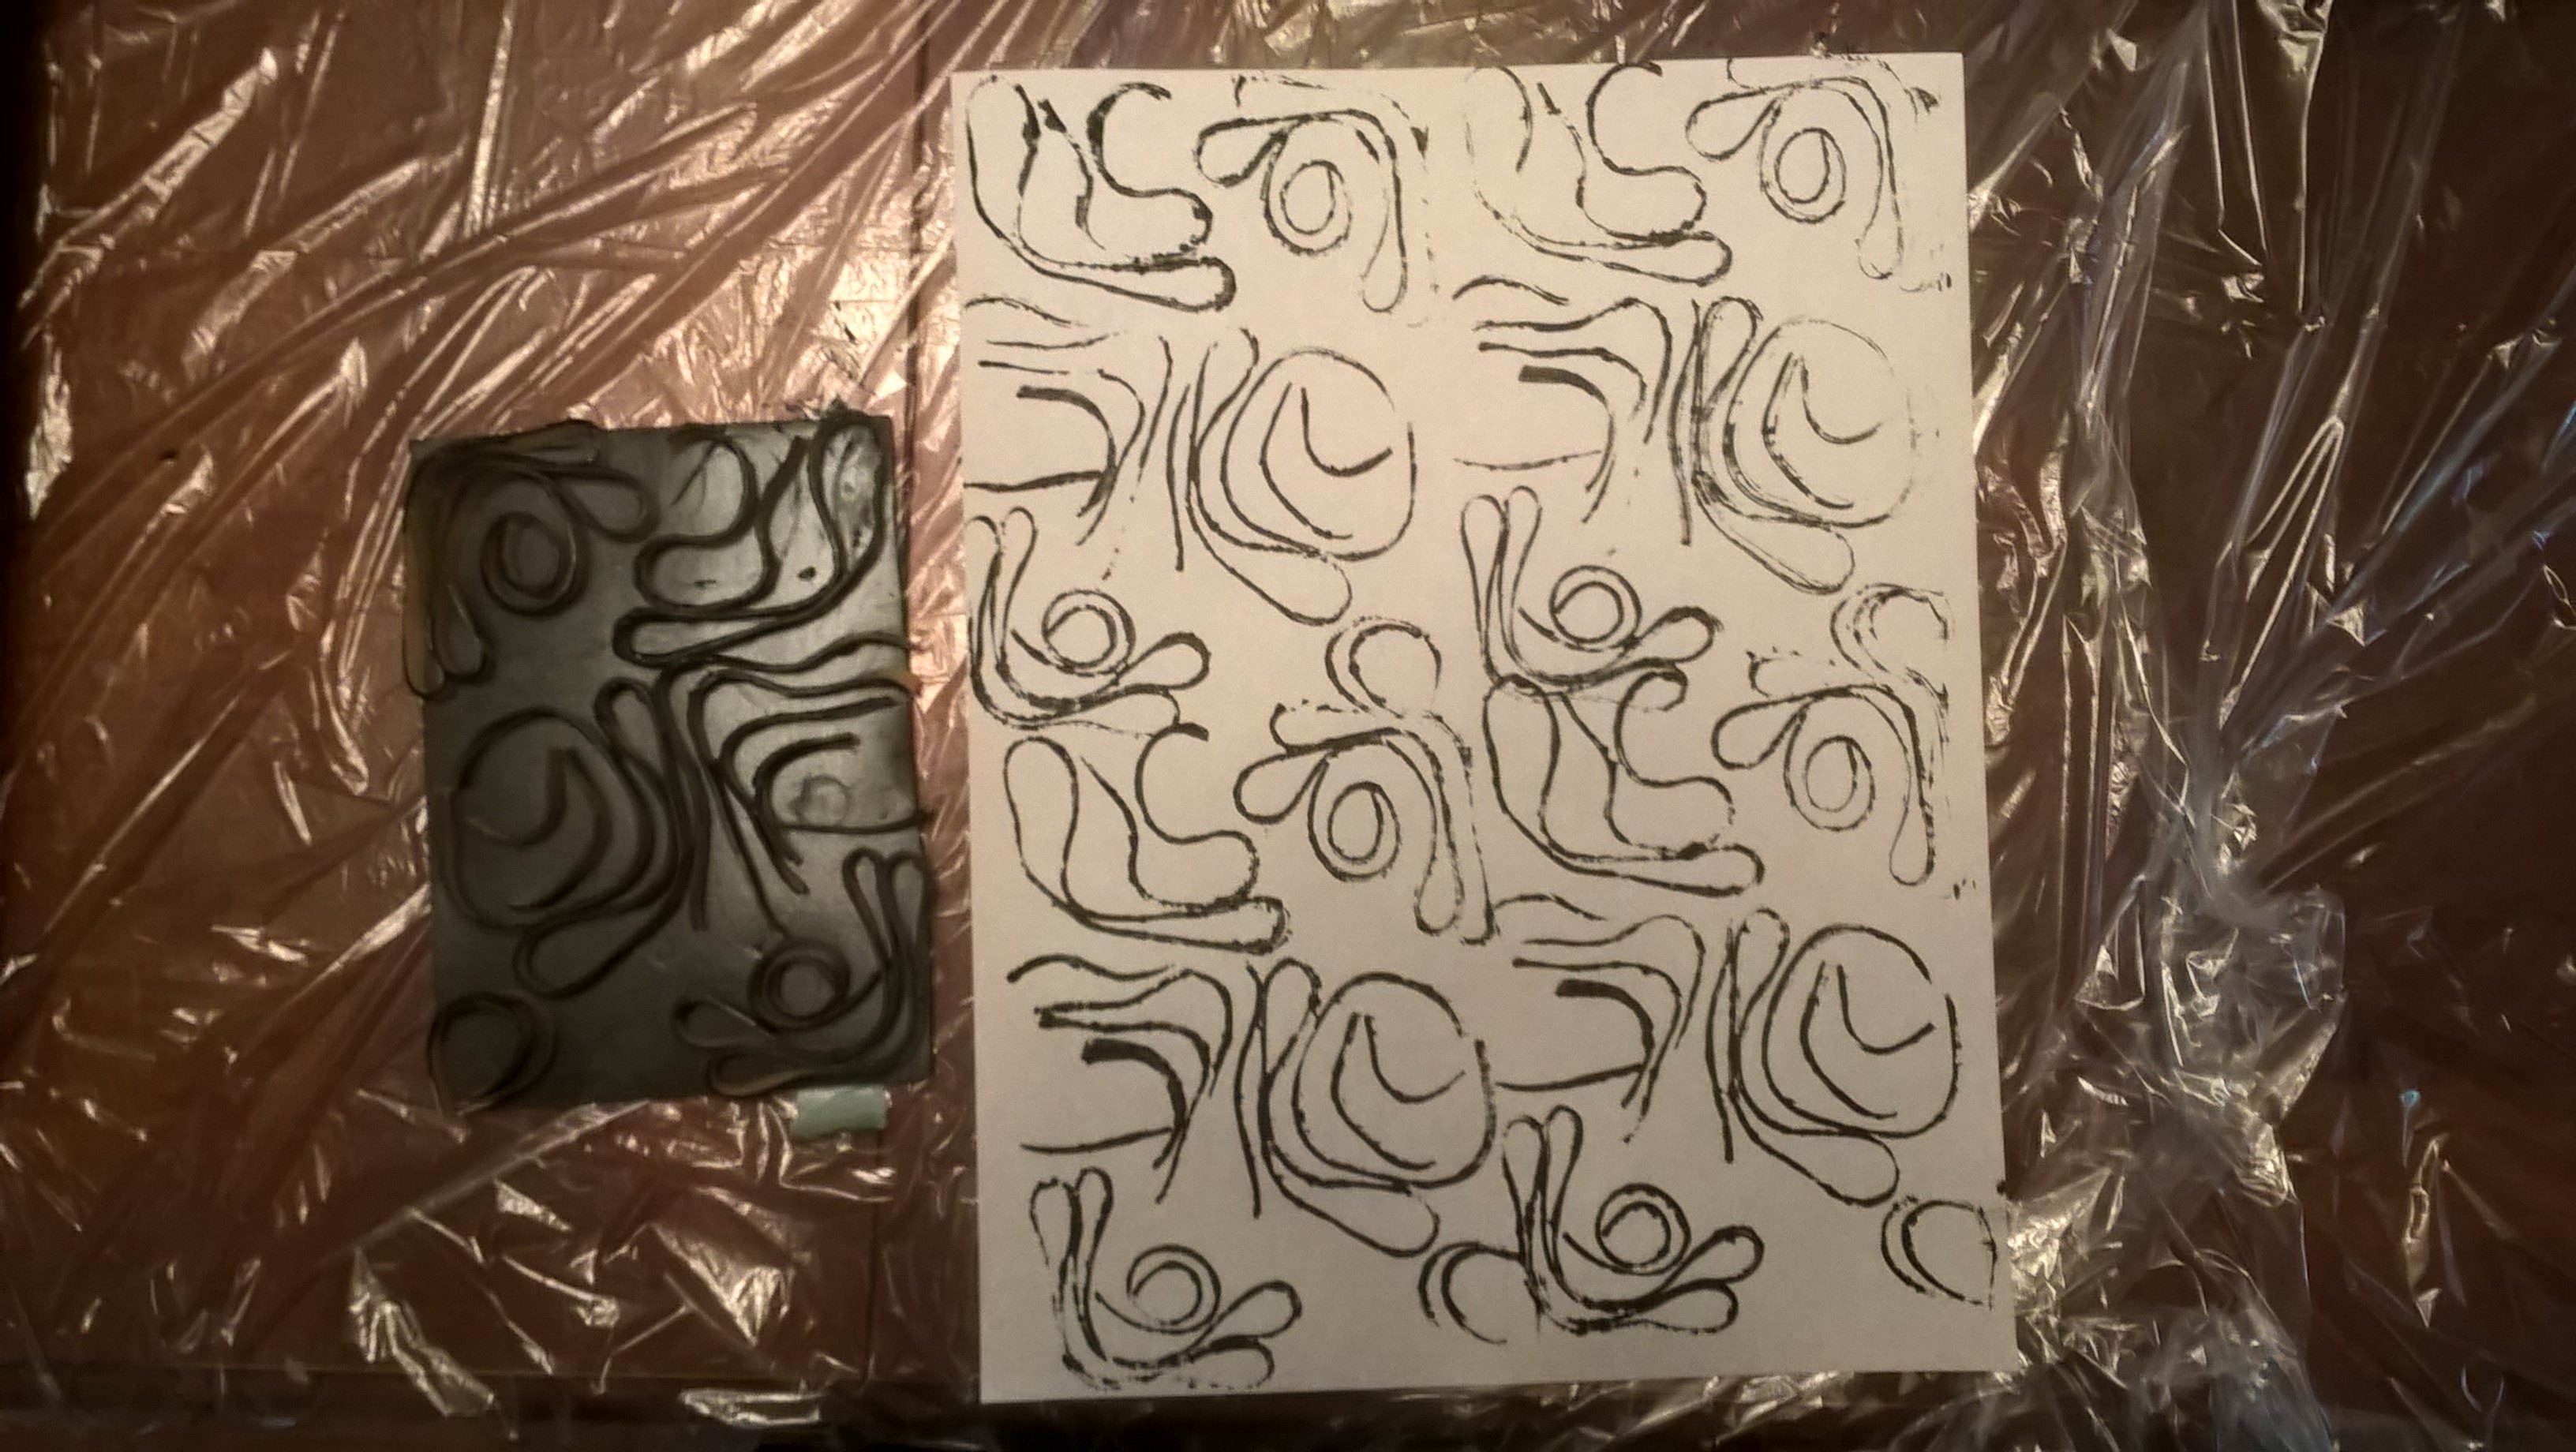
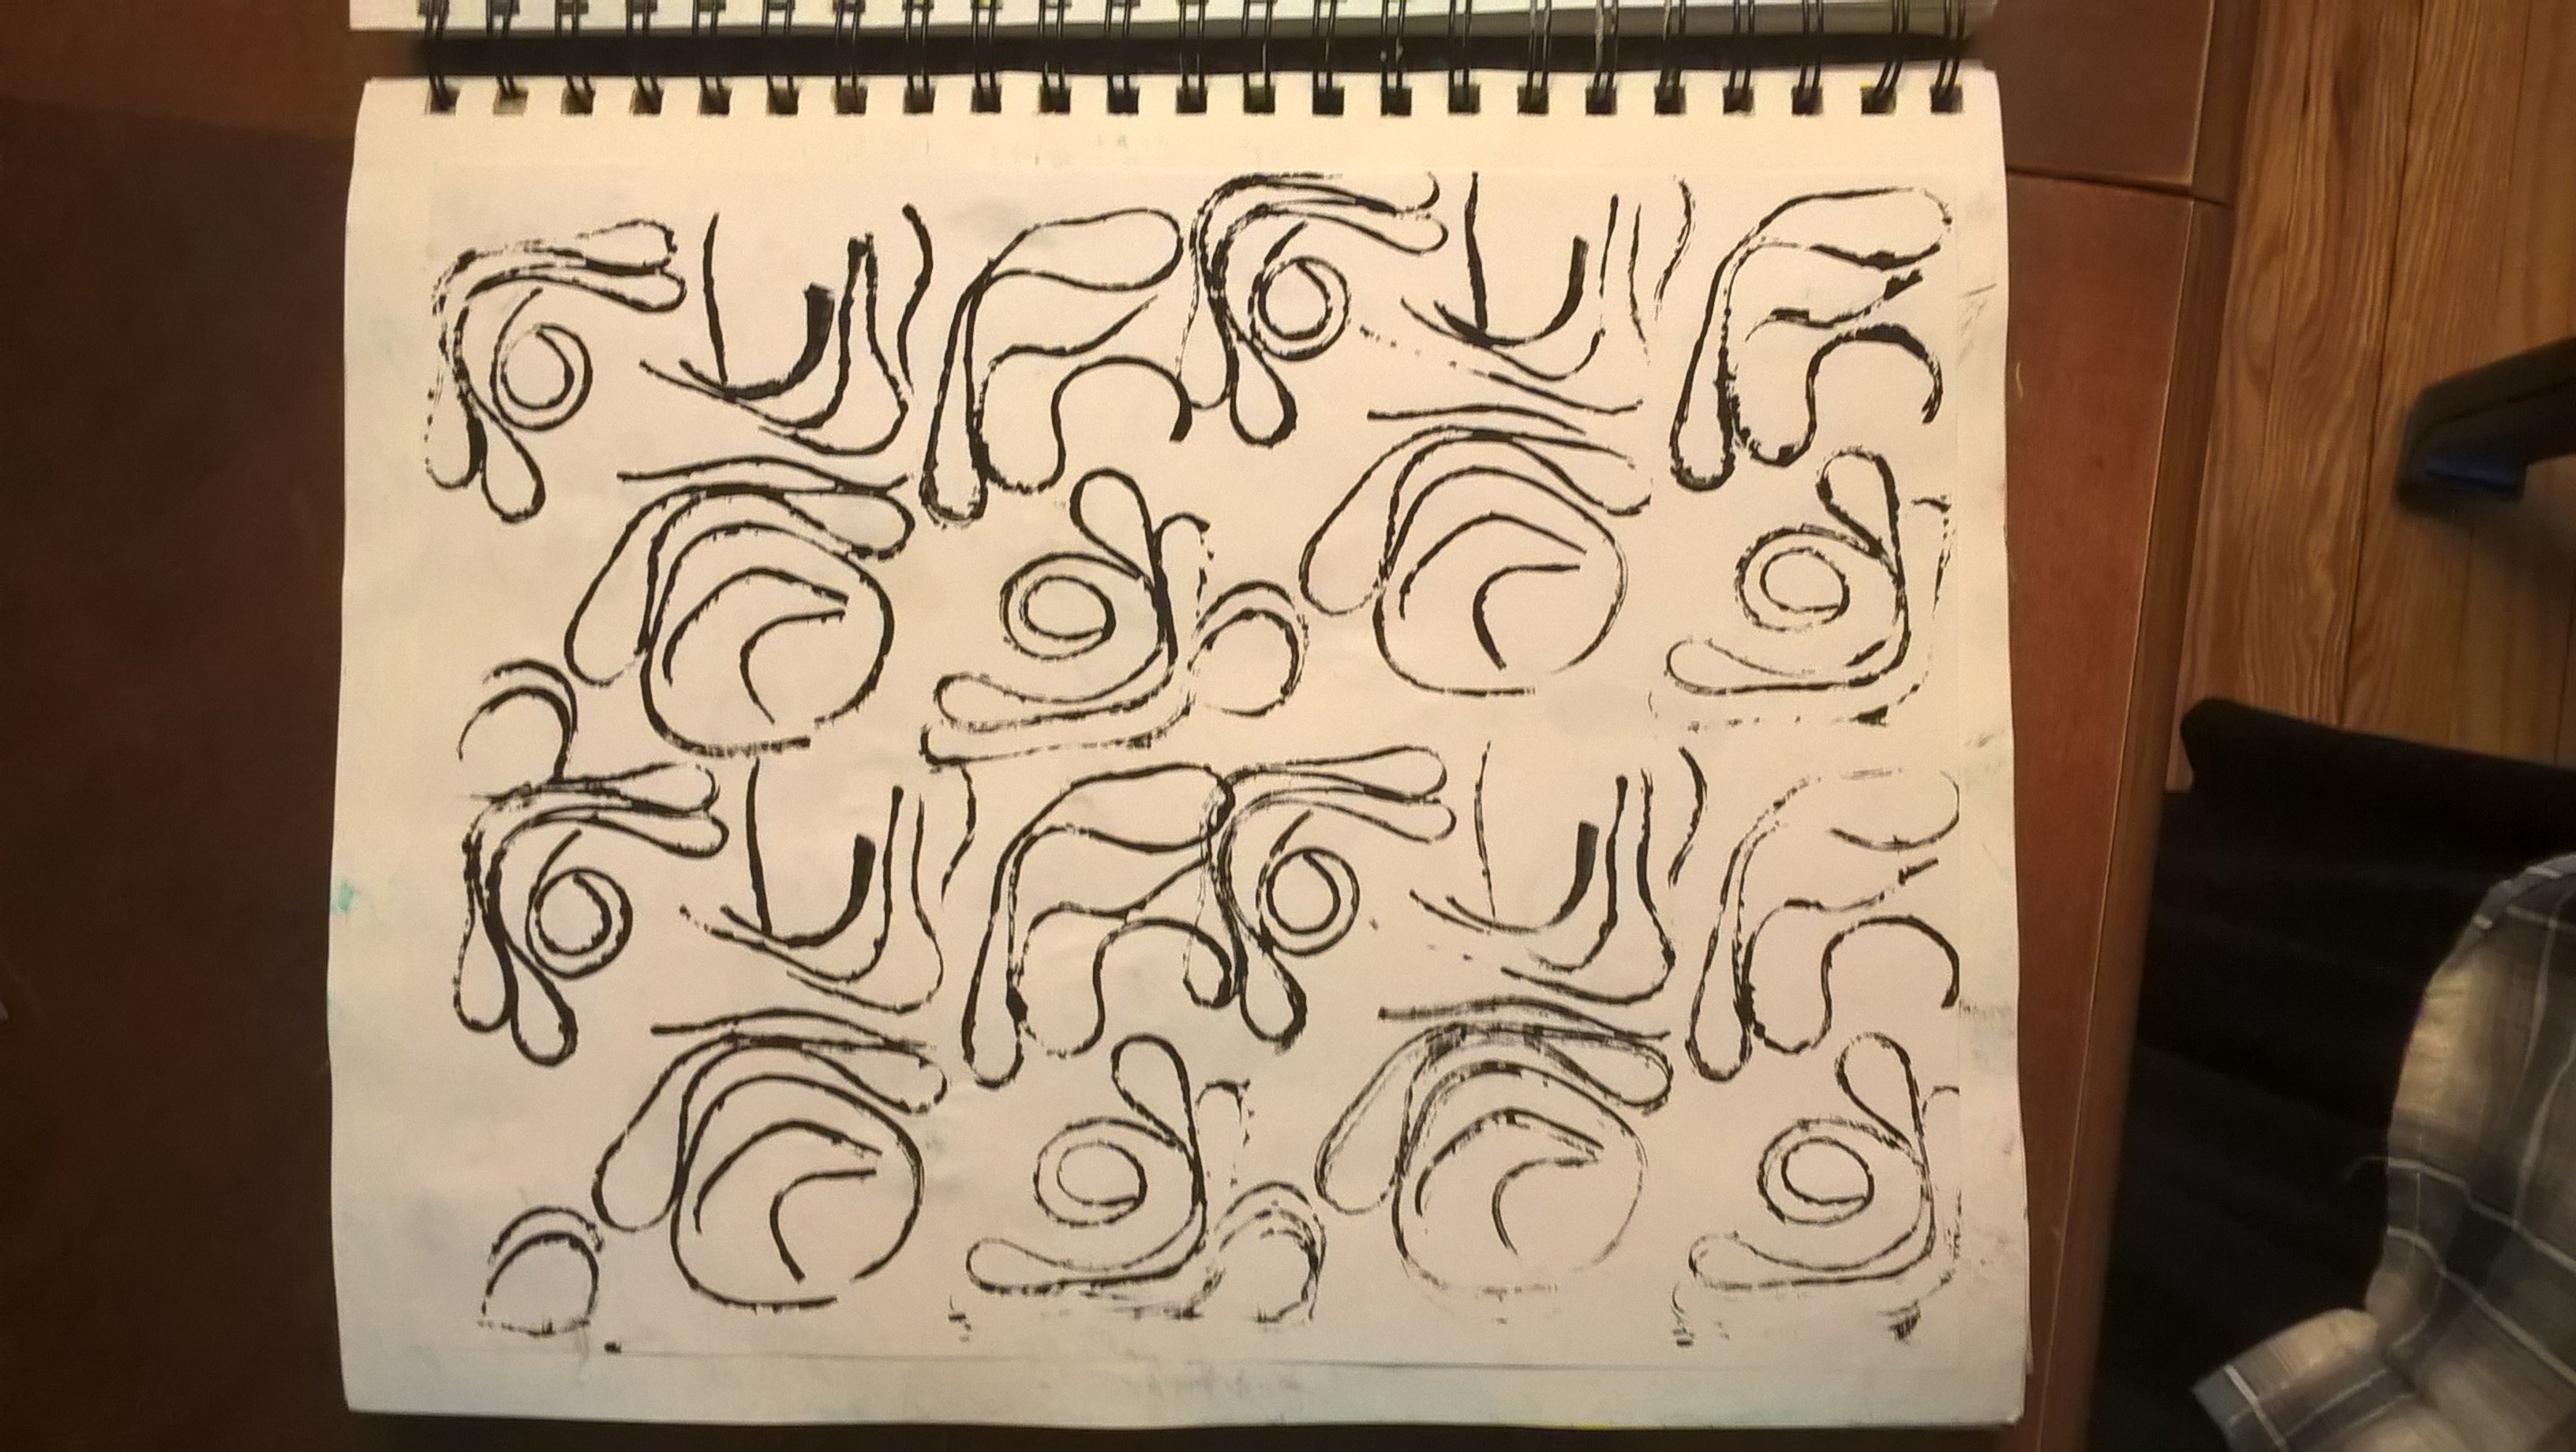
#5 Wooden craft letters
Found these in my Amazing Savings as well. (keep your eye out for anything that can be used for printing)
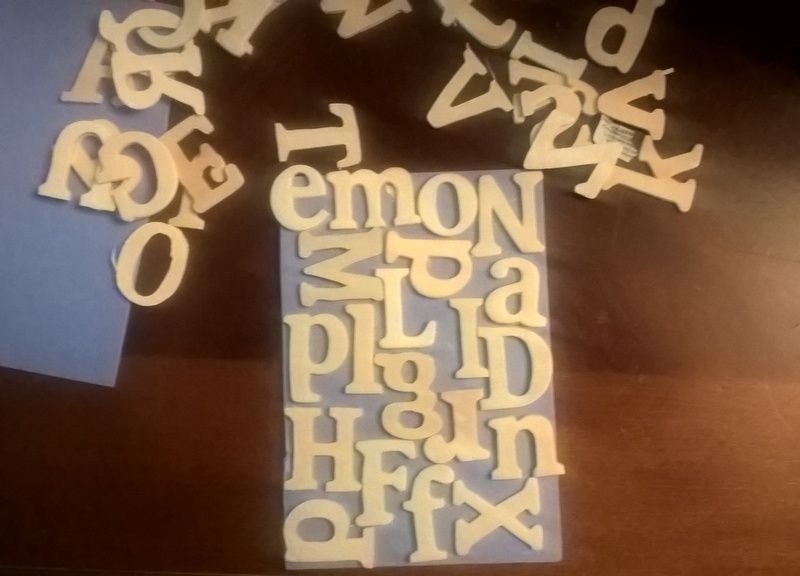
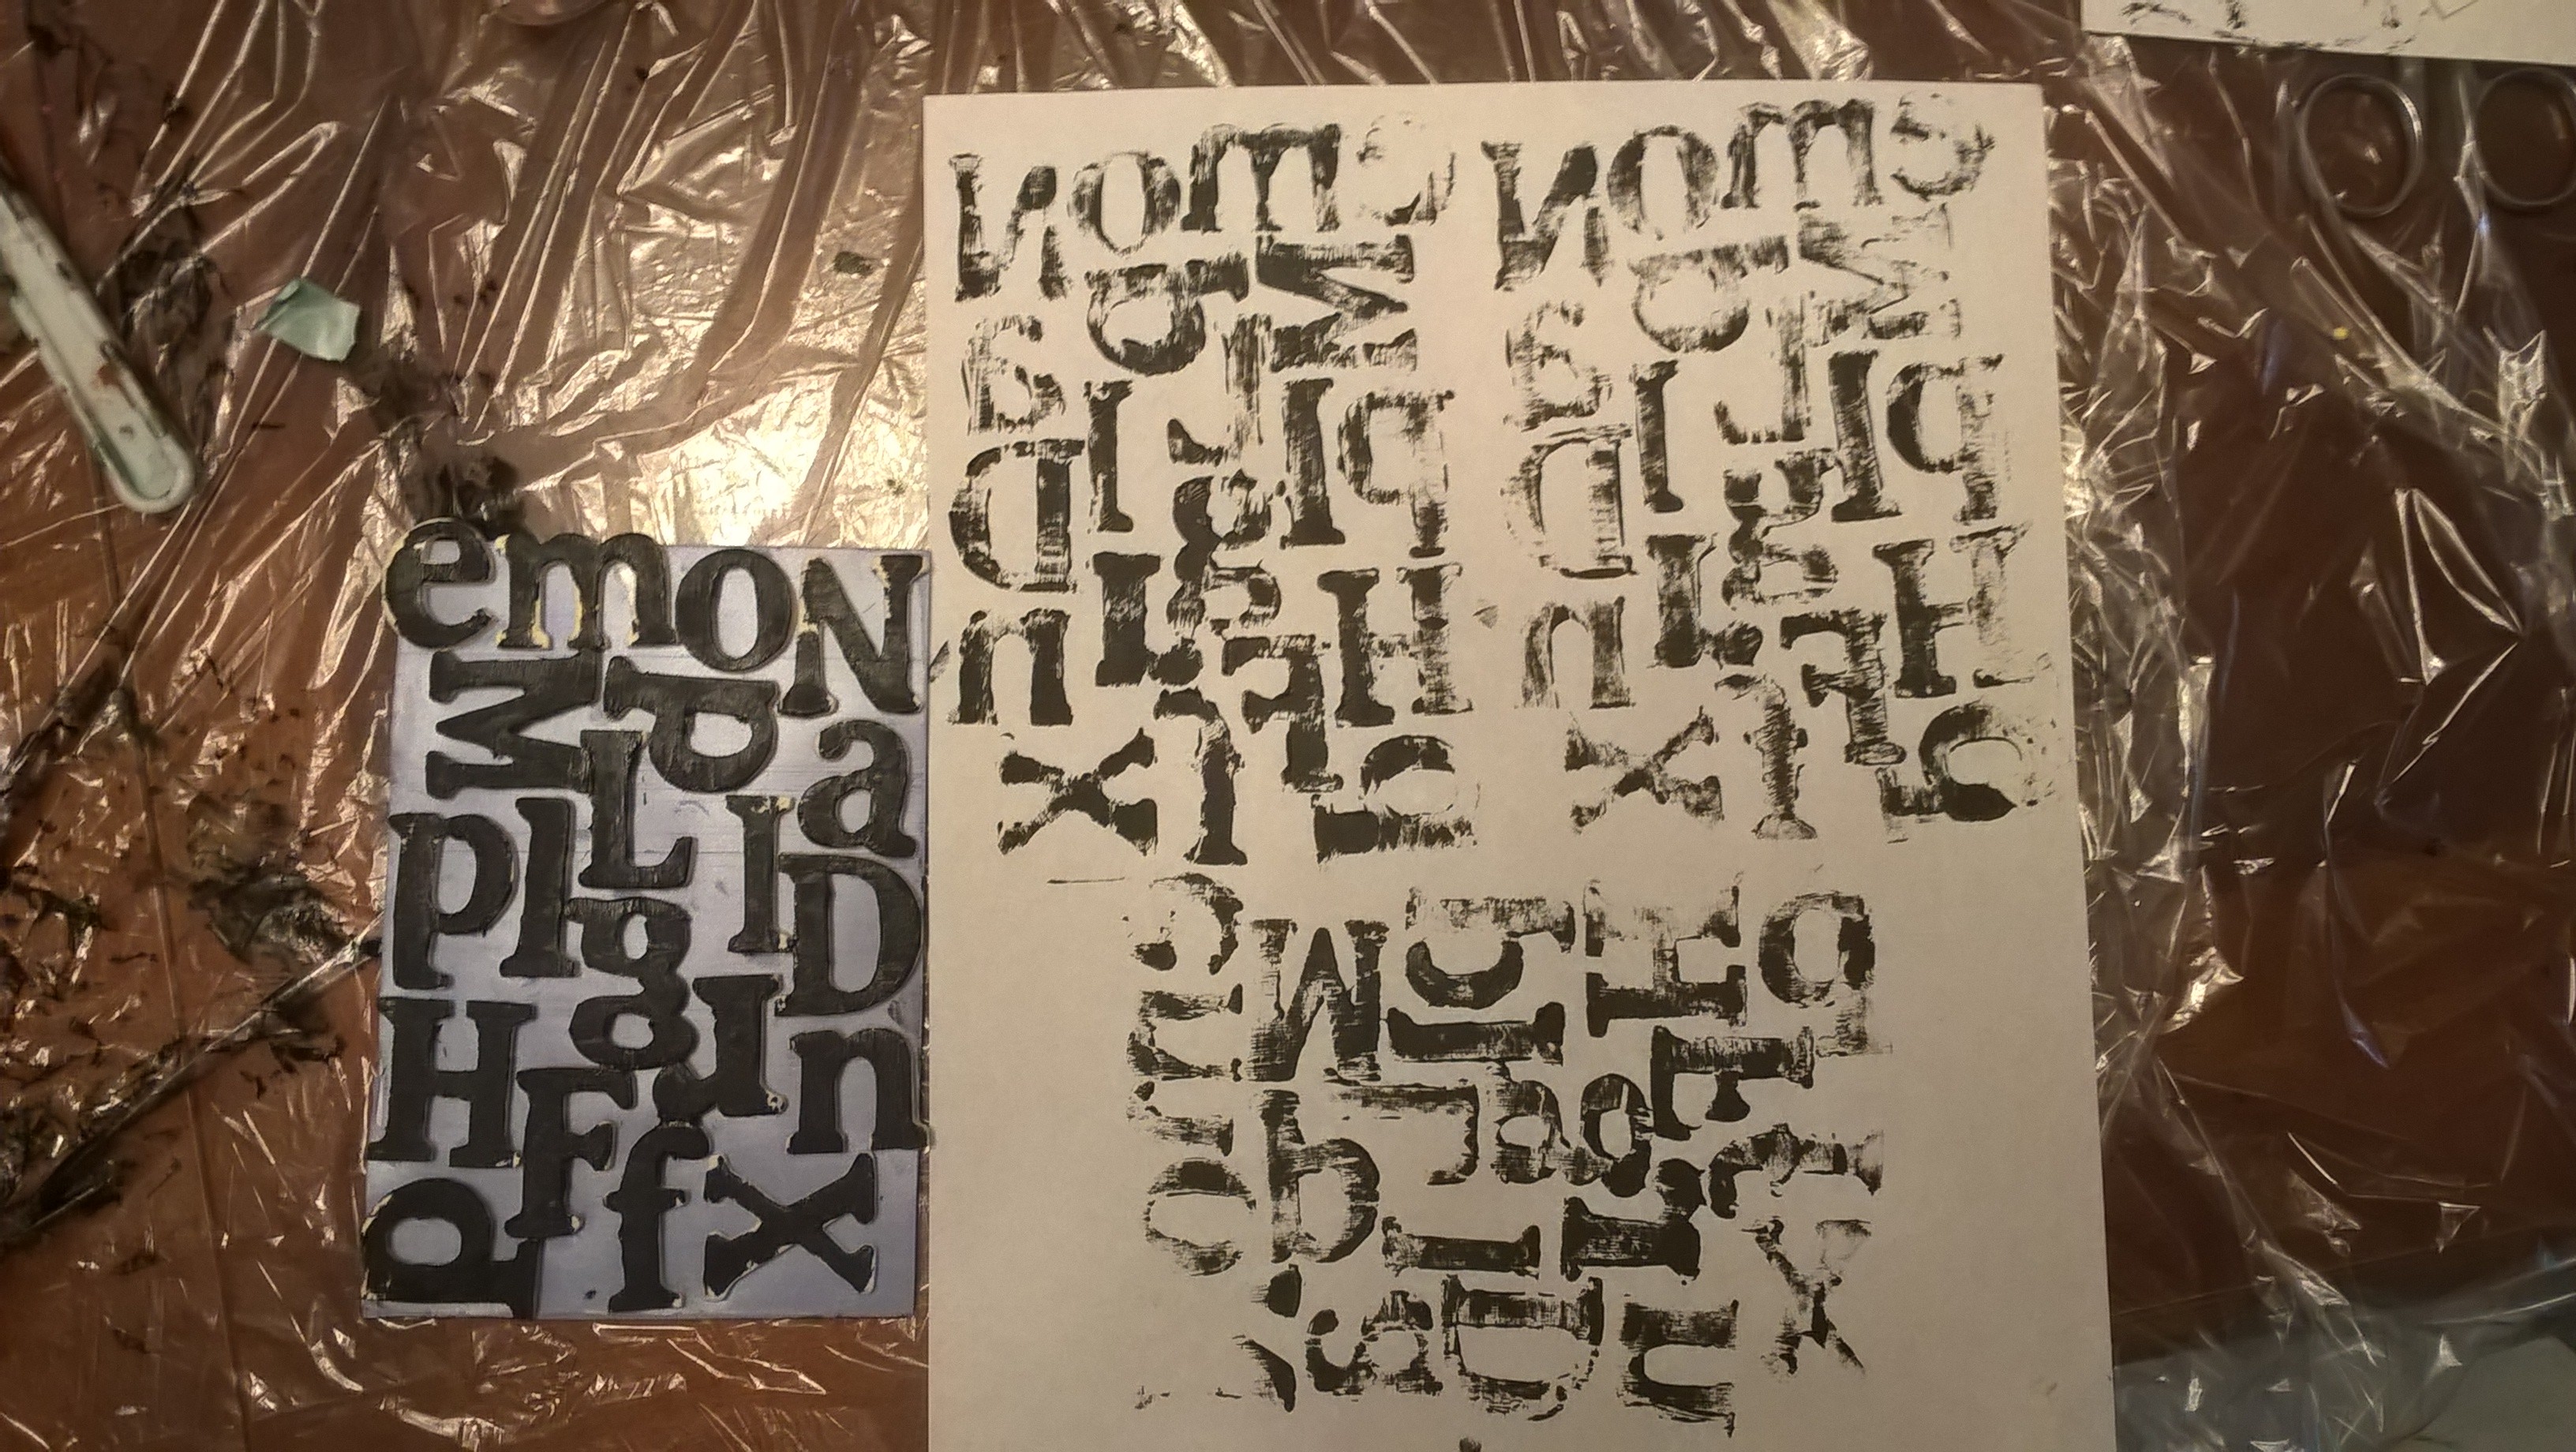
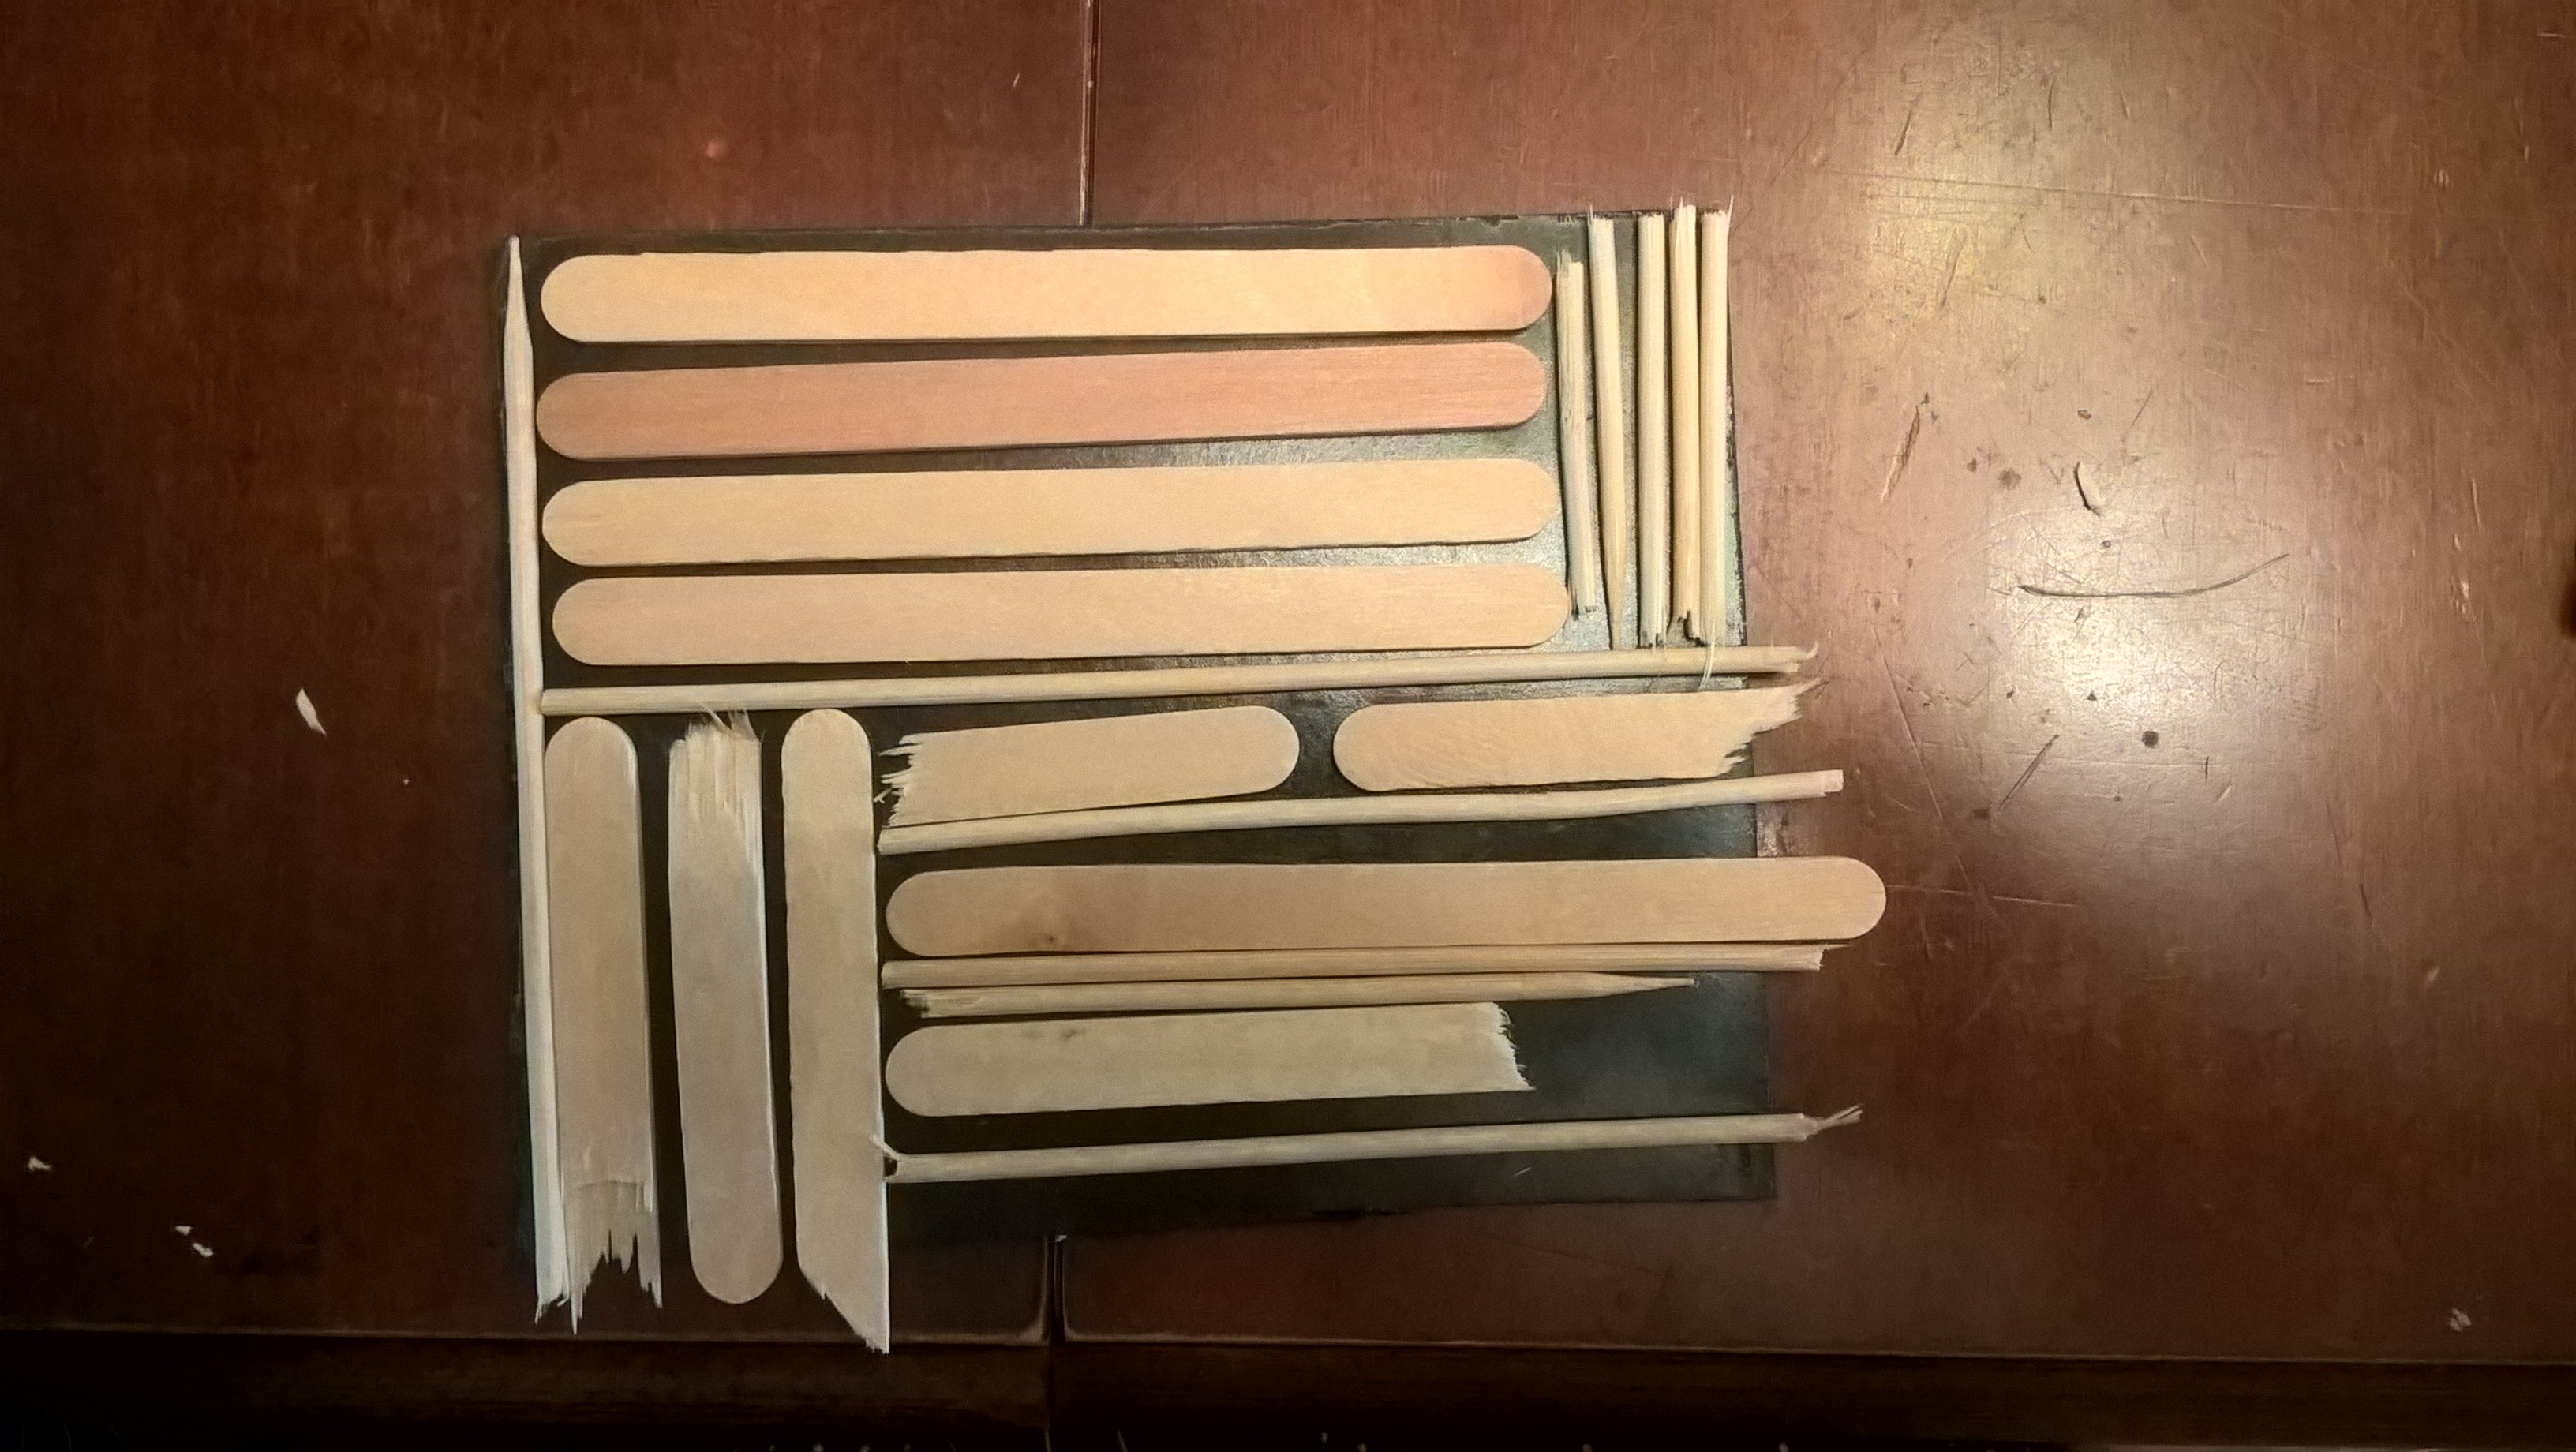
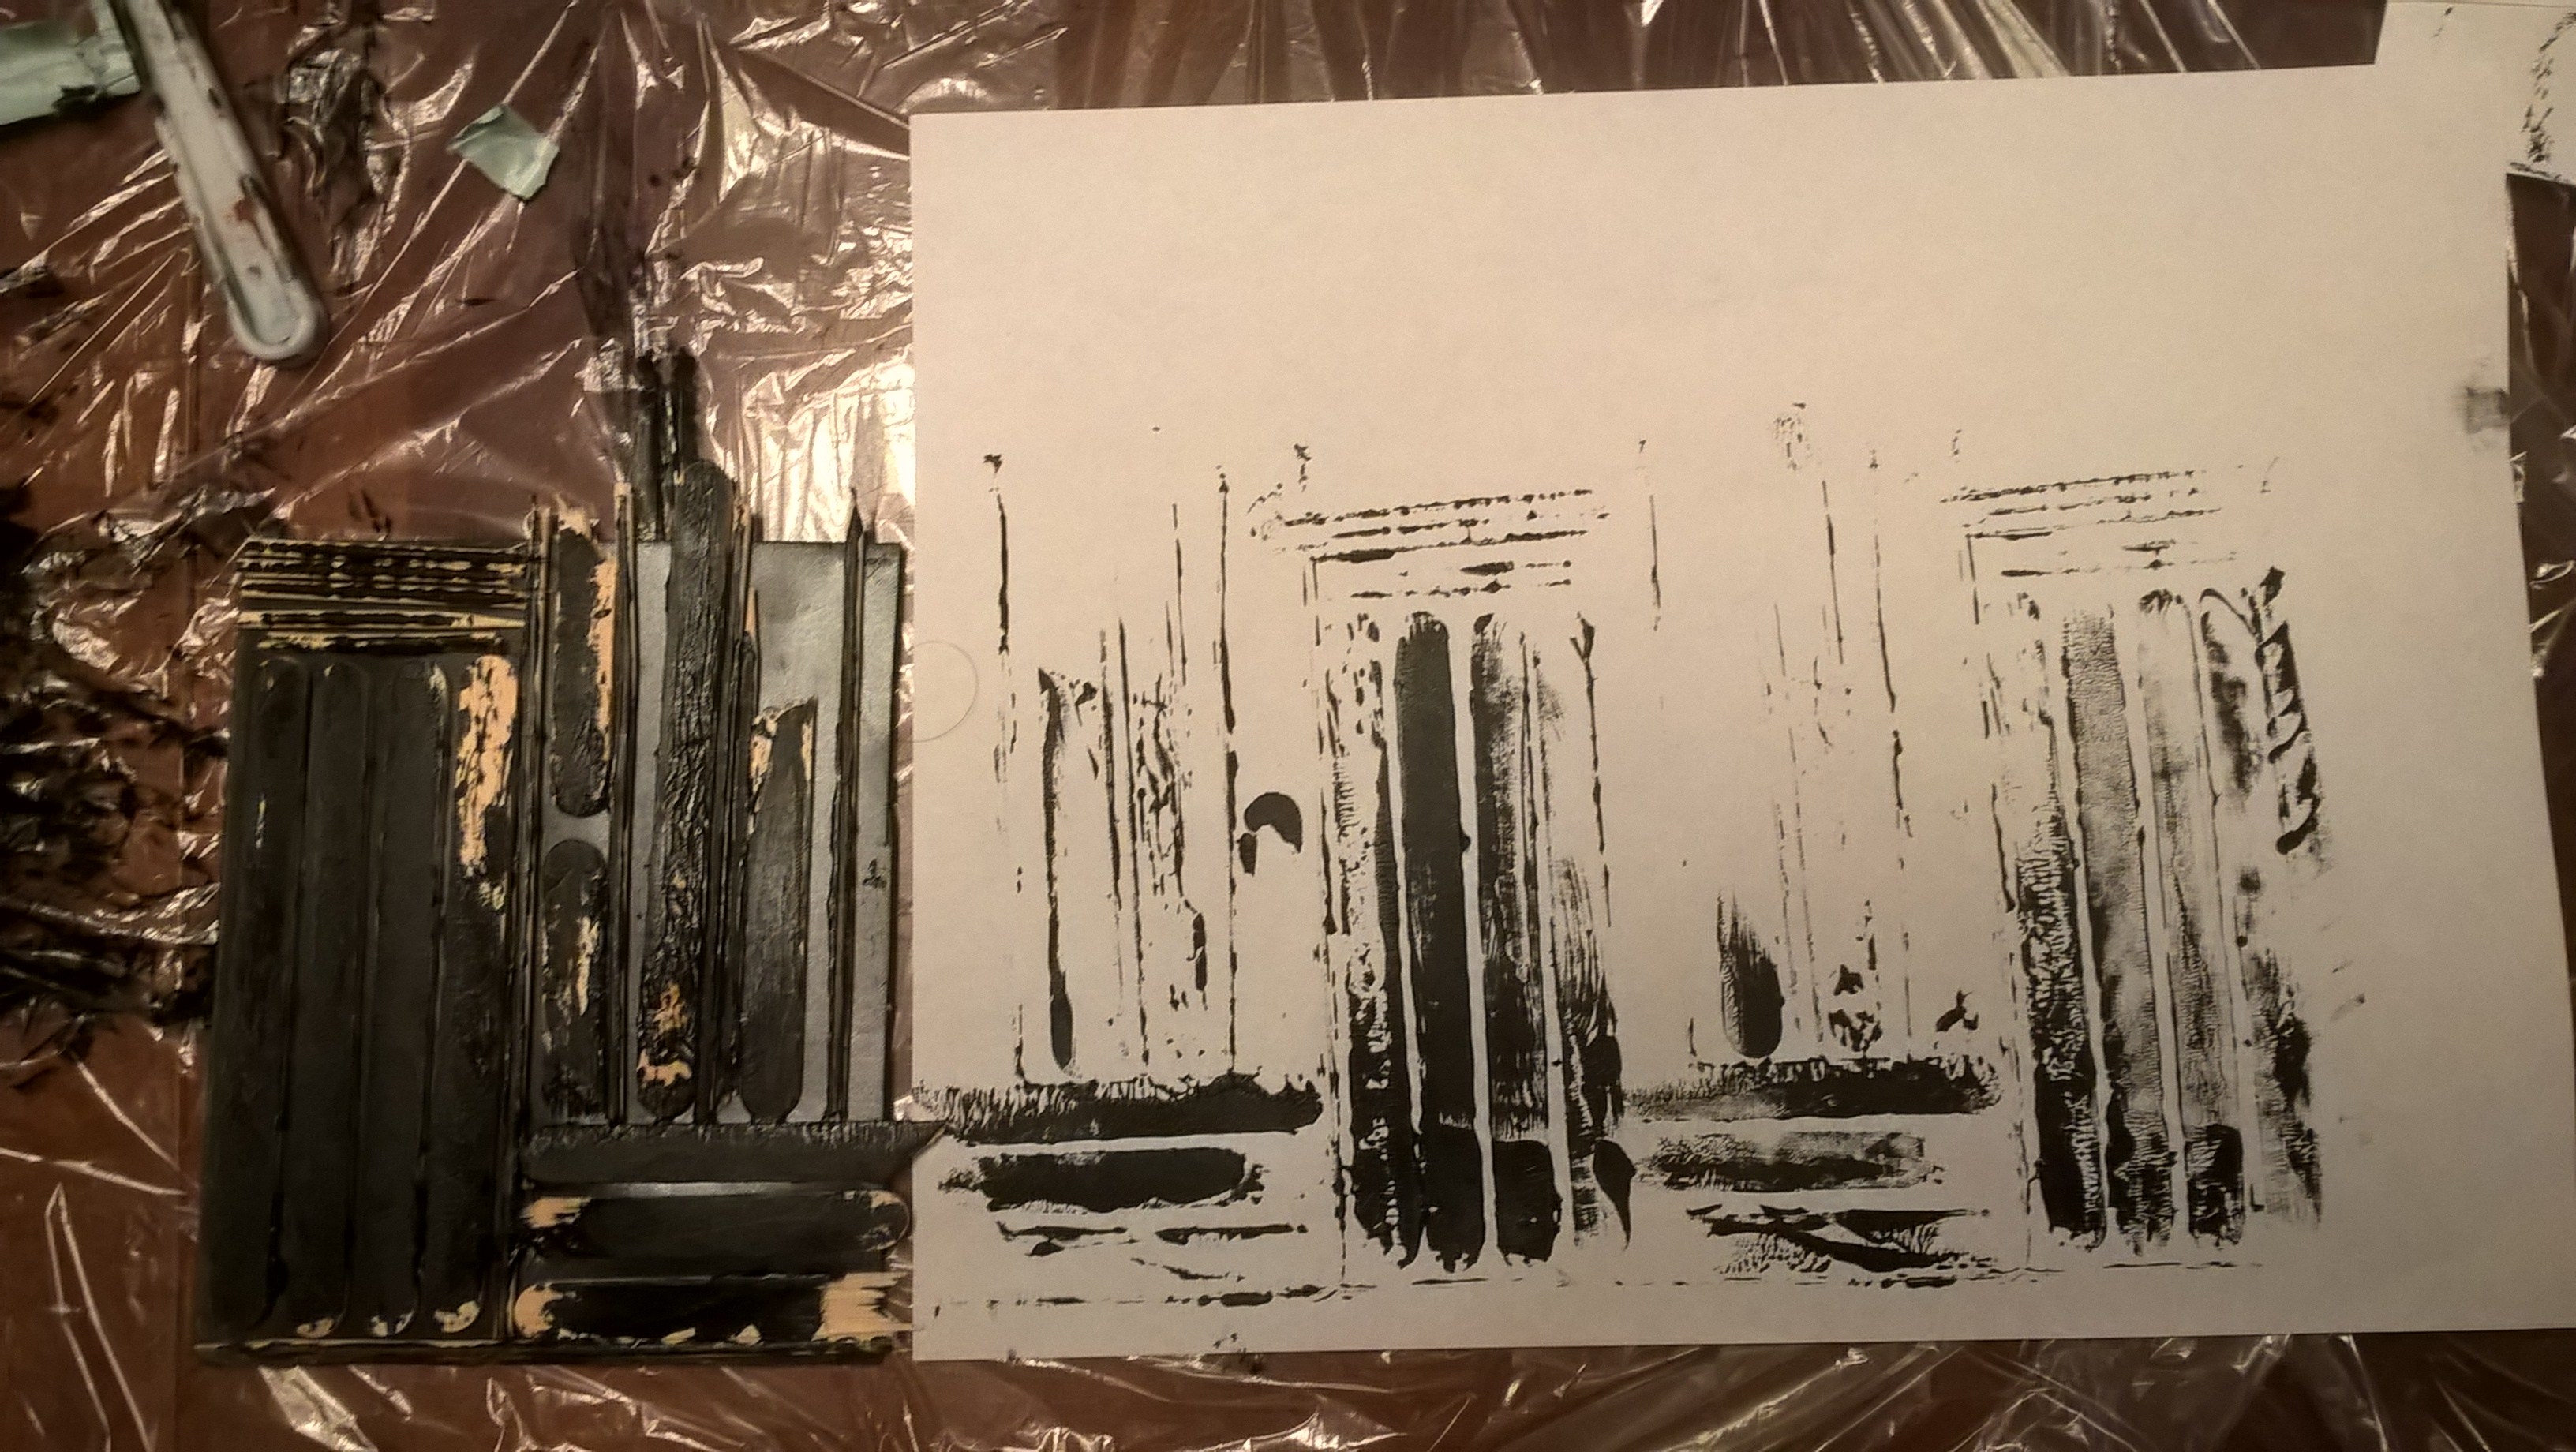
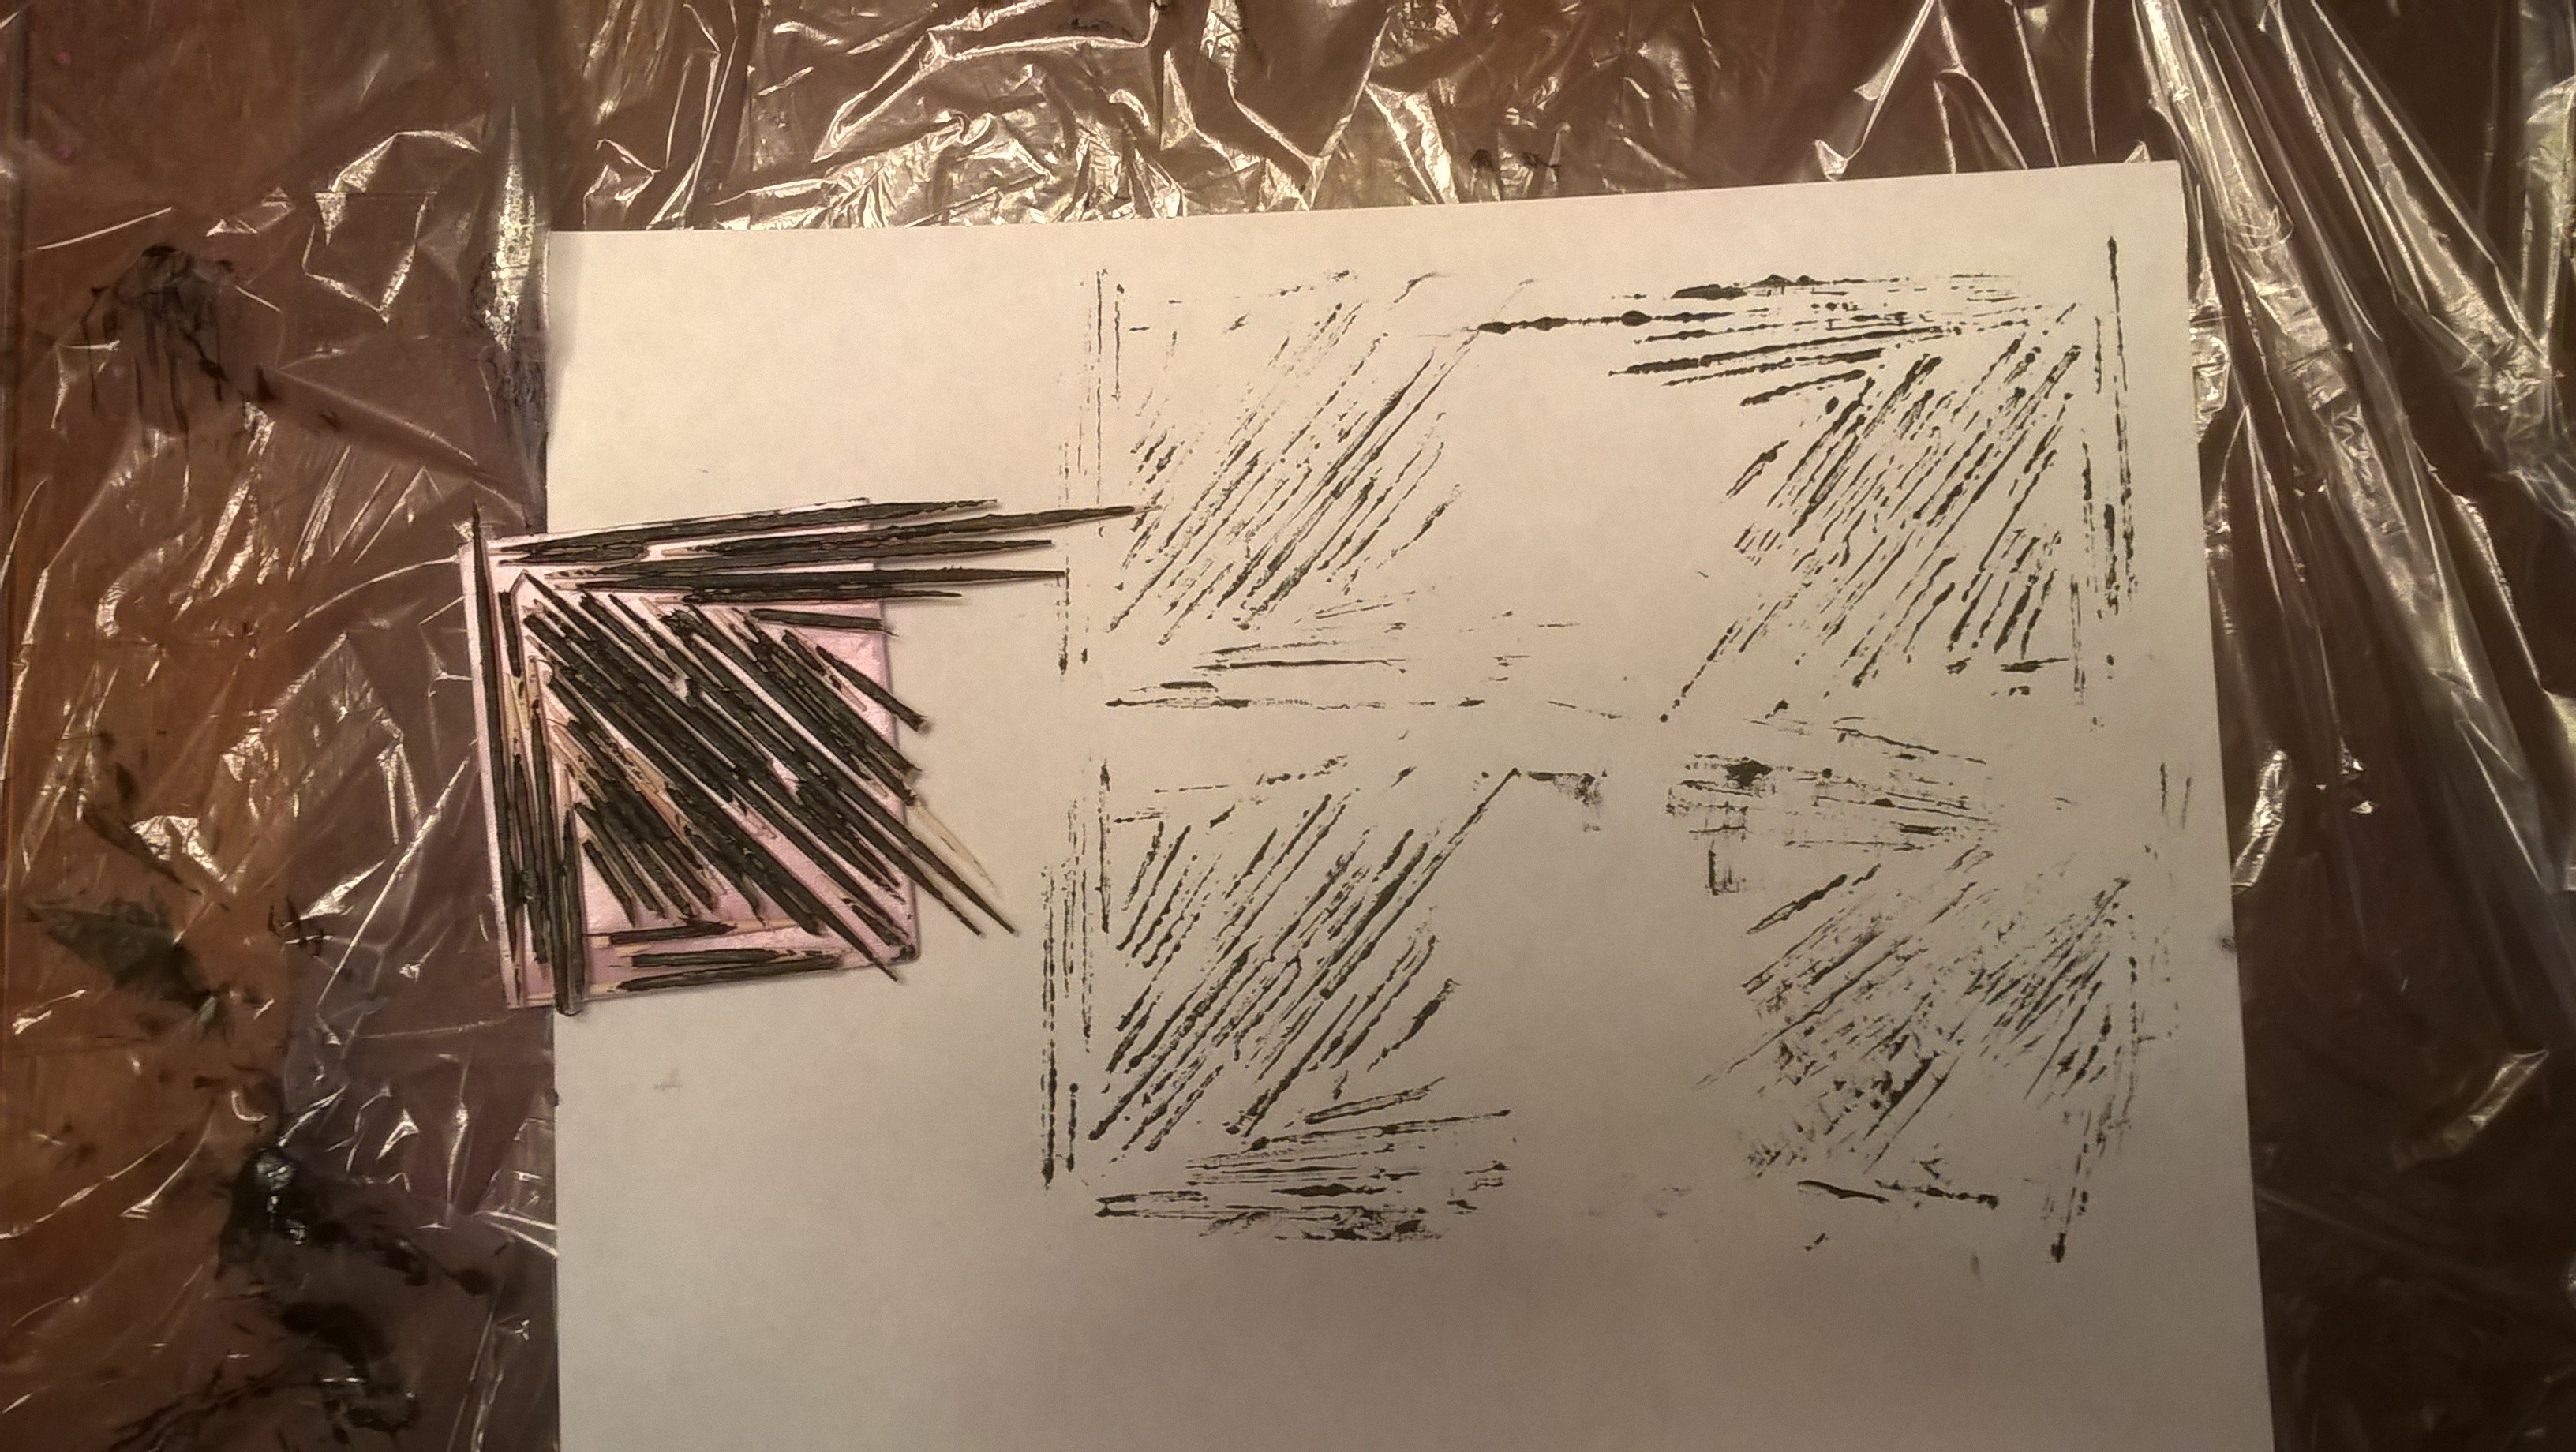
#6 Craft sticks and skewers
I created this with craft sticks and skewers but, wasn't so happy with how this came out since I see that you need to use materials of the same thickness to get an impression. The skewers are a bit thinner than the craft sticks and as a result they didn't get paint on them. I then realized that this idea of using the craft sticks would actually make a great fence.
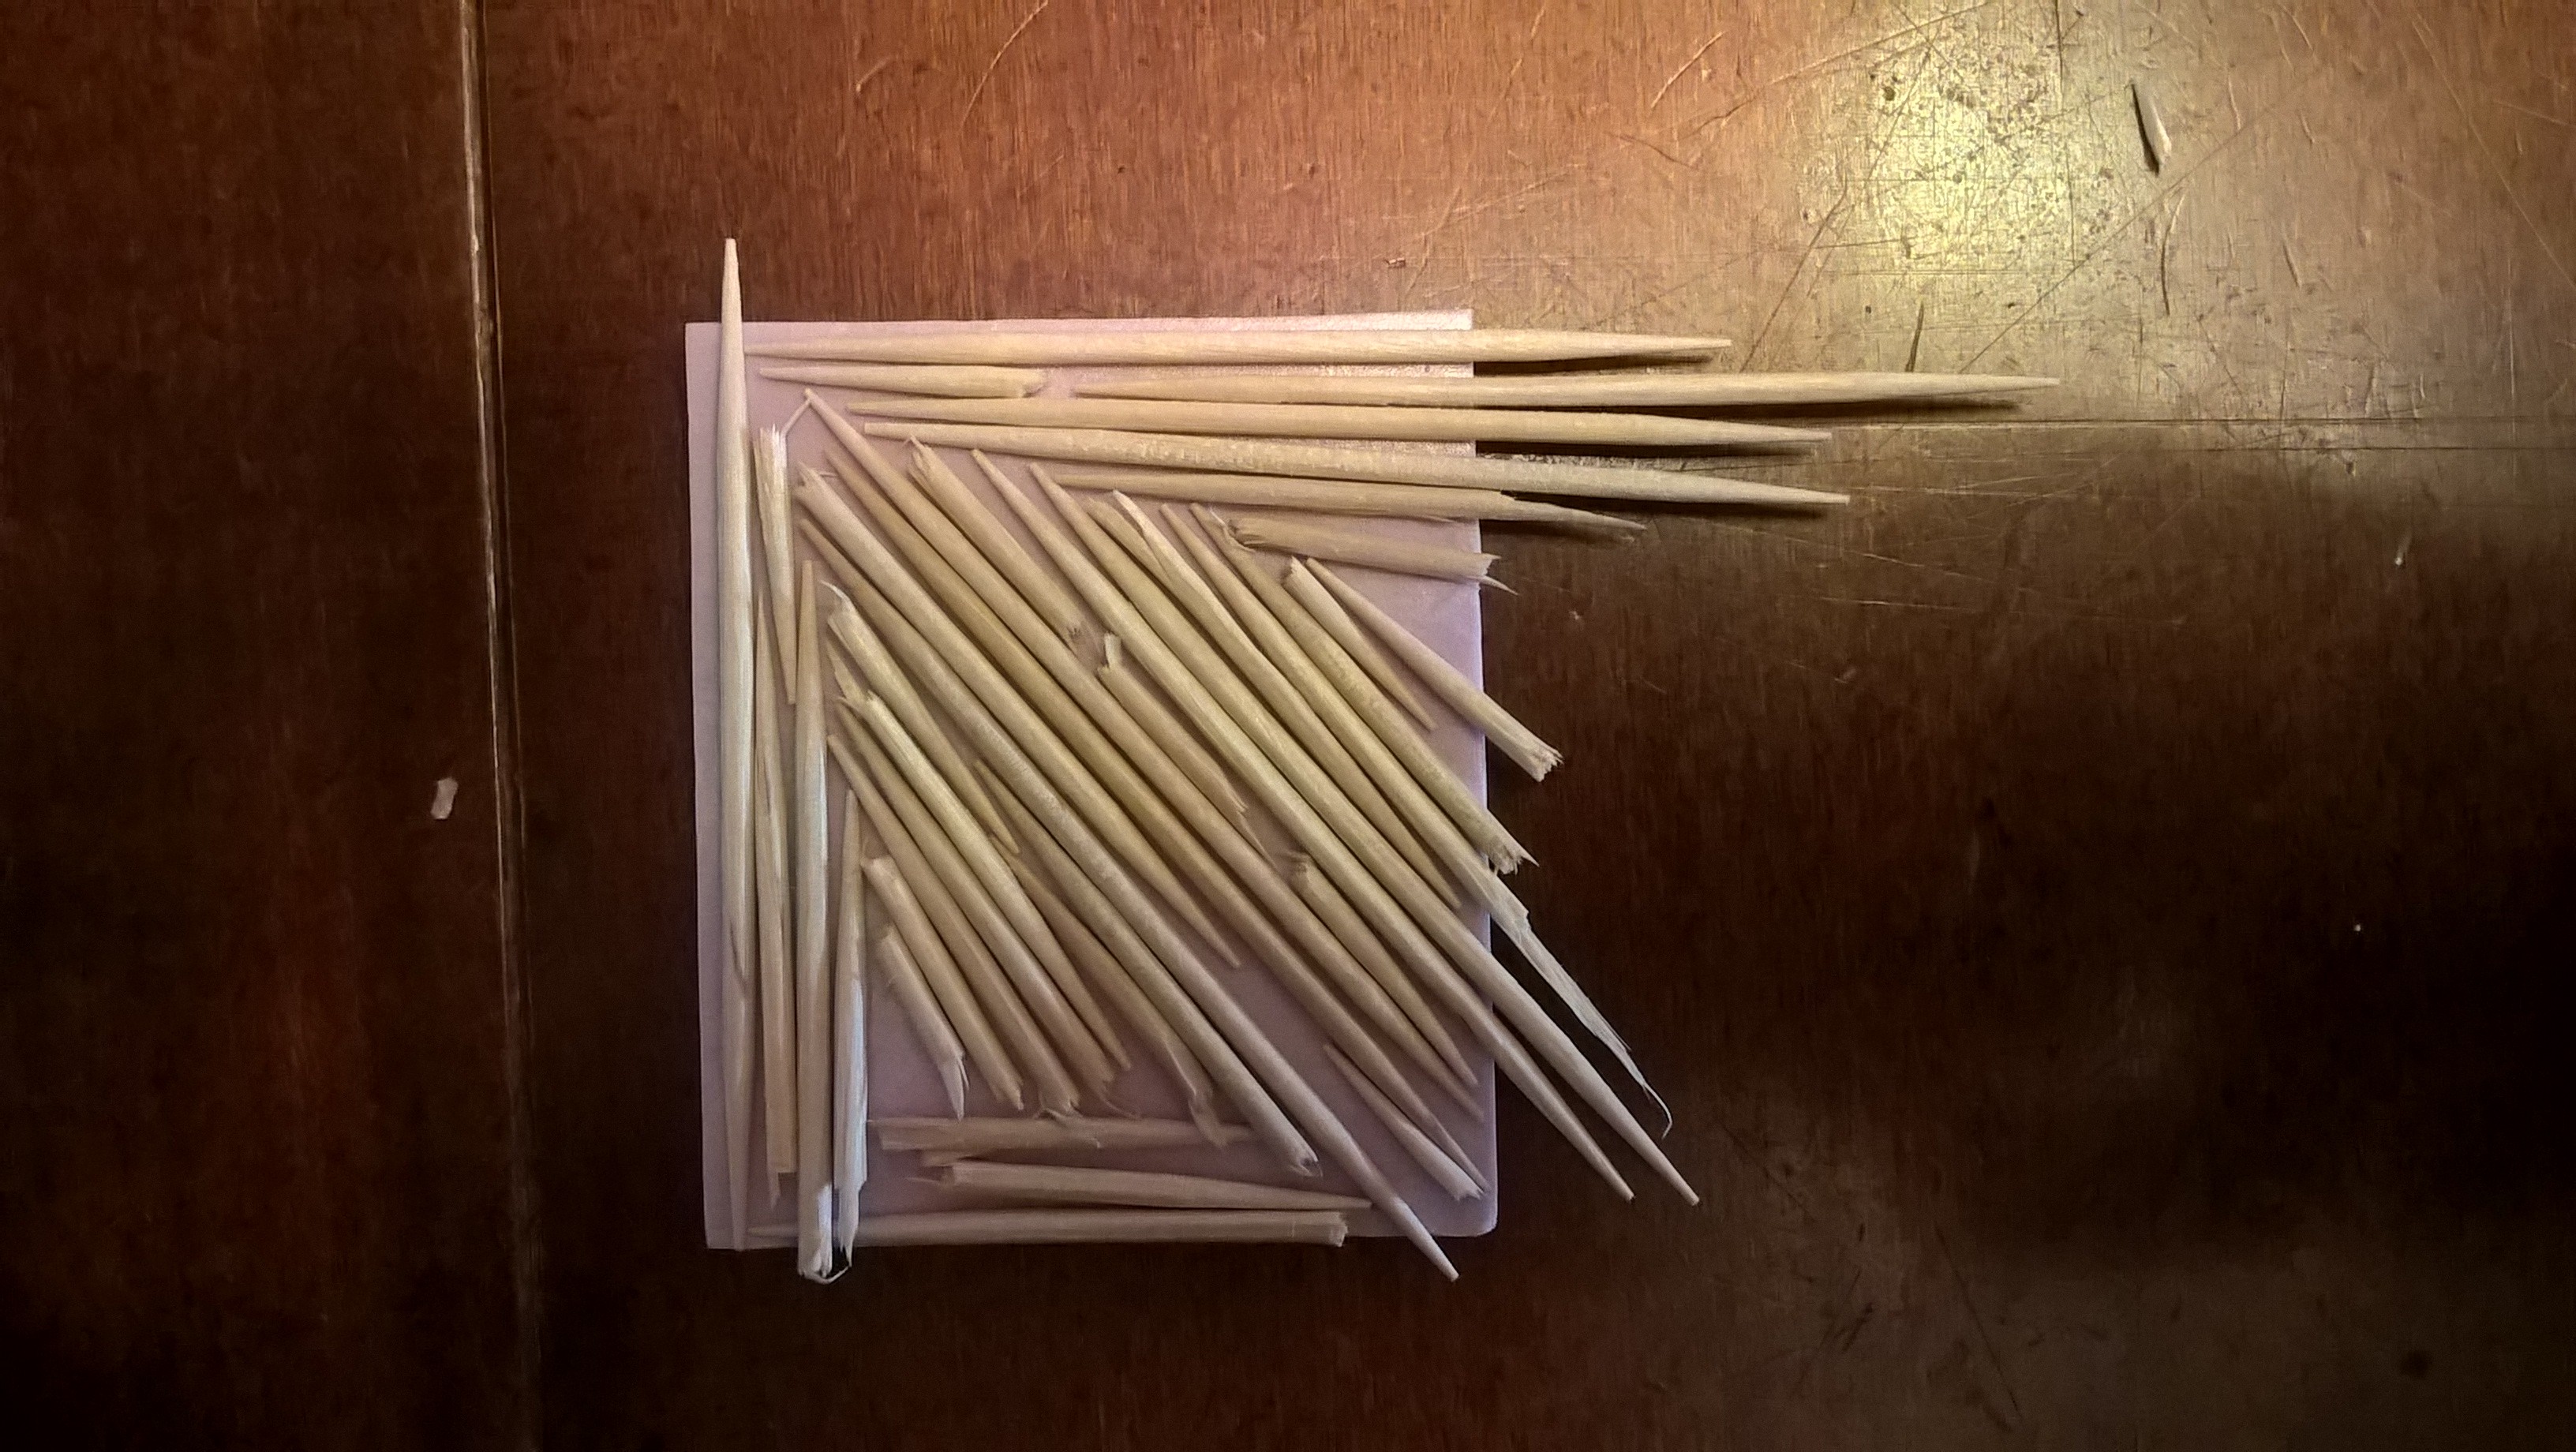
#7 Toothpicks
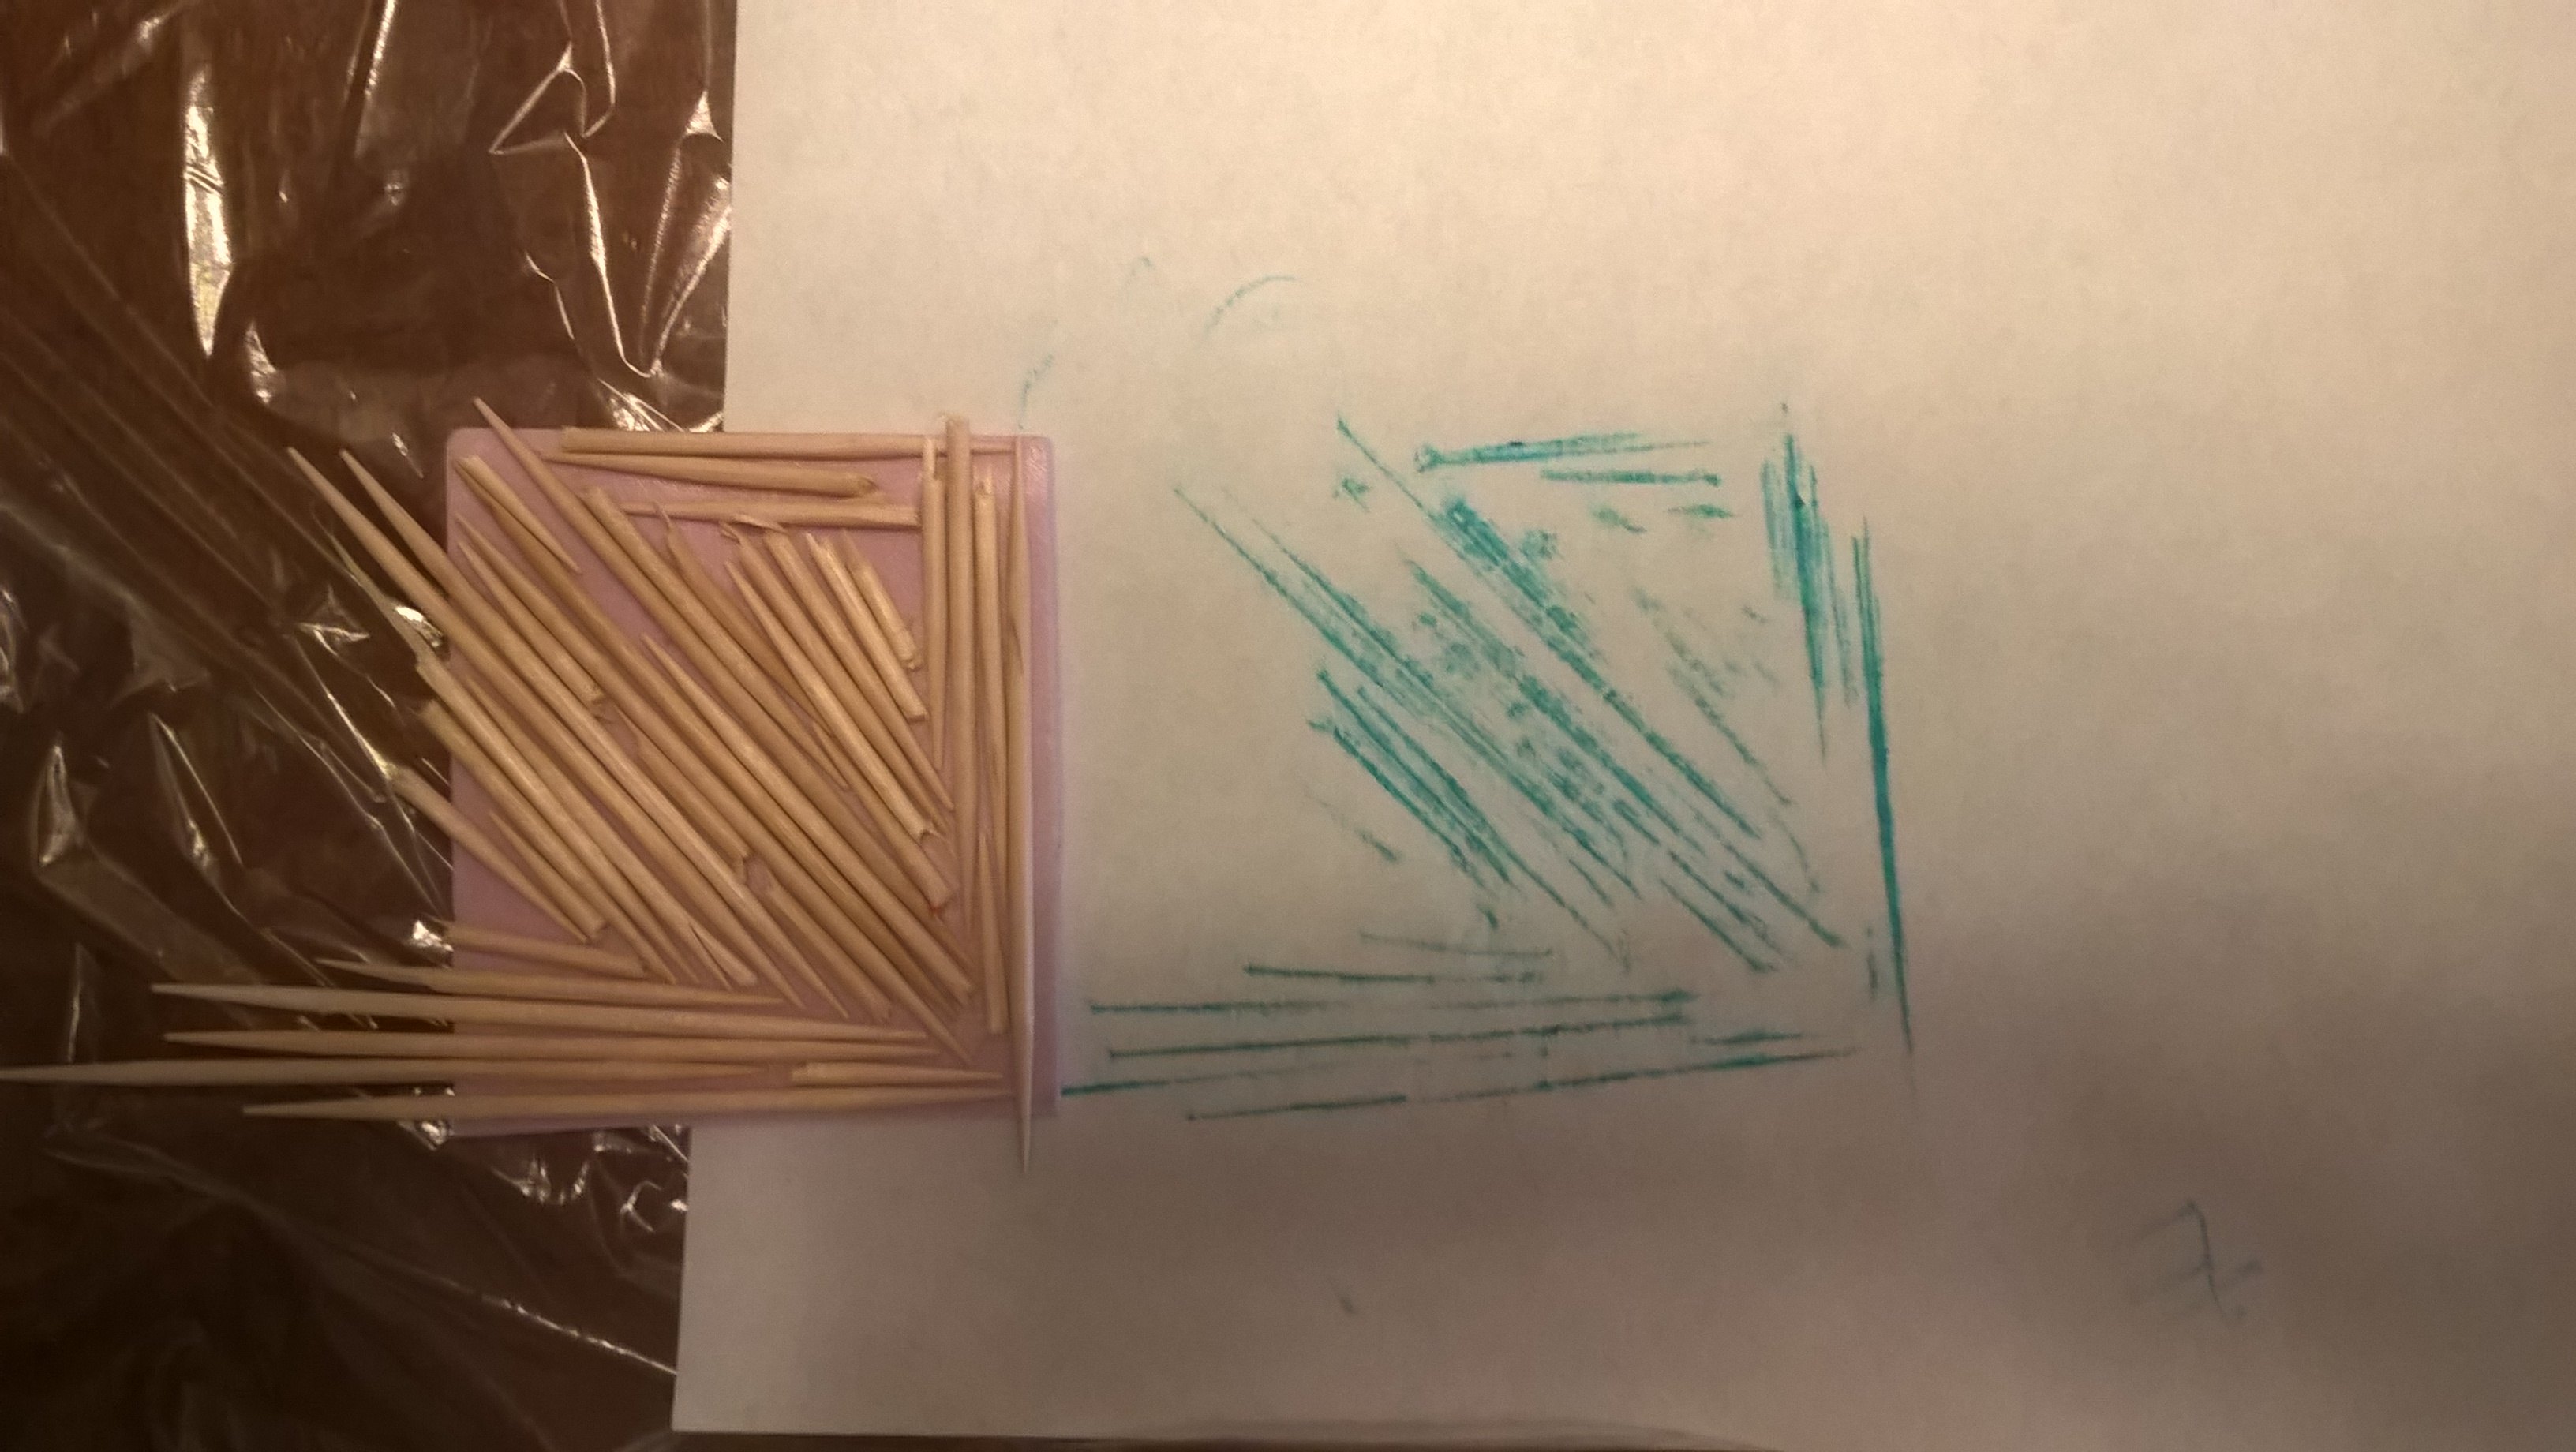
When I realized that the wooden pieces need to be of same thickness to work I created a separate smaller plate with toothpicks only.
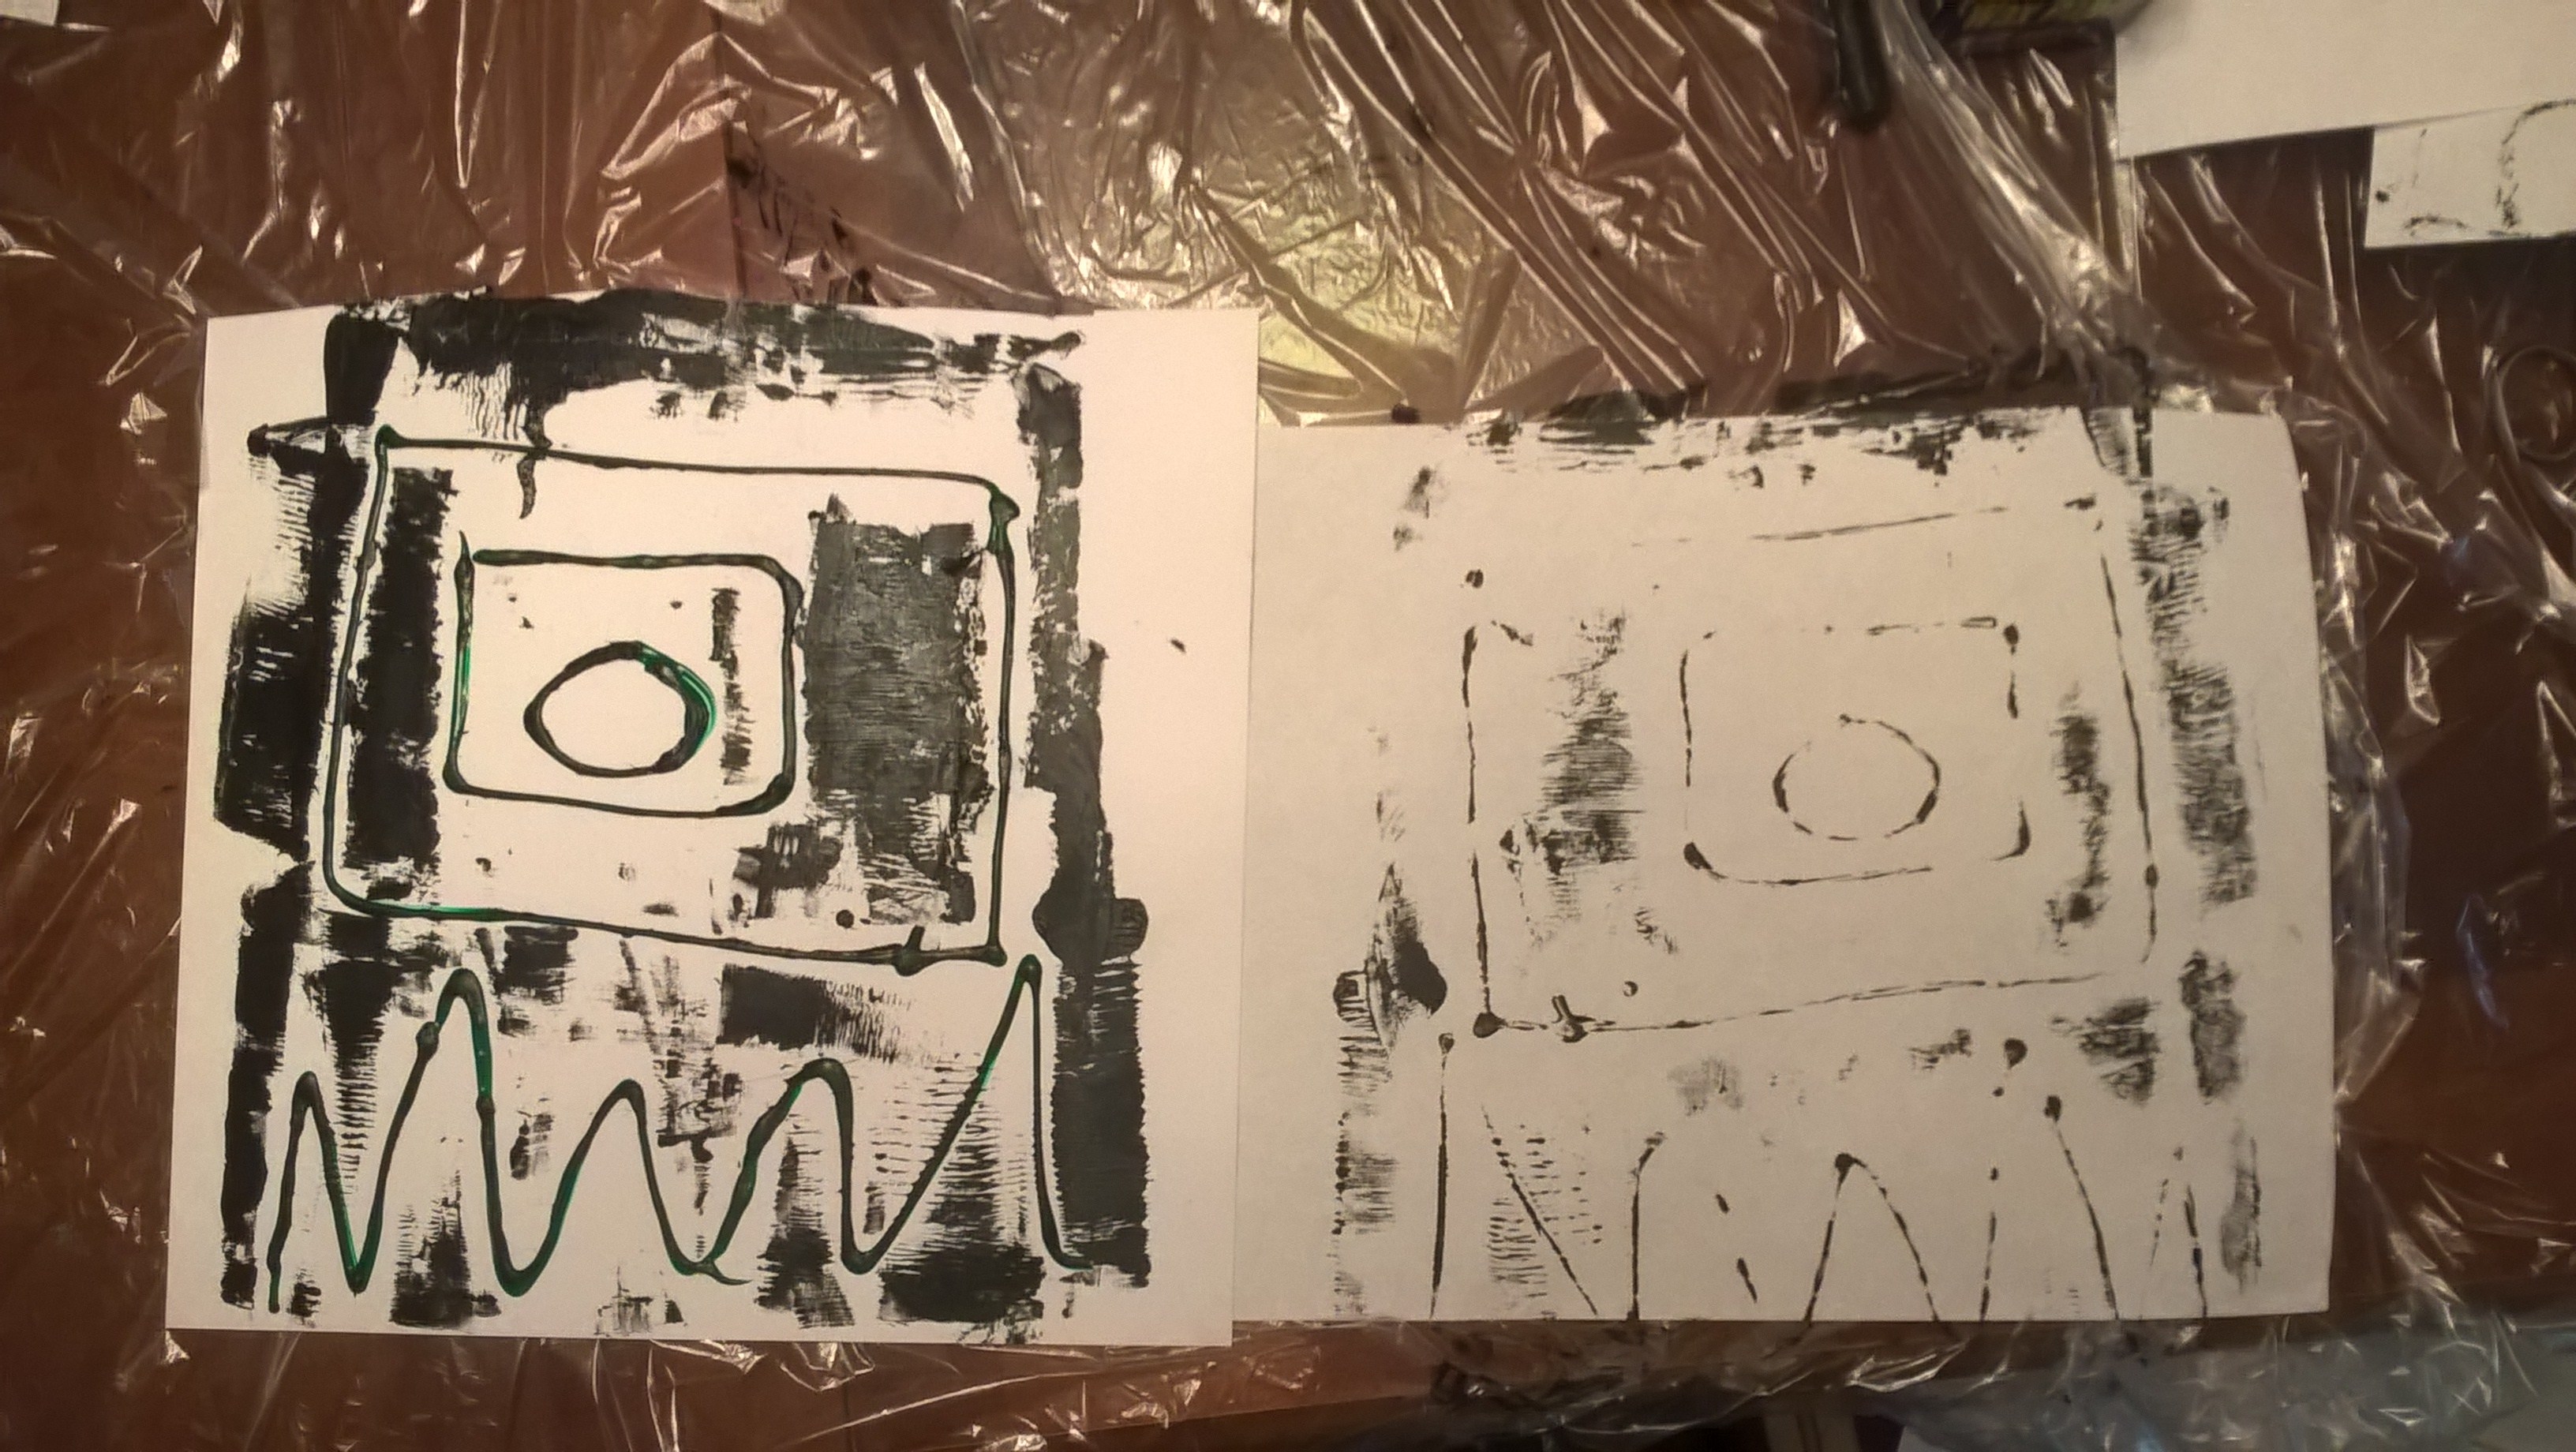
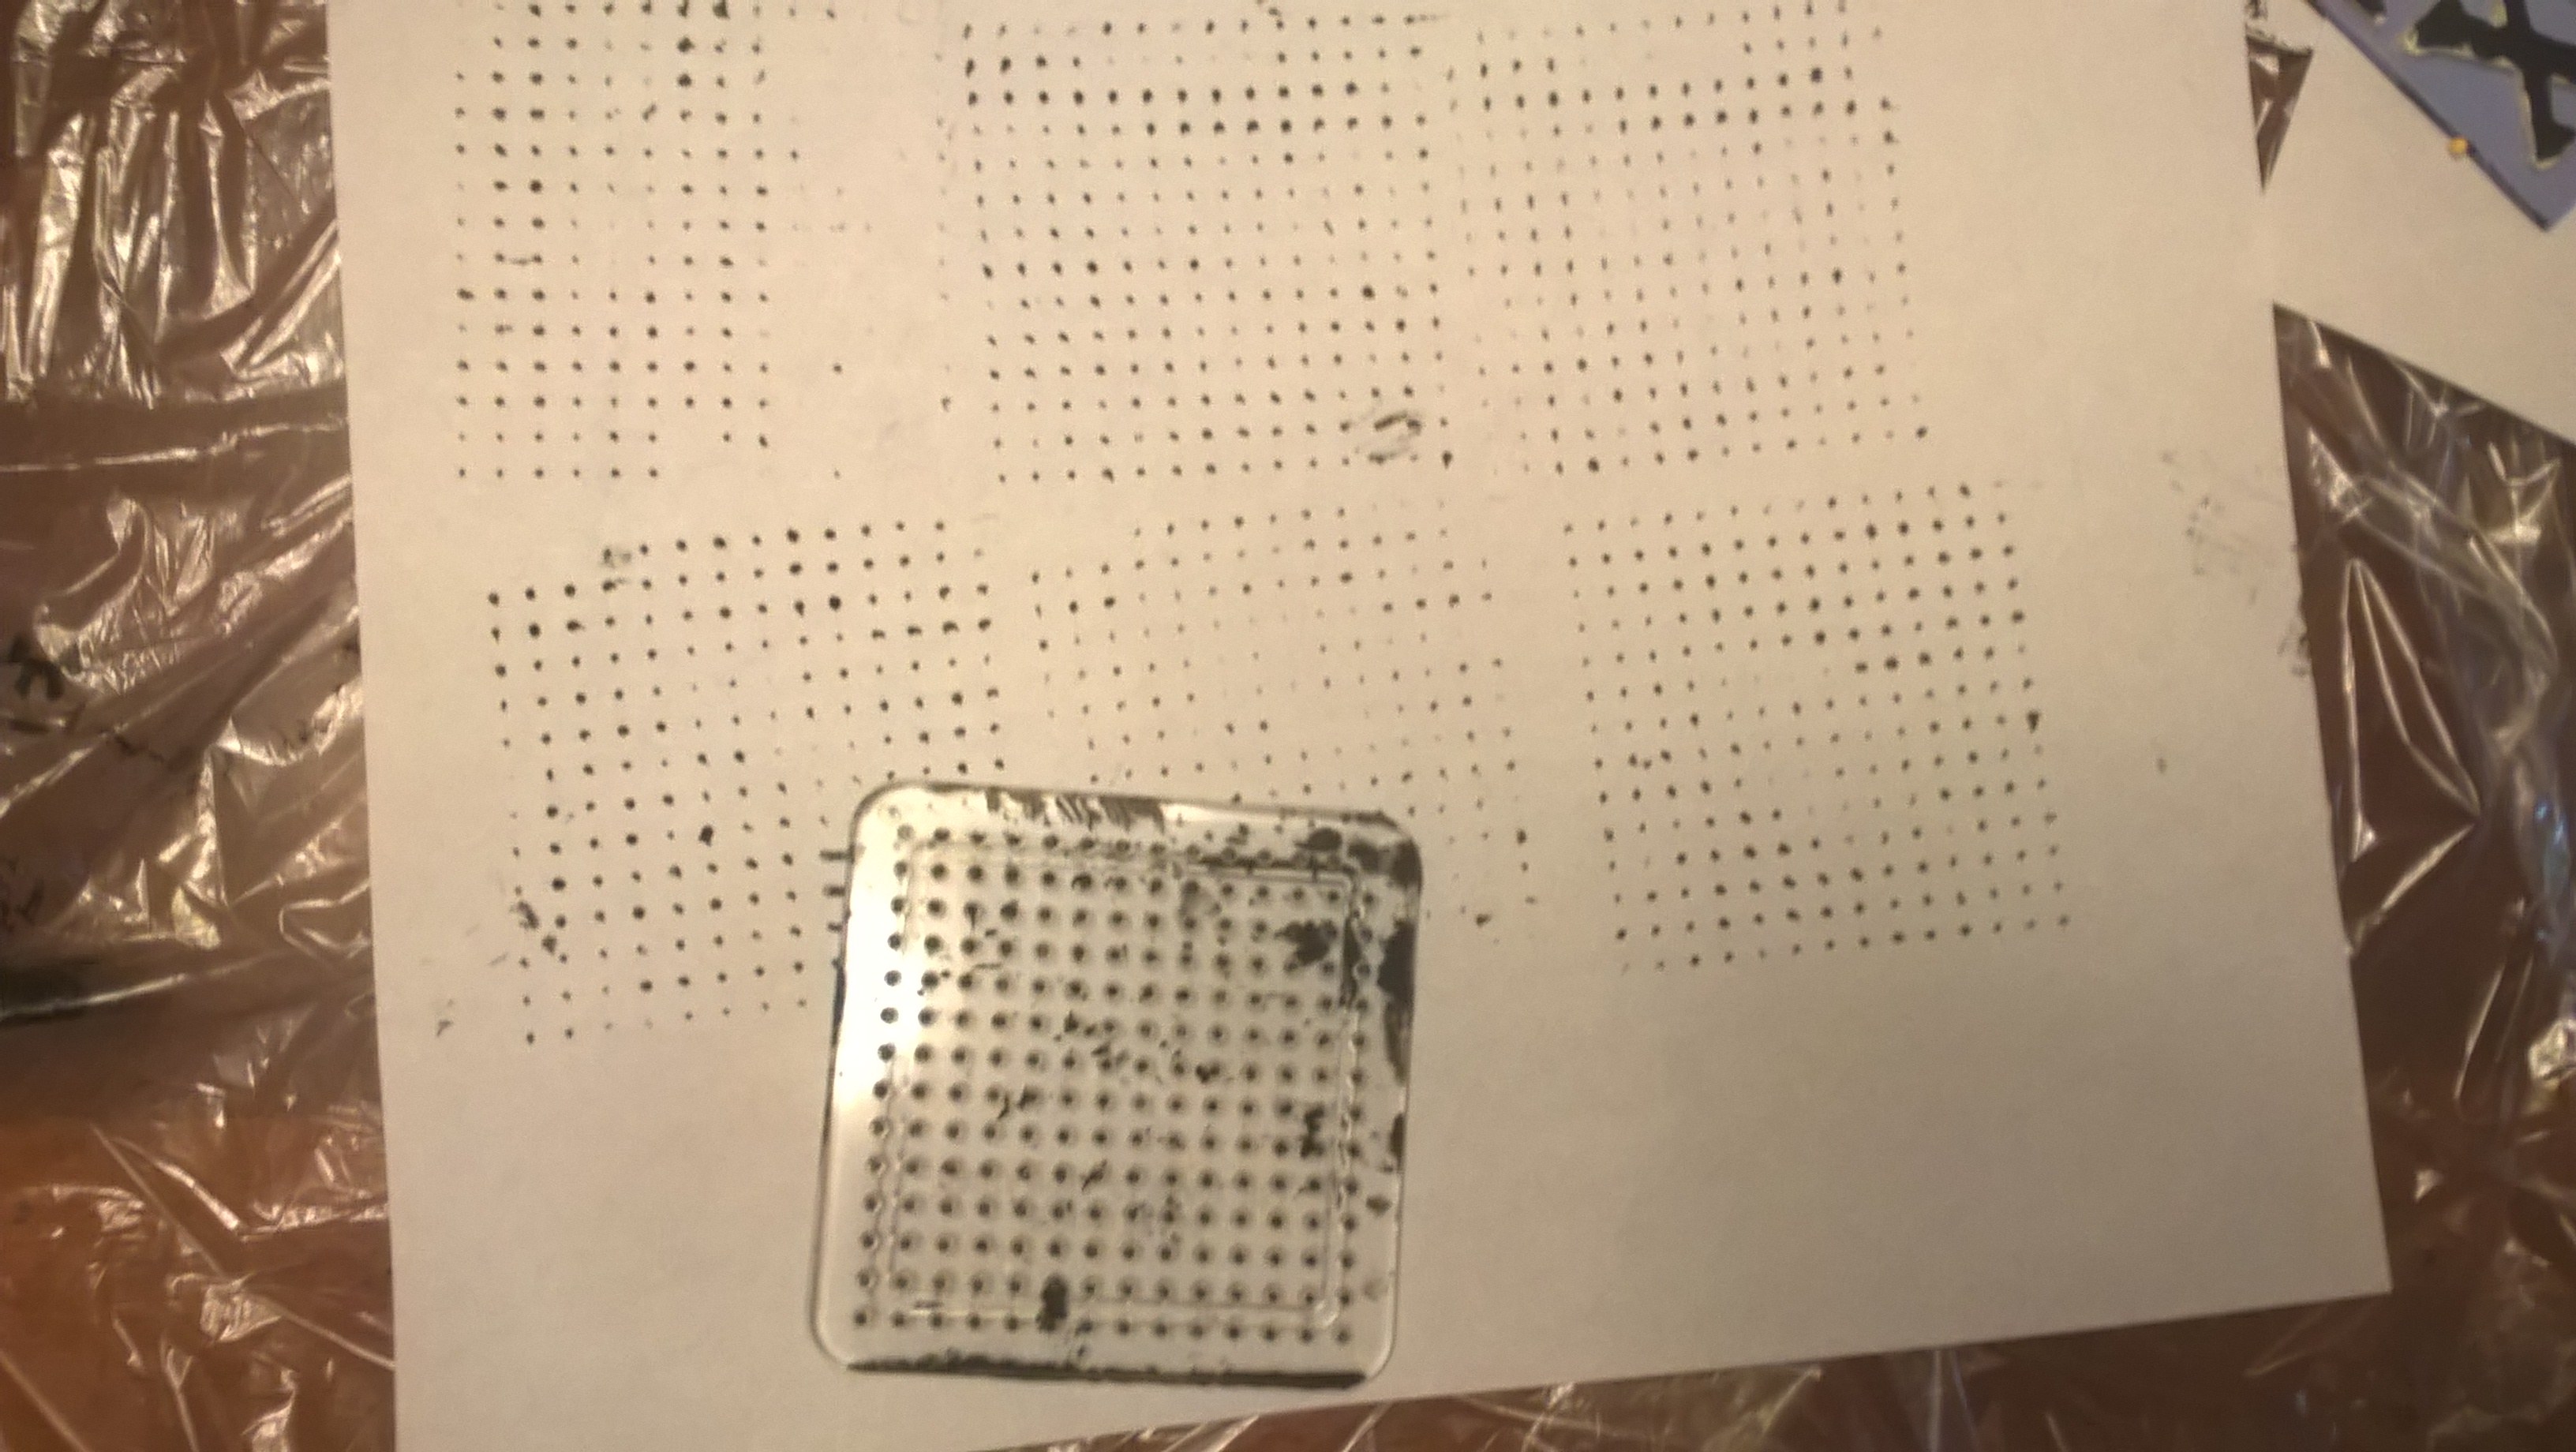
#8 Fabric or dimensional paint
The one on the left was dried dimensional paint.I drew on the background with the paint which gets hard and raised when dry. However, It didn't stick out enough to get a clean copy. (works better with a rubbing as you'll see further on). The image on the right was some piece from a toy that I found floating around my house and figured that I could put it to good use.(makes a nice dot pattern)
Relief Printing
Relief printing as I understand it is when an item is etched or engraved, ink or paint is rolled over it and it is used as a printing plate. It's also called block printing but, when you etch into something it forms a relief print.(as opposed to something sticking out like a stamp)
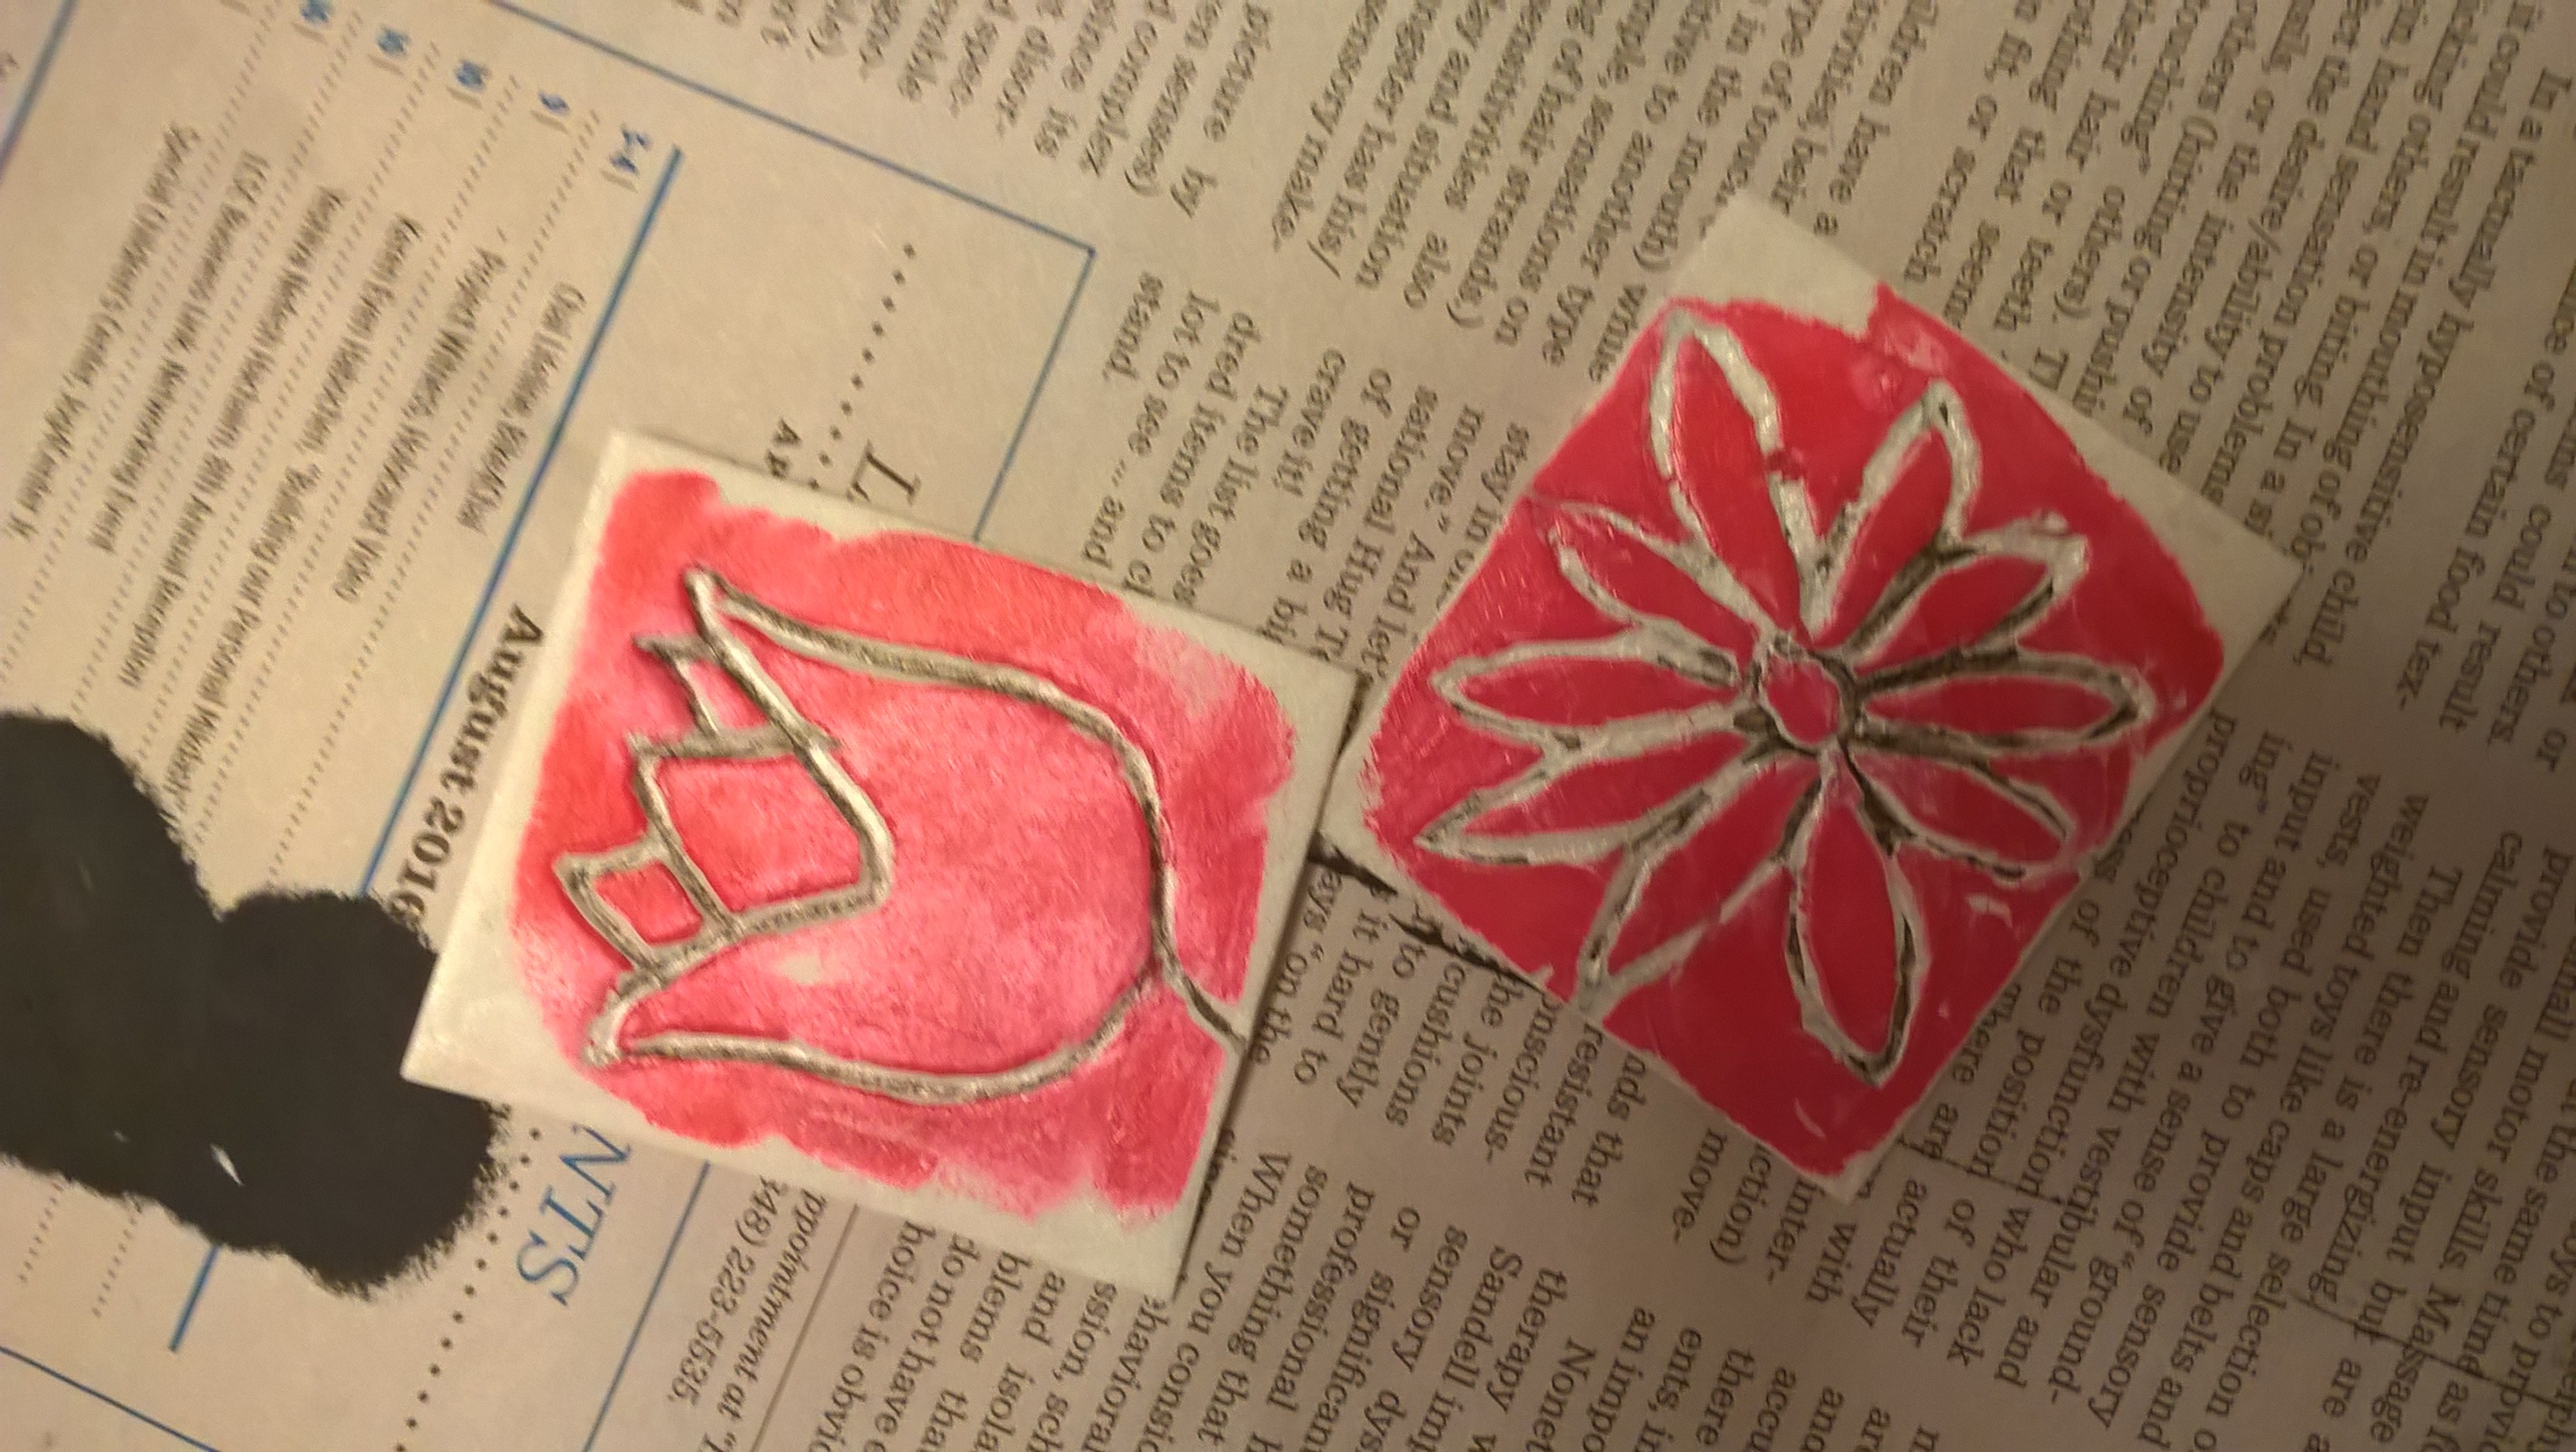
For this type I used inovart printfoam that is a soft, but dense foam material. You make an impression on it with a pencil, stick, or other object. The surface is so sensitive that any shape can be pressed into it for printing textures.
I decided to use a black background and white paint. (I painted a background black as I did not have any natural black backgrounds handy). I wanted to do a whole series of small square pieces onto the black background. As I wanted a specific theme, I chose flowers and scratched a few simple flowers onto the foam. I then rolled out some white paint onto a piece of plexiglass.
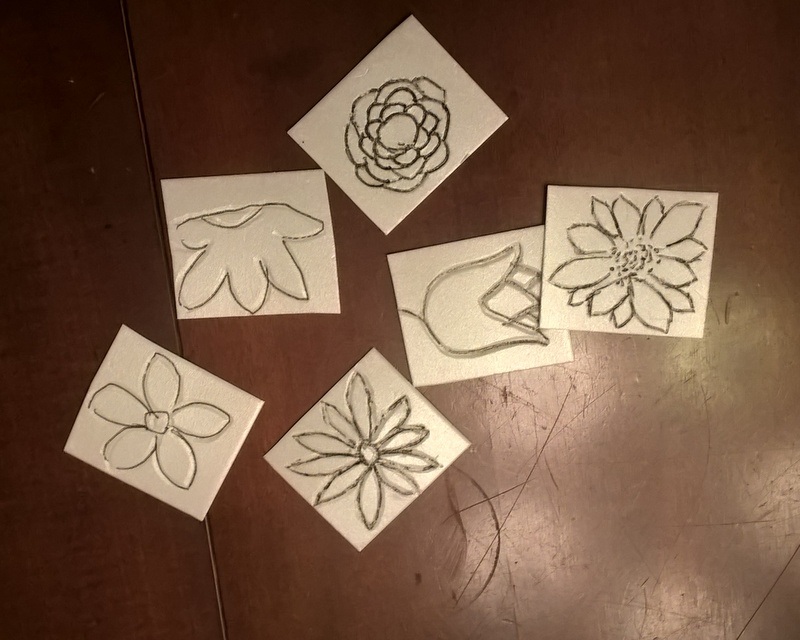

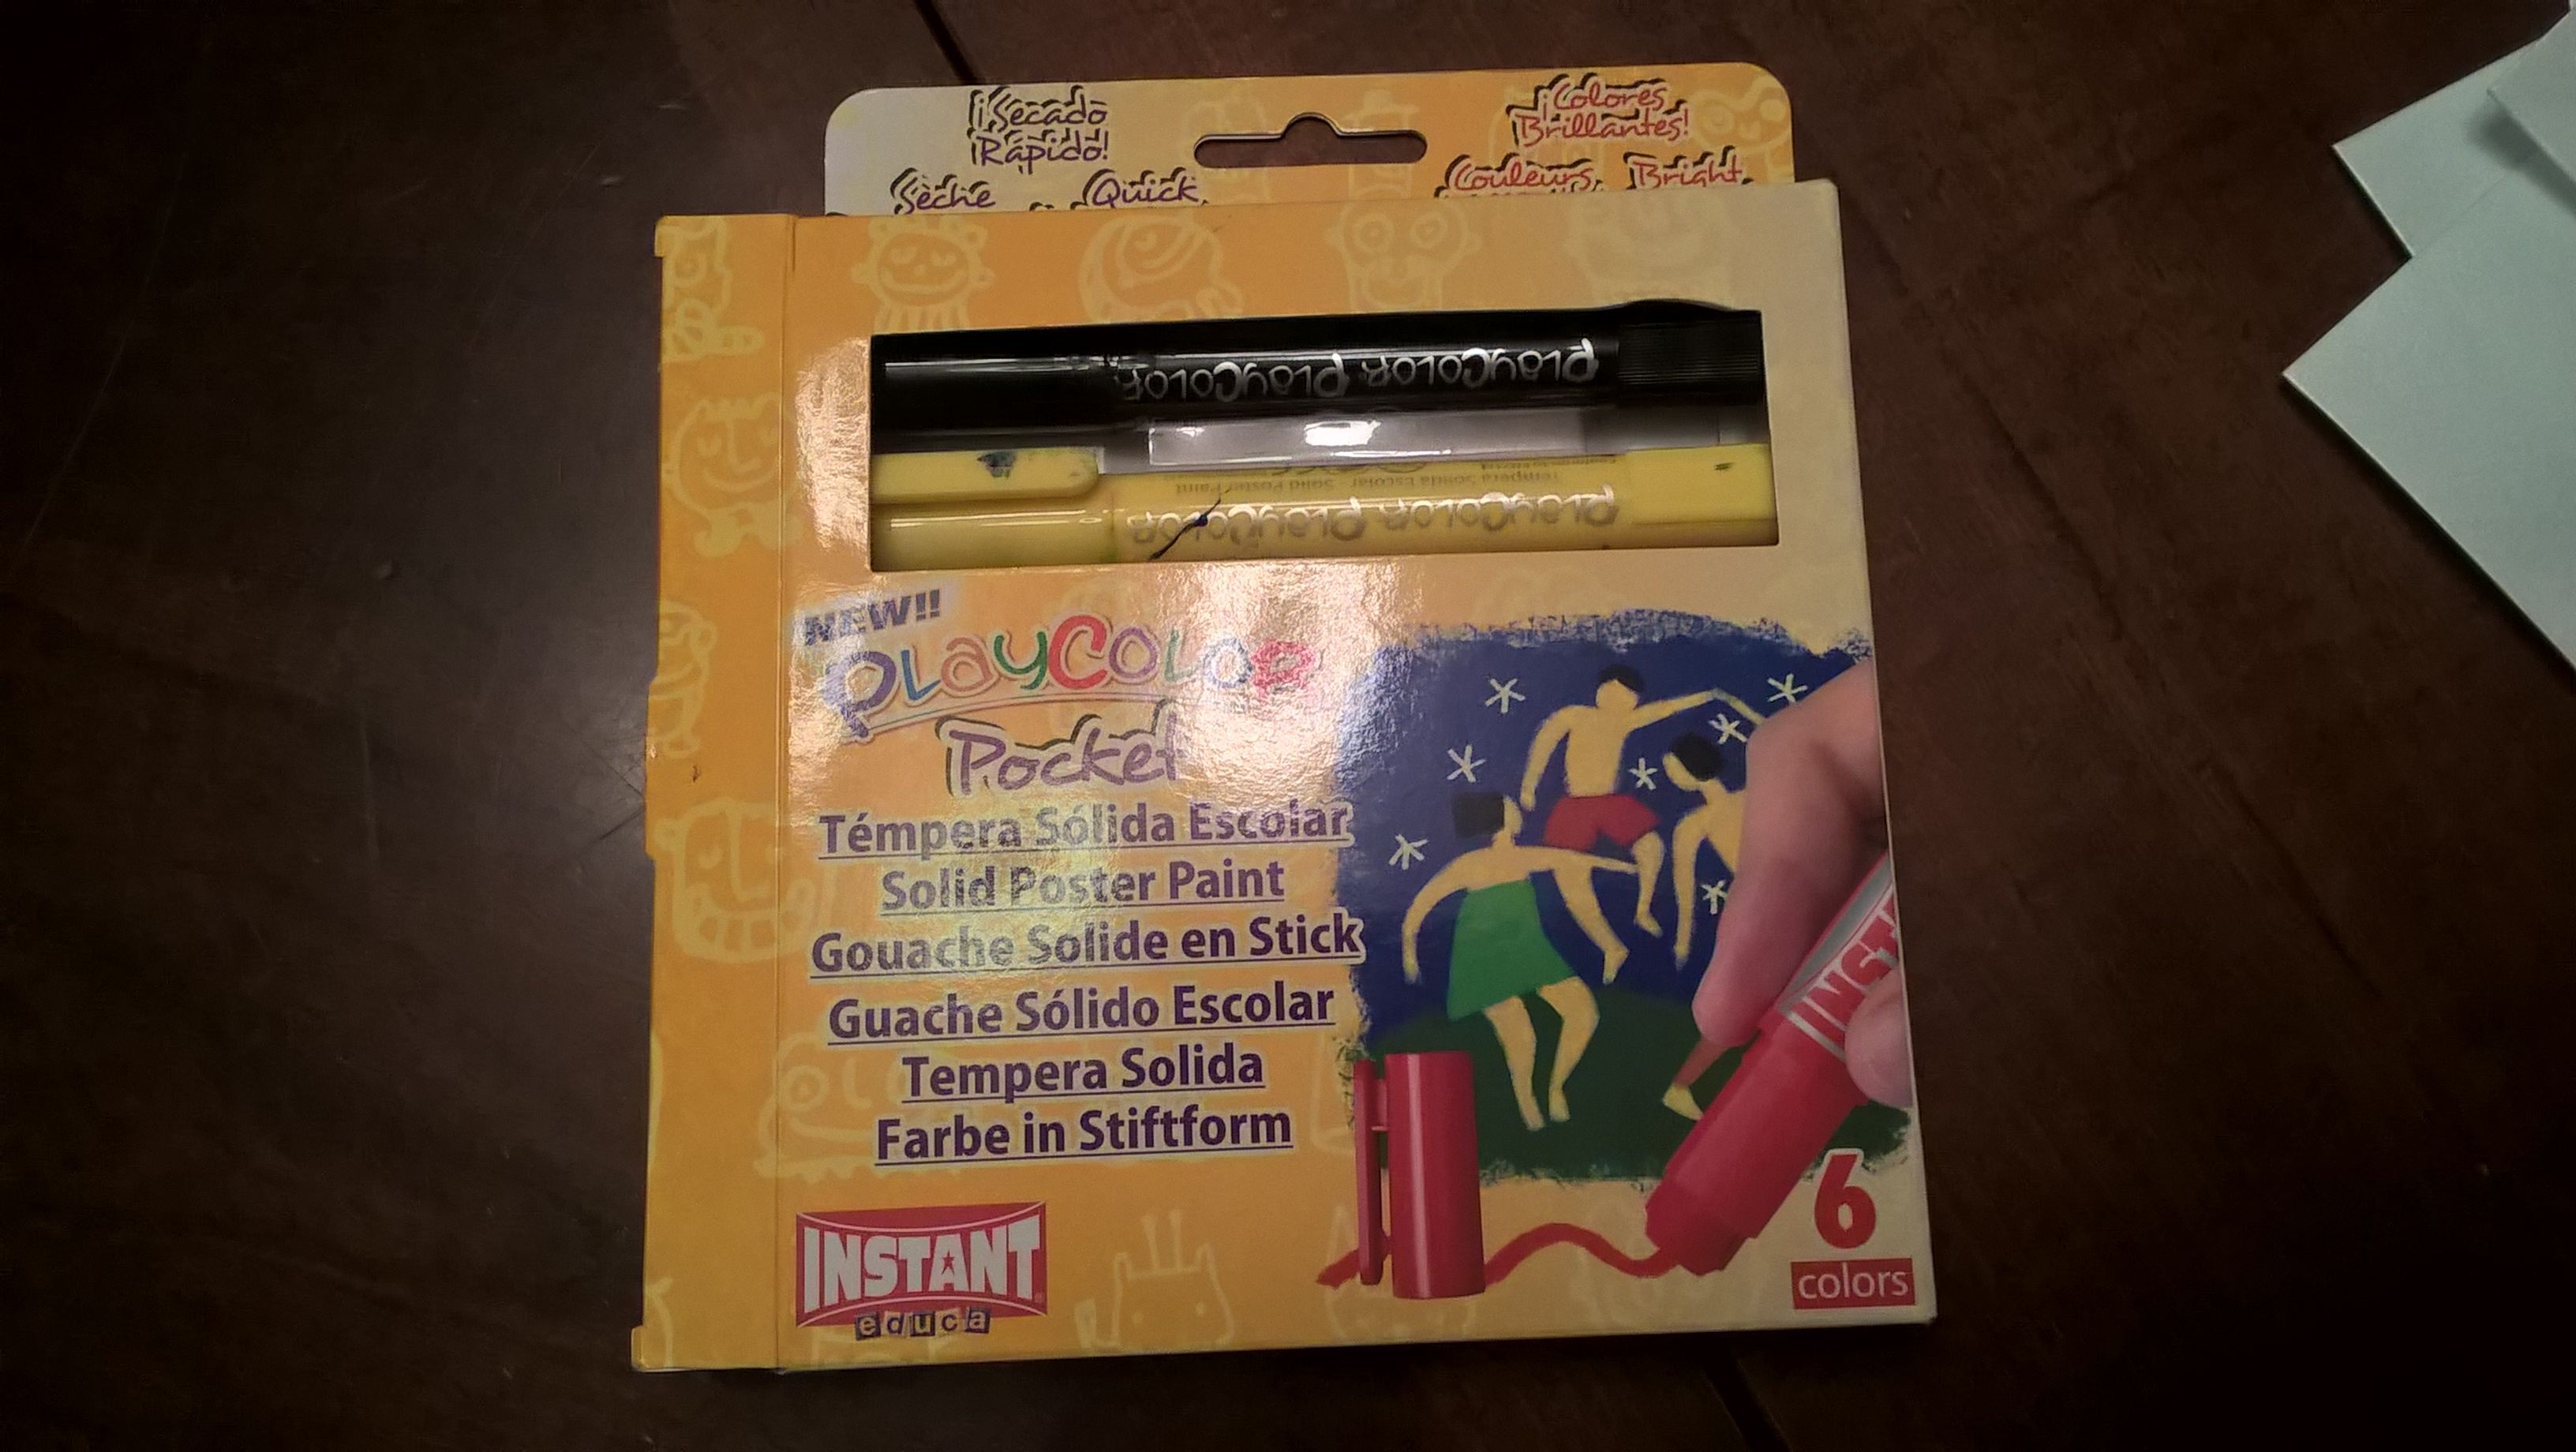
I started printing with the small pieces and then noticed these paint sticks nearby. I decided to add some red to it by using the paint sticks to color onto the foam and then stamped them onto the background.

I also decided to add some gold and drew a leaf on another piece of foam and it wasnt until after I printed it on the background that I remembered that If I only wanted the image of the leaf then I should have cut off all the surrounding foam as you see I then did.
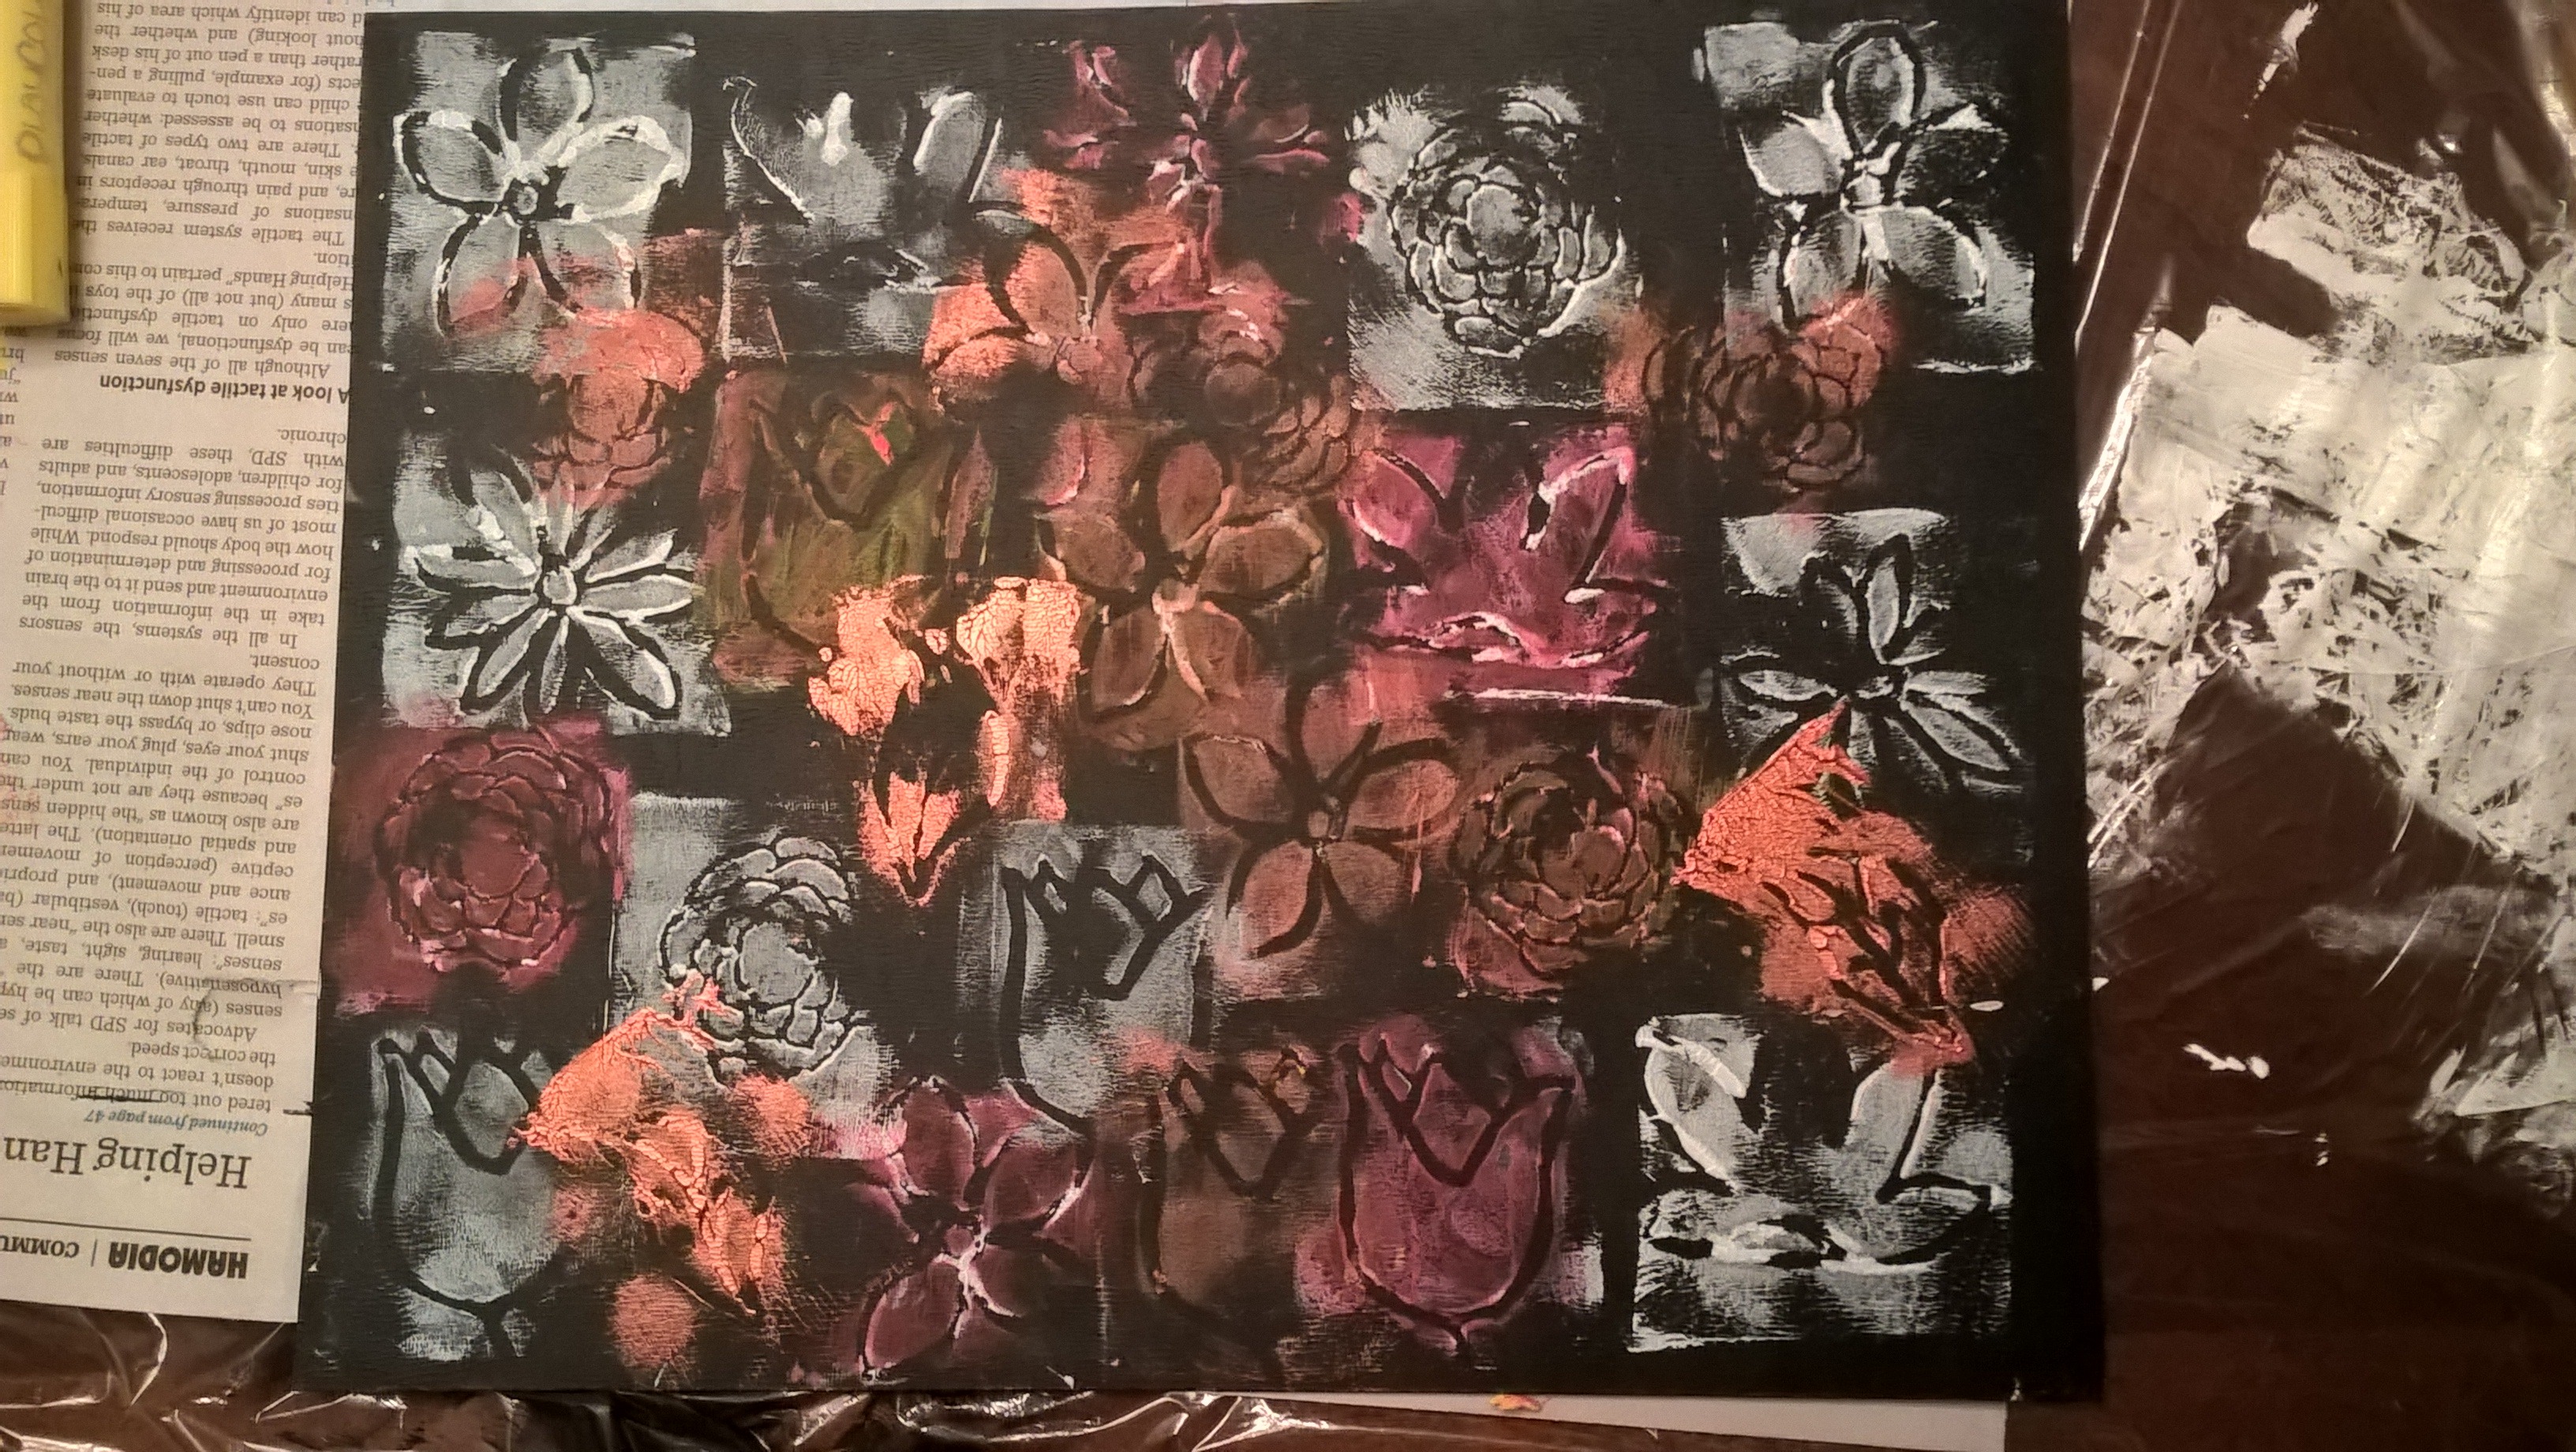
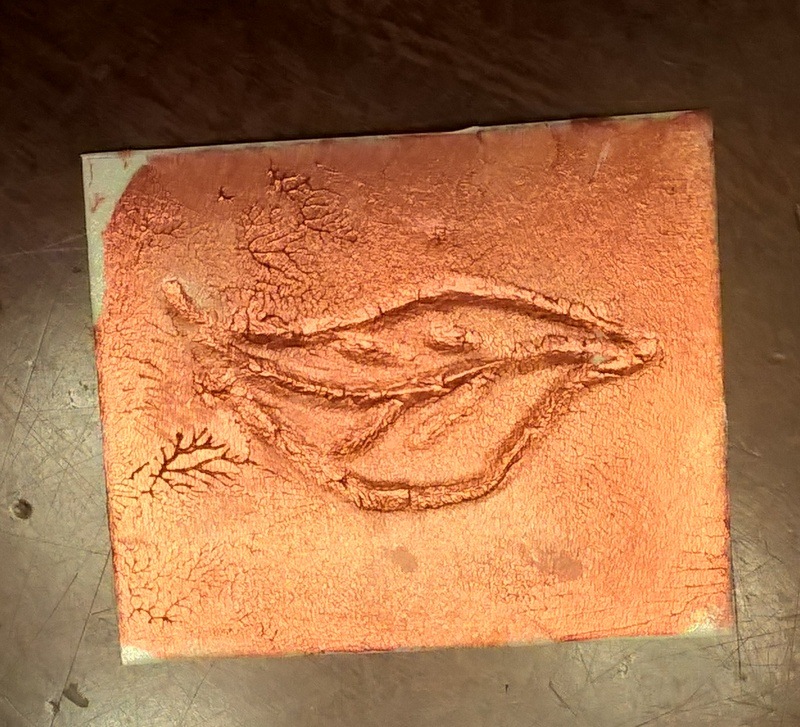
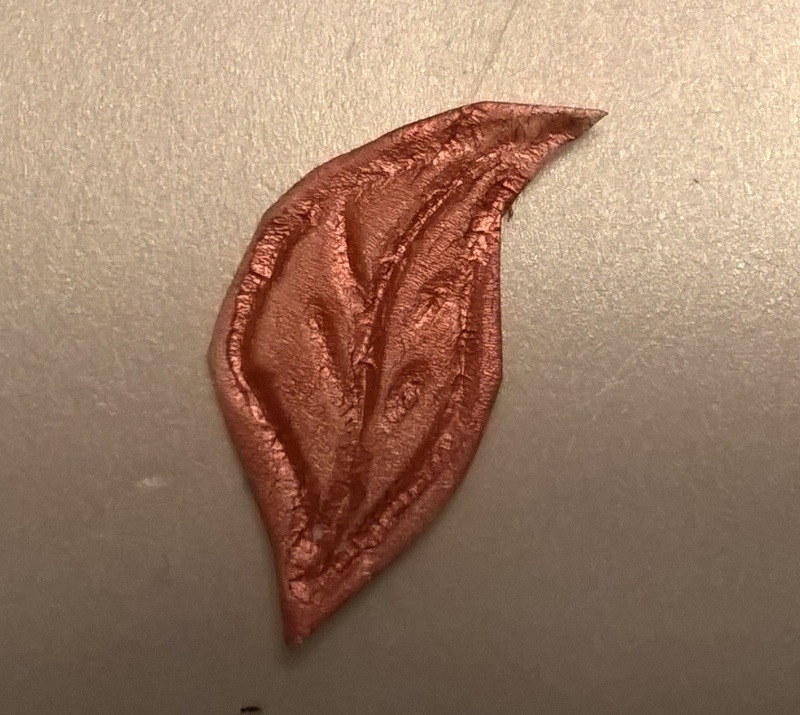
The problem with this kind of printing is that the ink or paint always gets to the surrounding areas if you don't cut around it.
Monoprinting
Used a lot as gelli printing
Gelli printing is one form of mono printing which allows you to create unique one of a kind prints that you pull from a plate. Before these gelli plates were commercially available, artists would make plates out of gelatin to do what was called gelatin printing. Now that these wonderfual gelli plates are around you don't have to deal with the mess of making your own gelli plates.
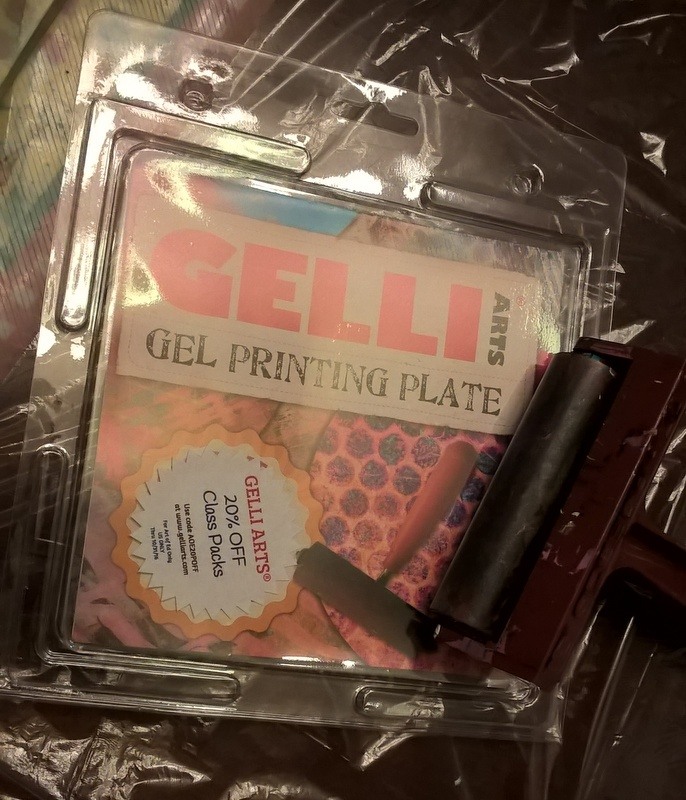
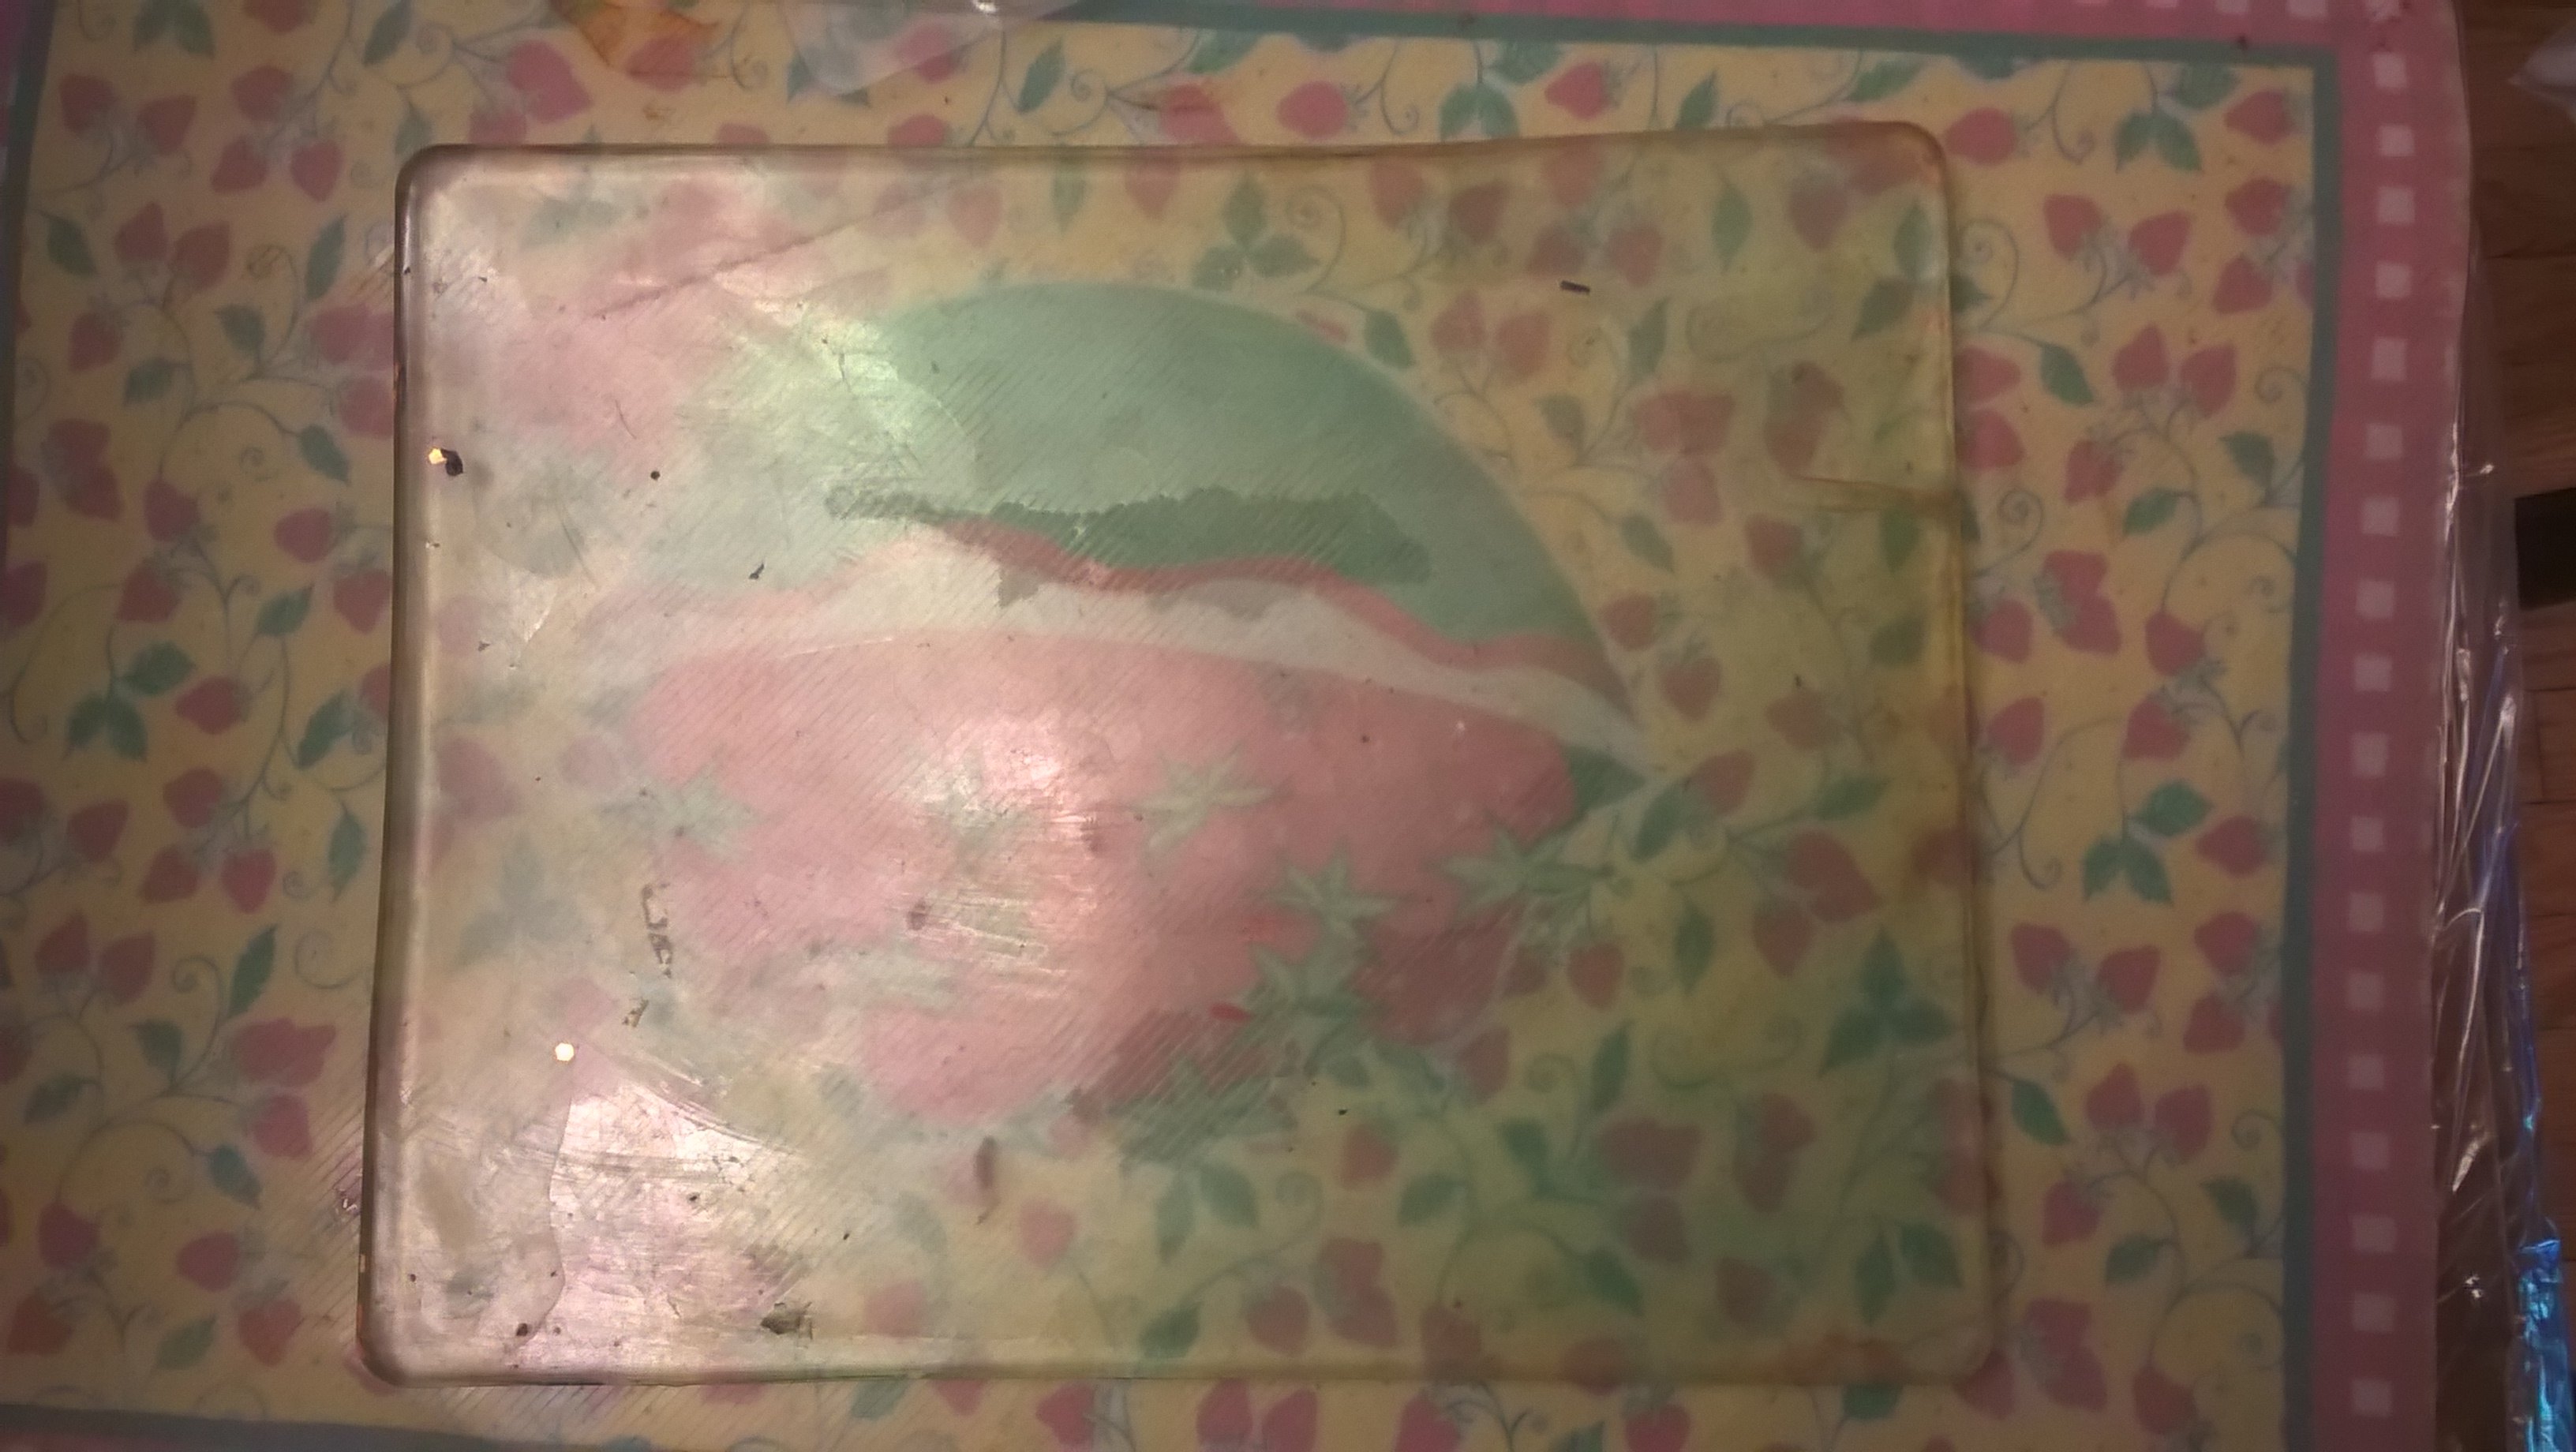
There are a number of different sizes of gelli plates and I recently got a round one but, have found that the 8x10 suits most needs the best. I also follow the book below religously as it is a great resource if you really want to get into gelli printing
The three backgrounds that I have learned are best to used for monoprinting are regular copy paper, deli paper and shipping tags.
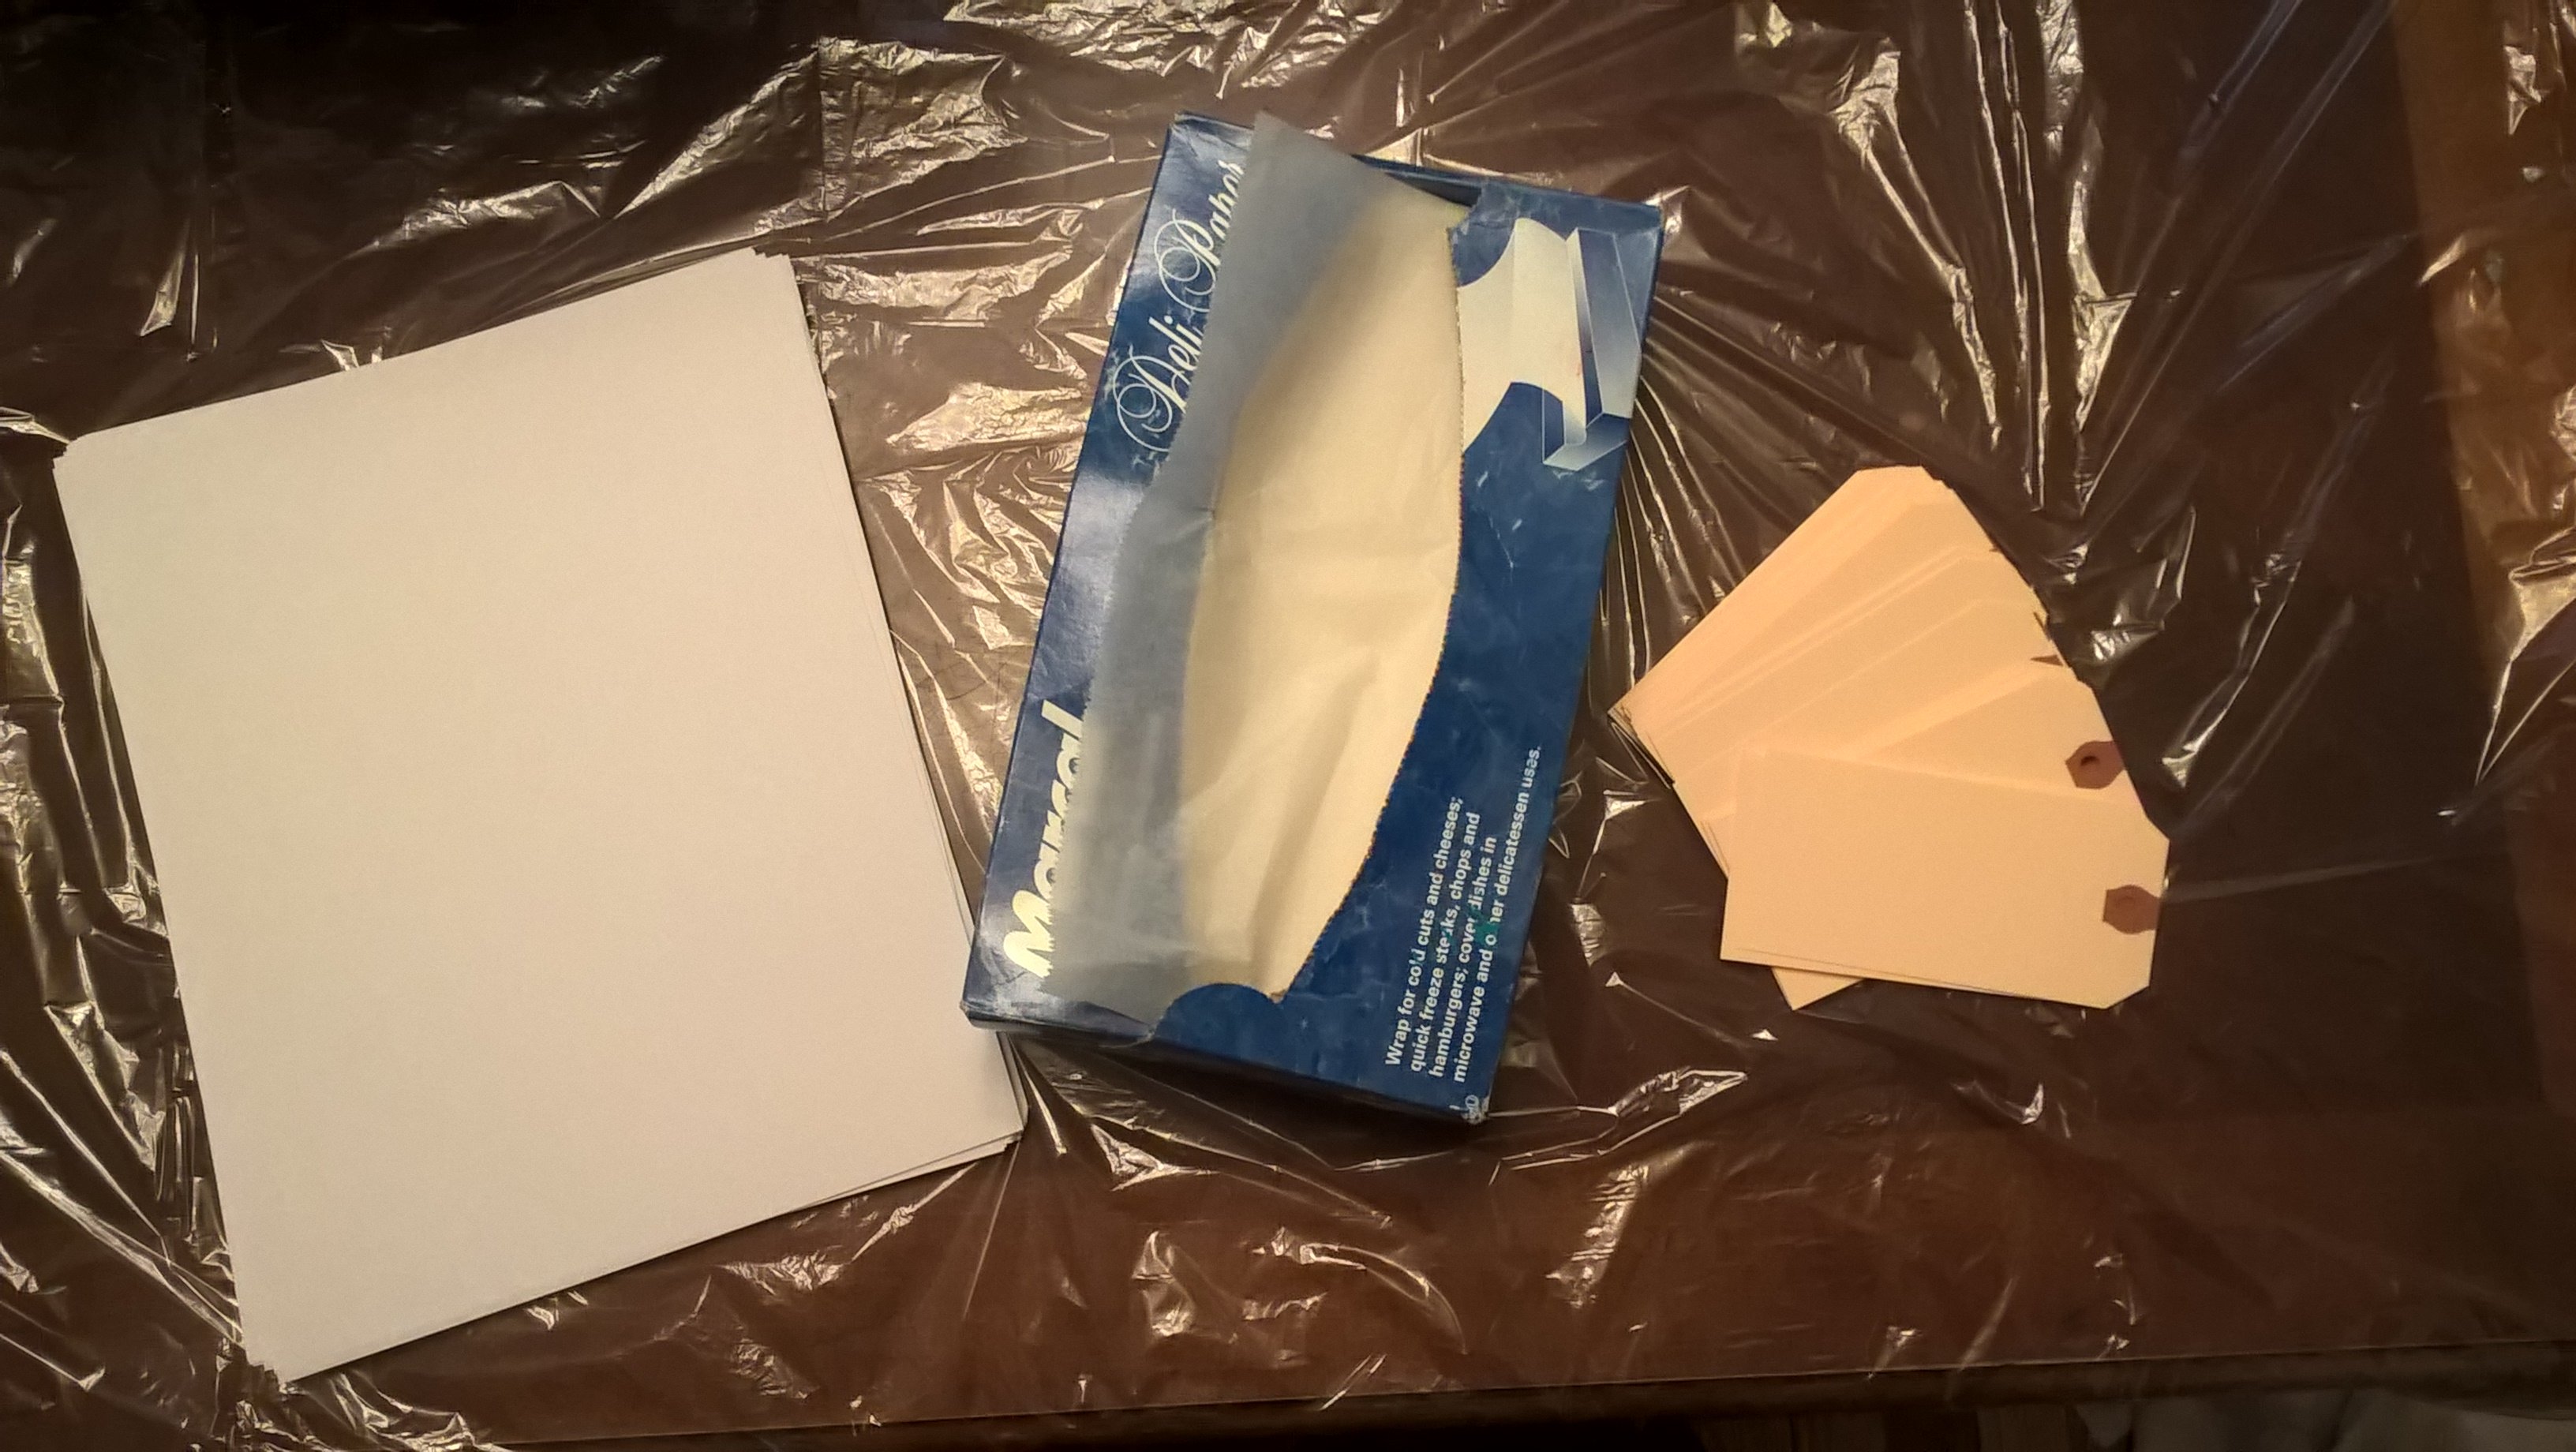
When you start to experiment with gelli printing you tend you go through a lot ofpaper quite quickly. I started out by using copy paper and then discovered that other artists were using deli paper. It can be added to art journals and can also be cut up easily to use in collages.
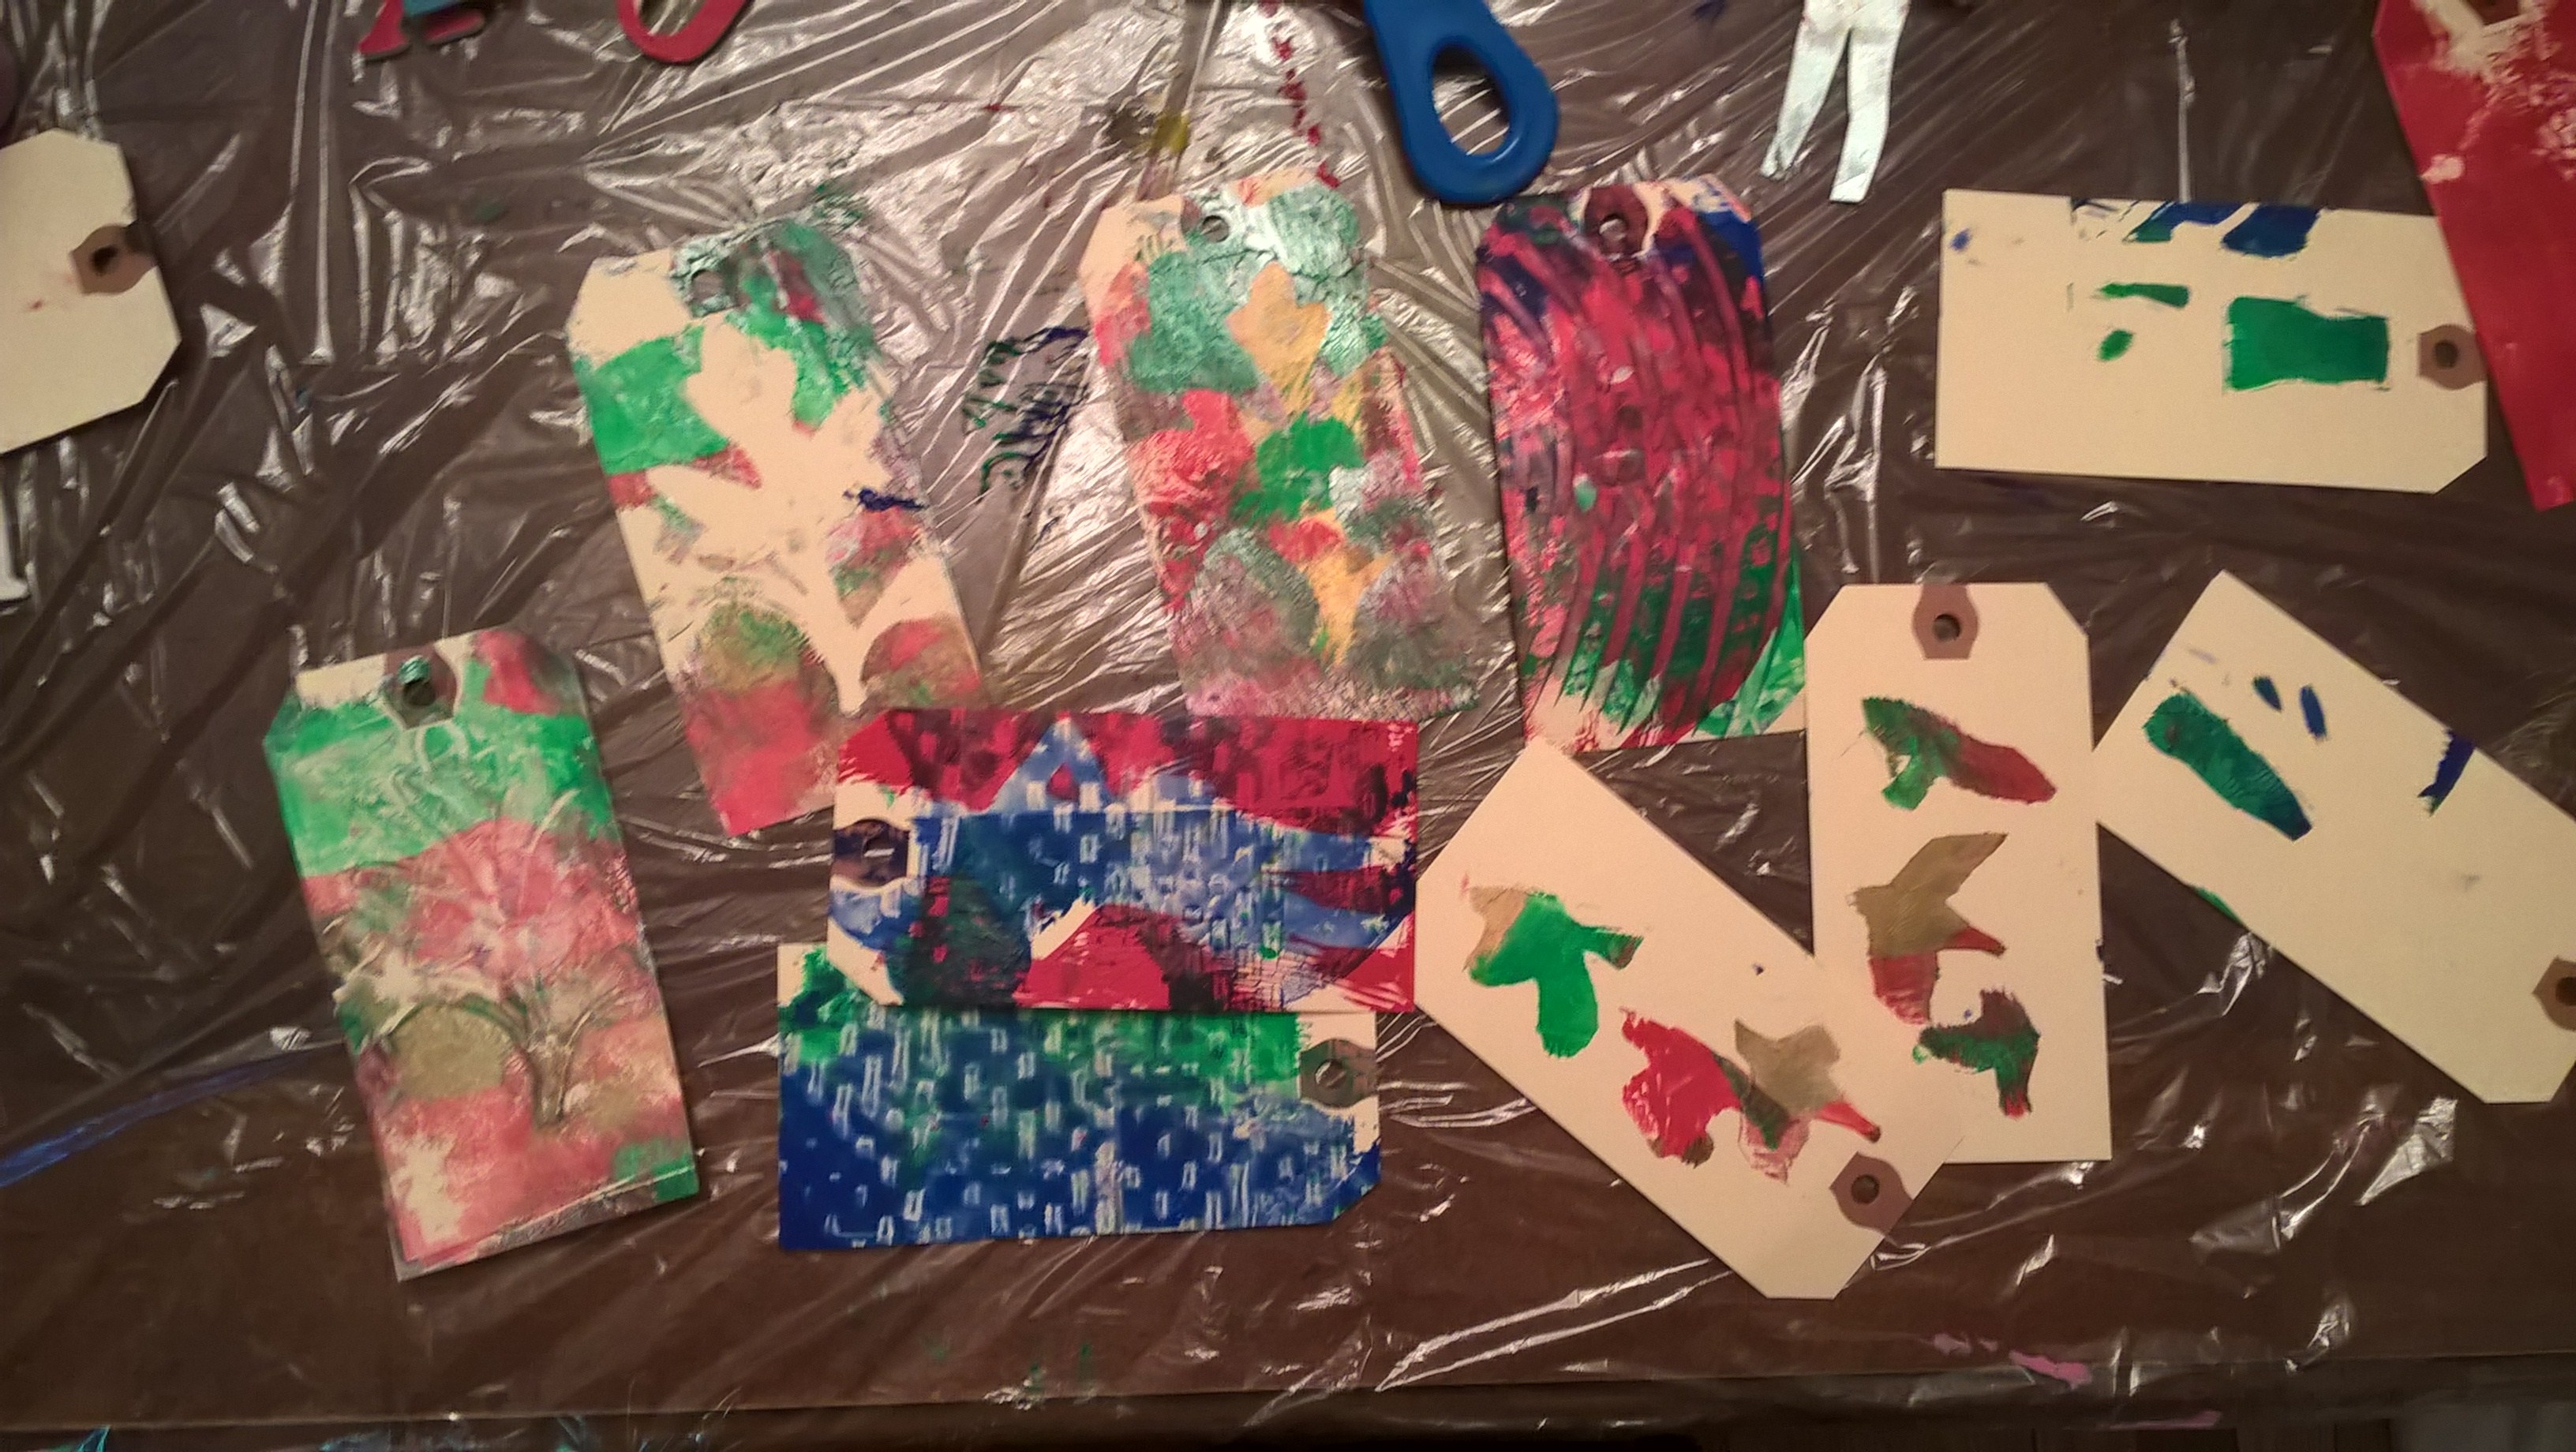
Shipping tags are a way to experiment quickly on a small scale but, I ordered them twice and both times I I ordered them too small so I am not going to link to any of them here. (You will anyway need to learn more about how to use printing with tags before starting to use them)
4 ways to use your gelli plate or plexiglass
As I mentioned before, I use the gelli printing book a lot and took only 4 simple ideas to recreate for you to get a basic idea of what you can do with it. If you are interested in getting into in more then you should buy the book or go to their website gelli arts to see their many videos with ideas.You tube also has great videos.
The most common and easy way to use your gelli plate is to roll paint over it, add a color or two, make some marks with various object, put a paper over it, rub and pull a print from it.The designs that were on the paint will show up on the pulled print.
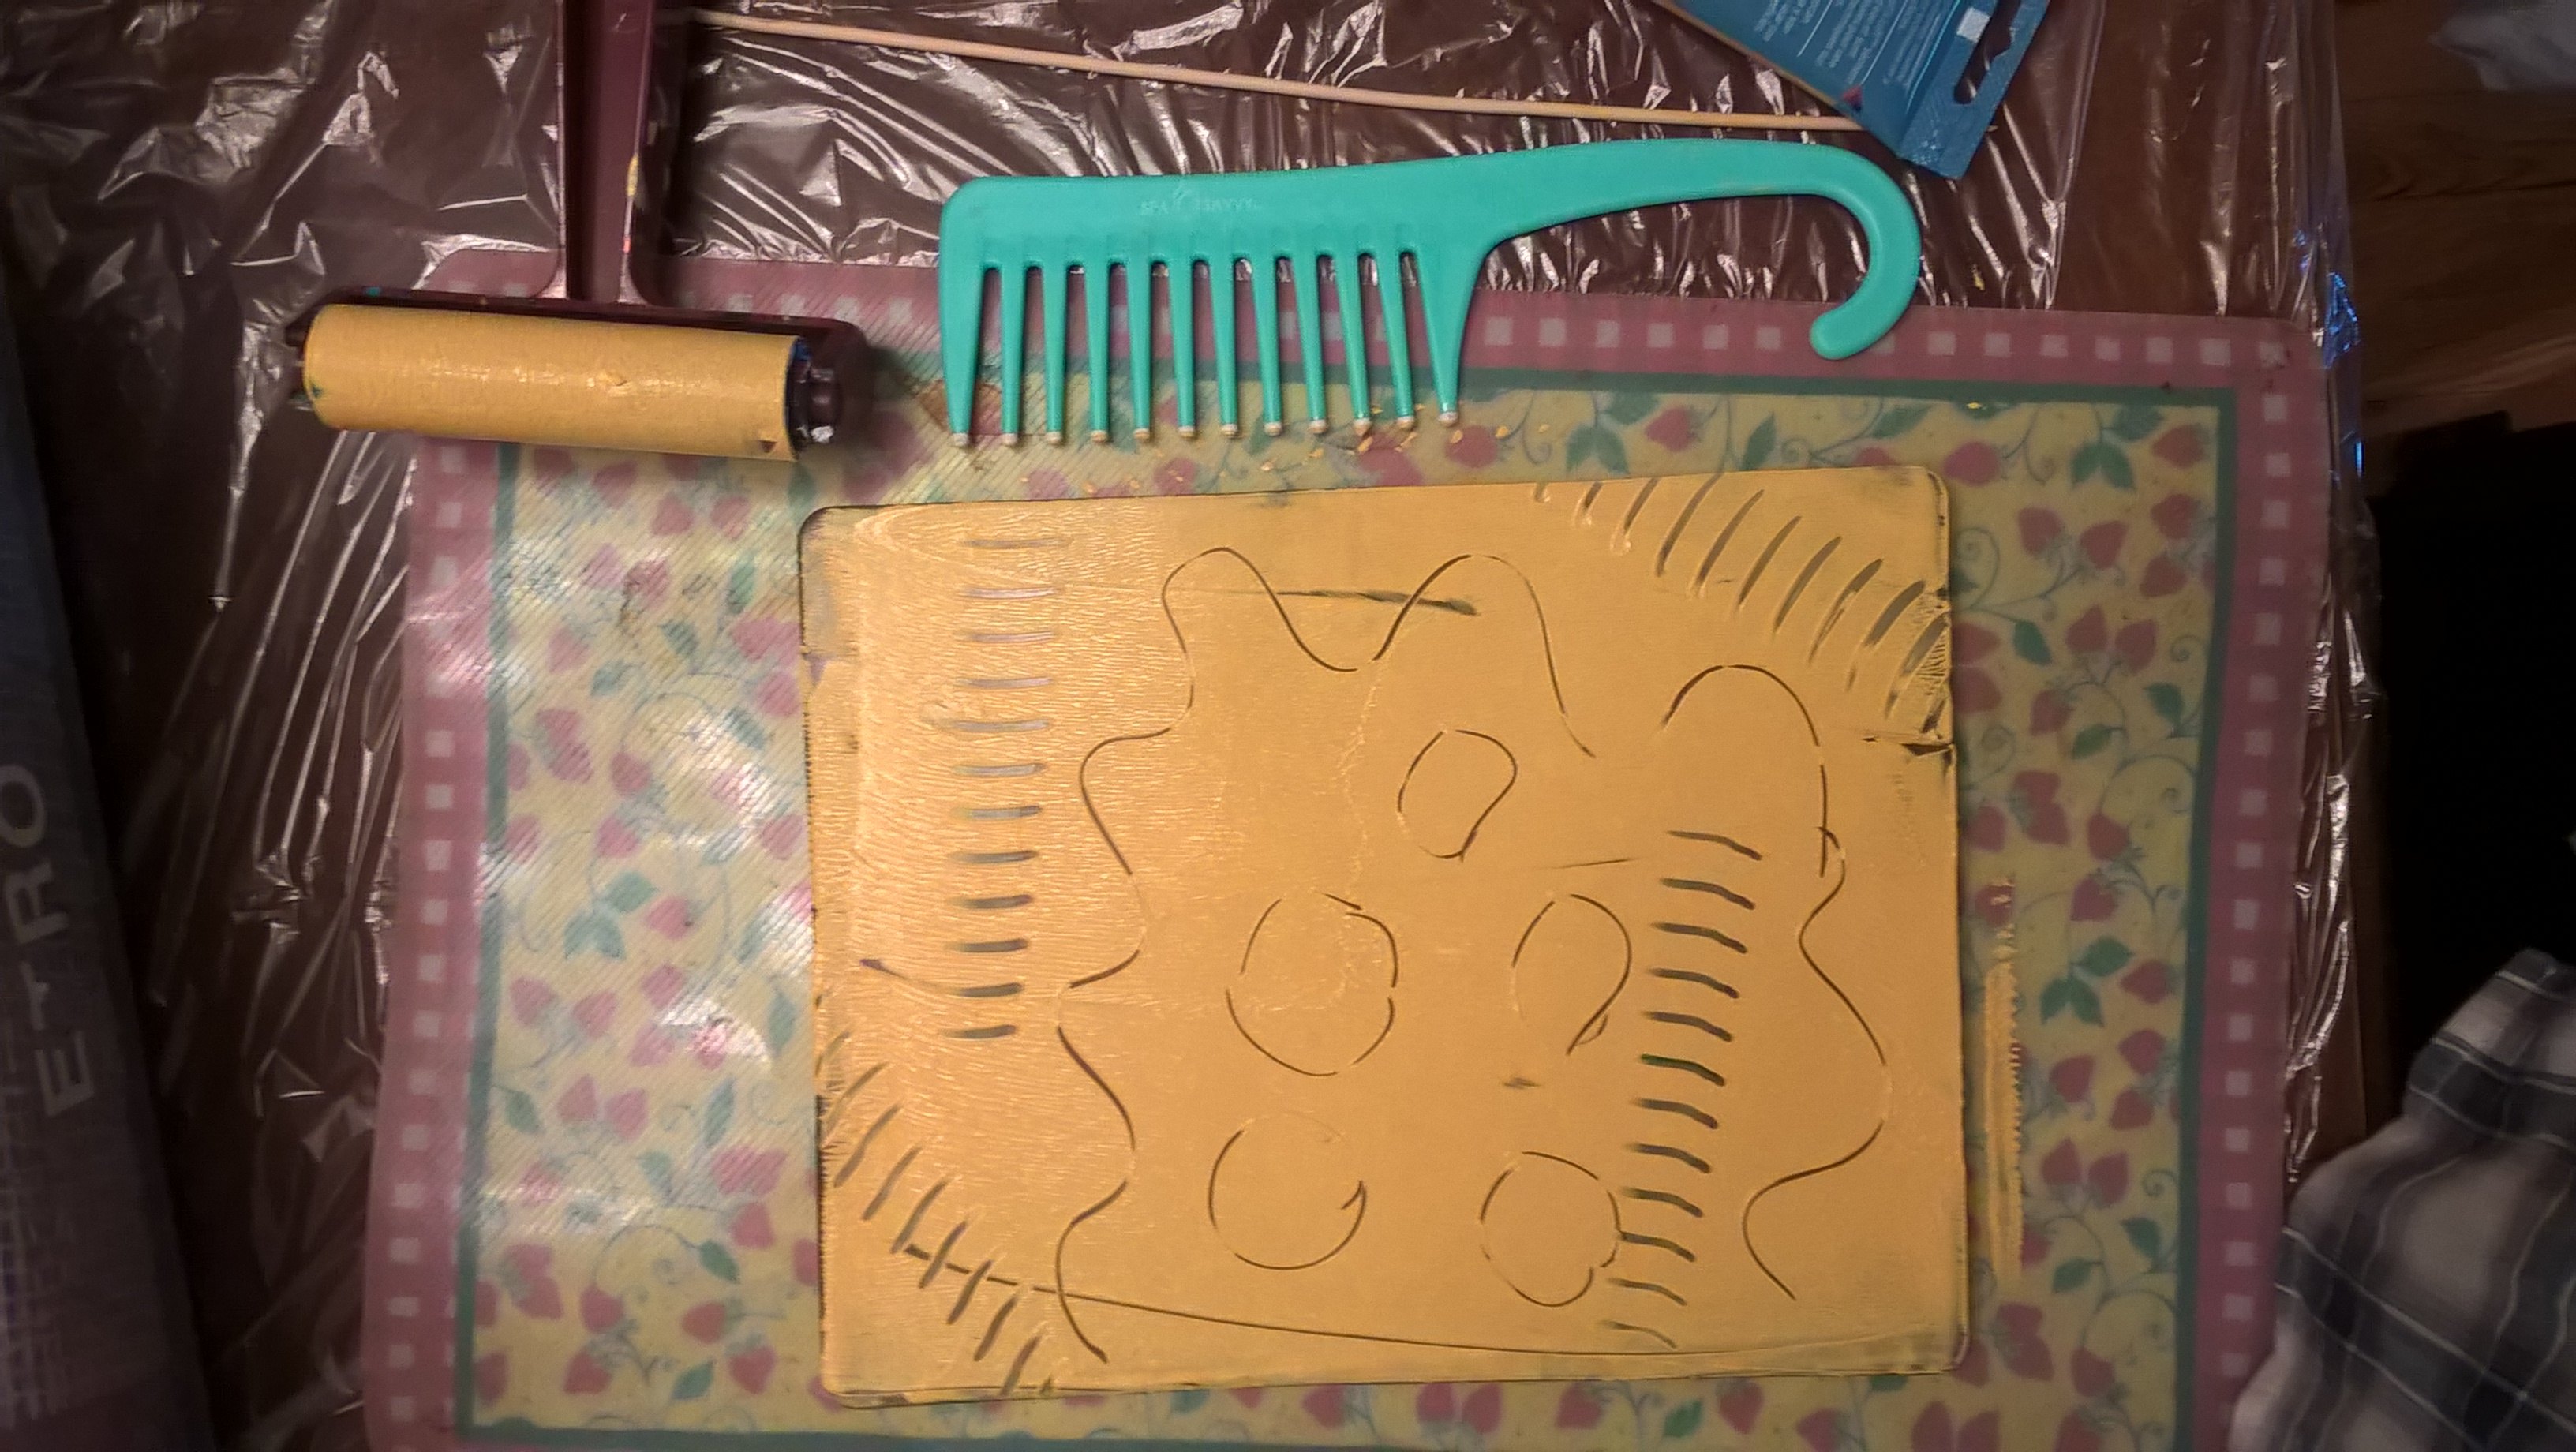
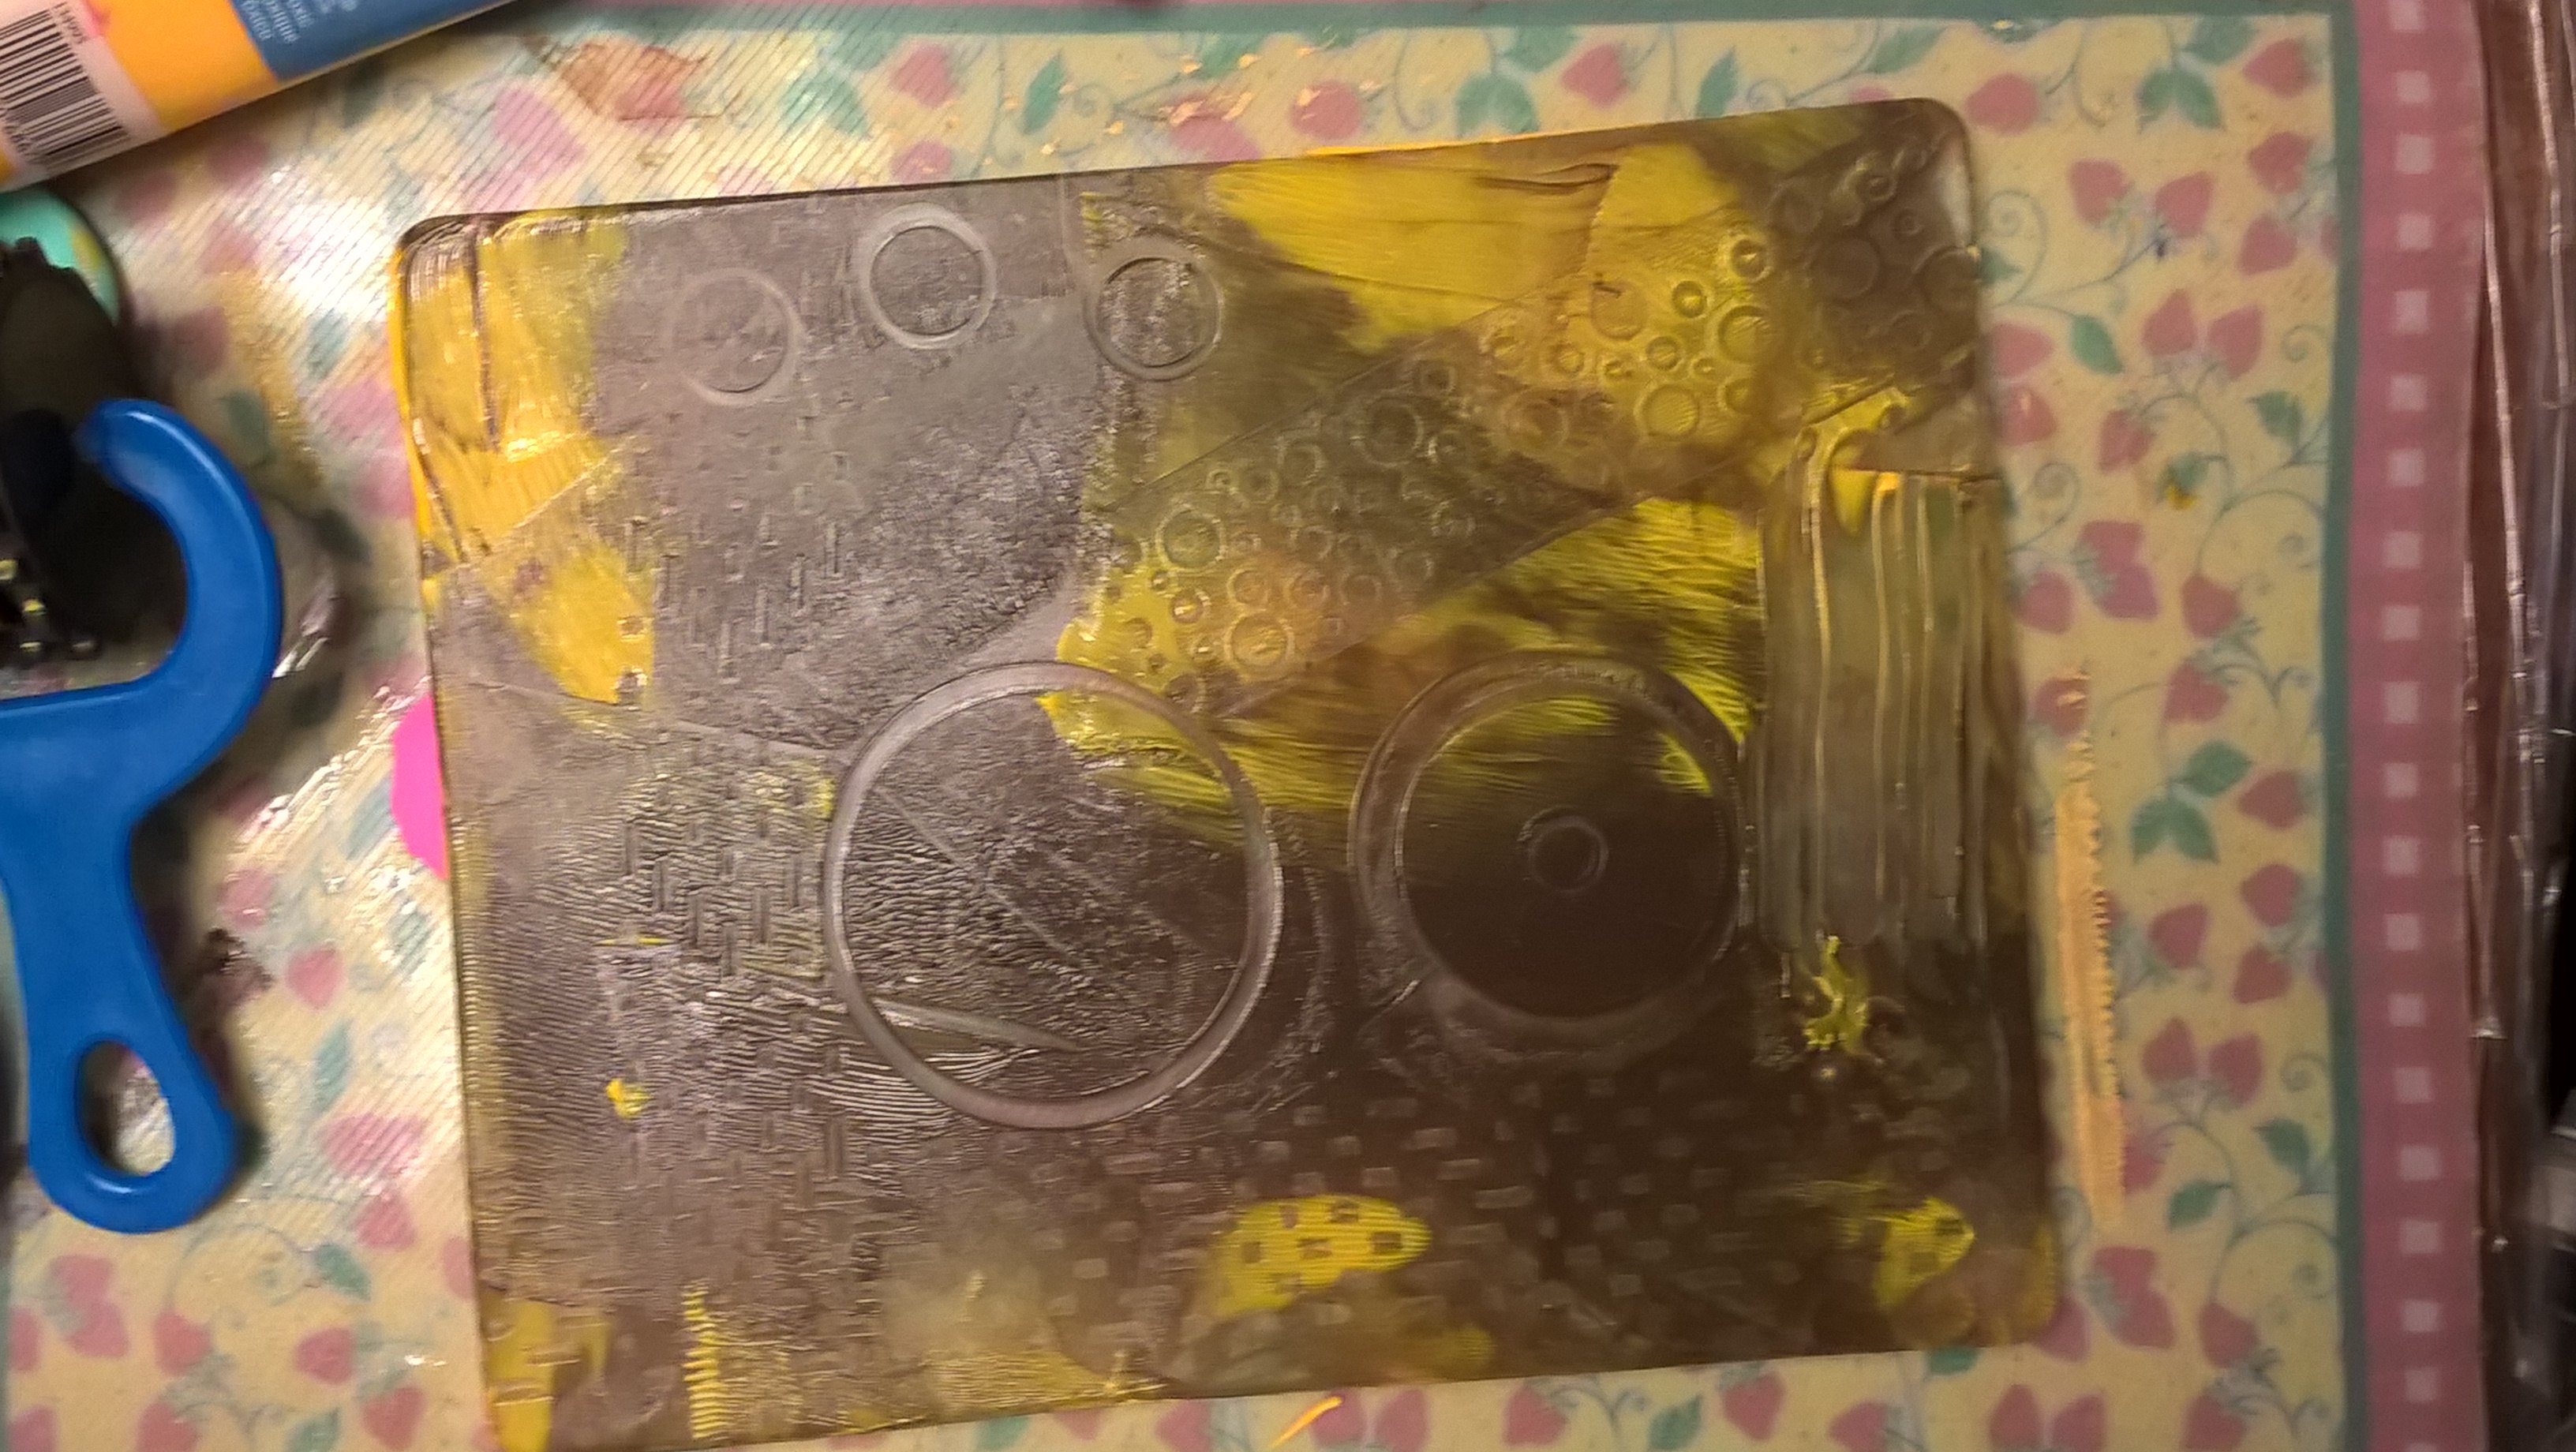
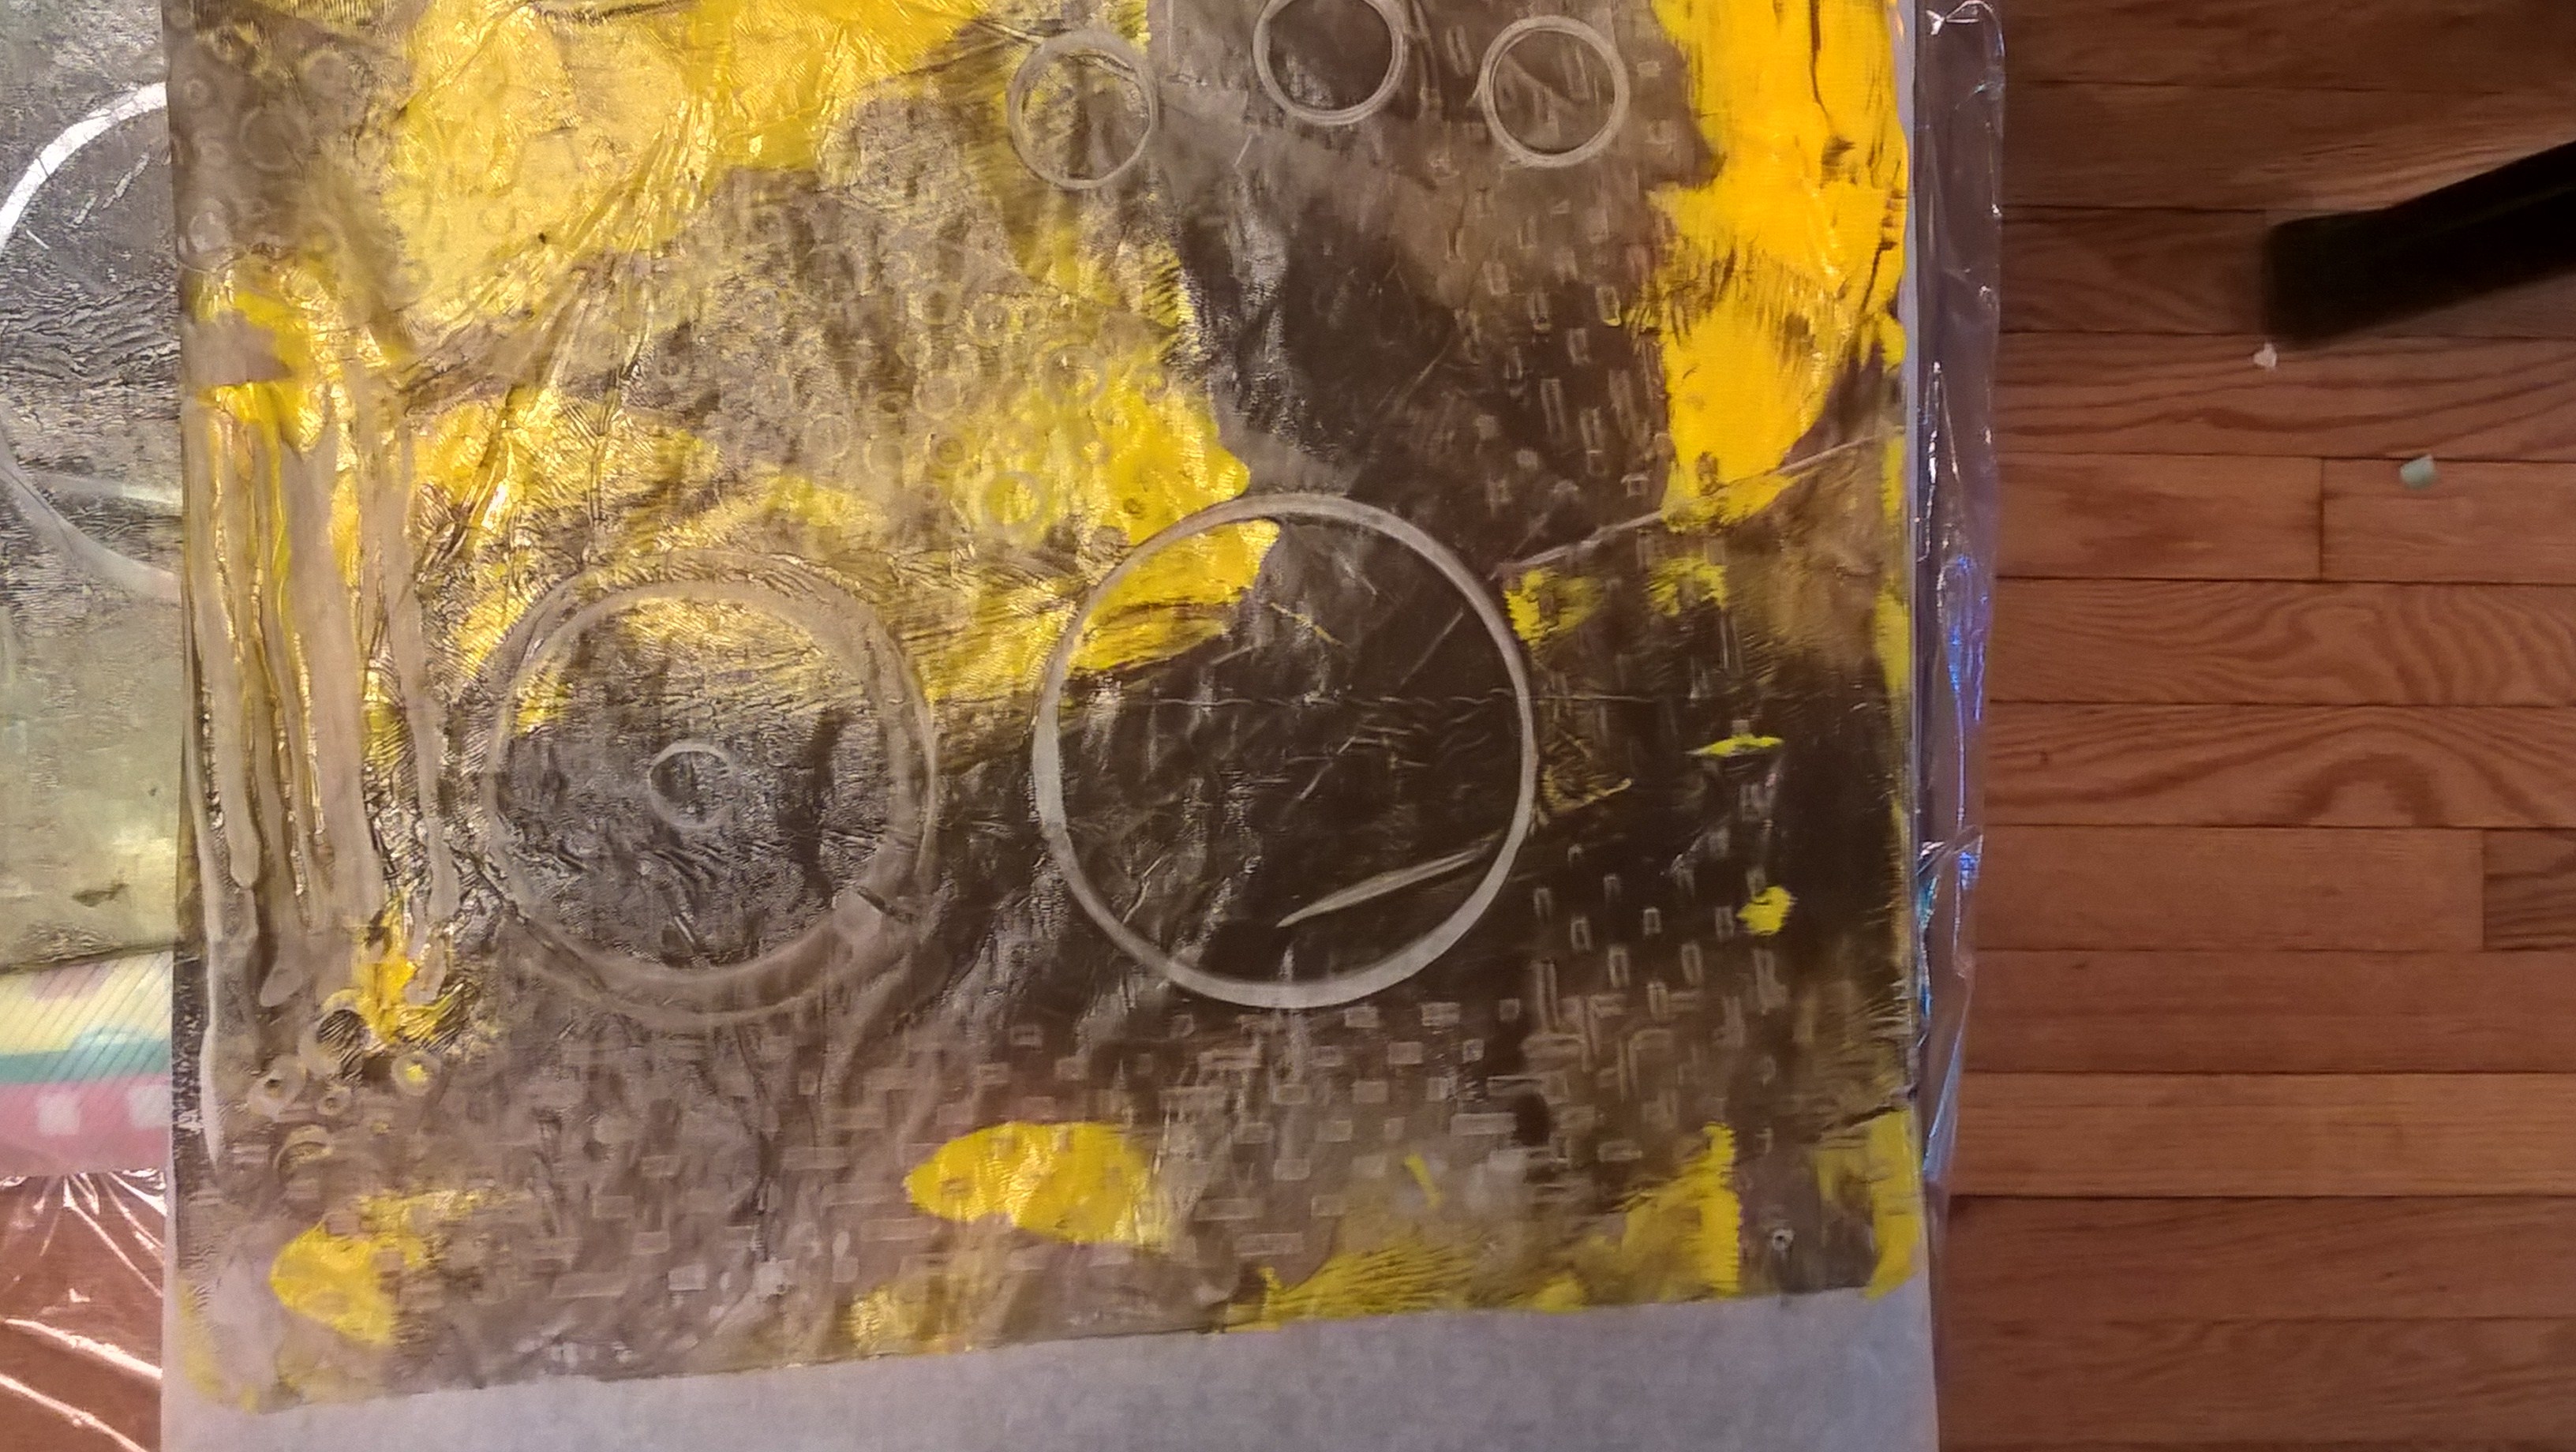
A similar activity is to use textured materials to press onto the plate and then pull a print from that.You will be left with a textured paper.
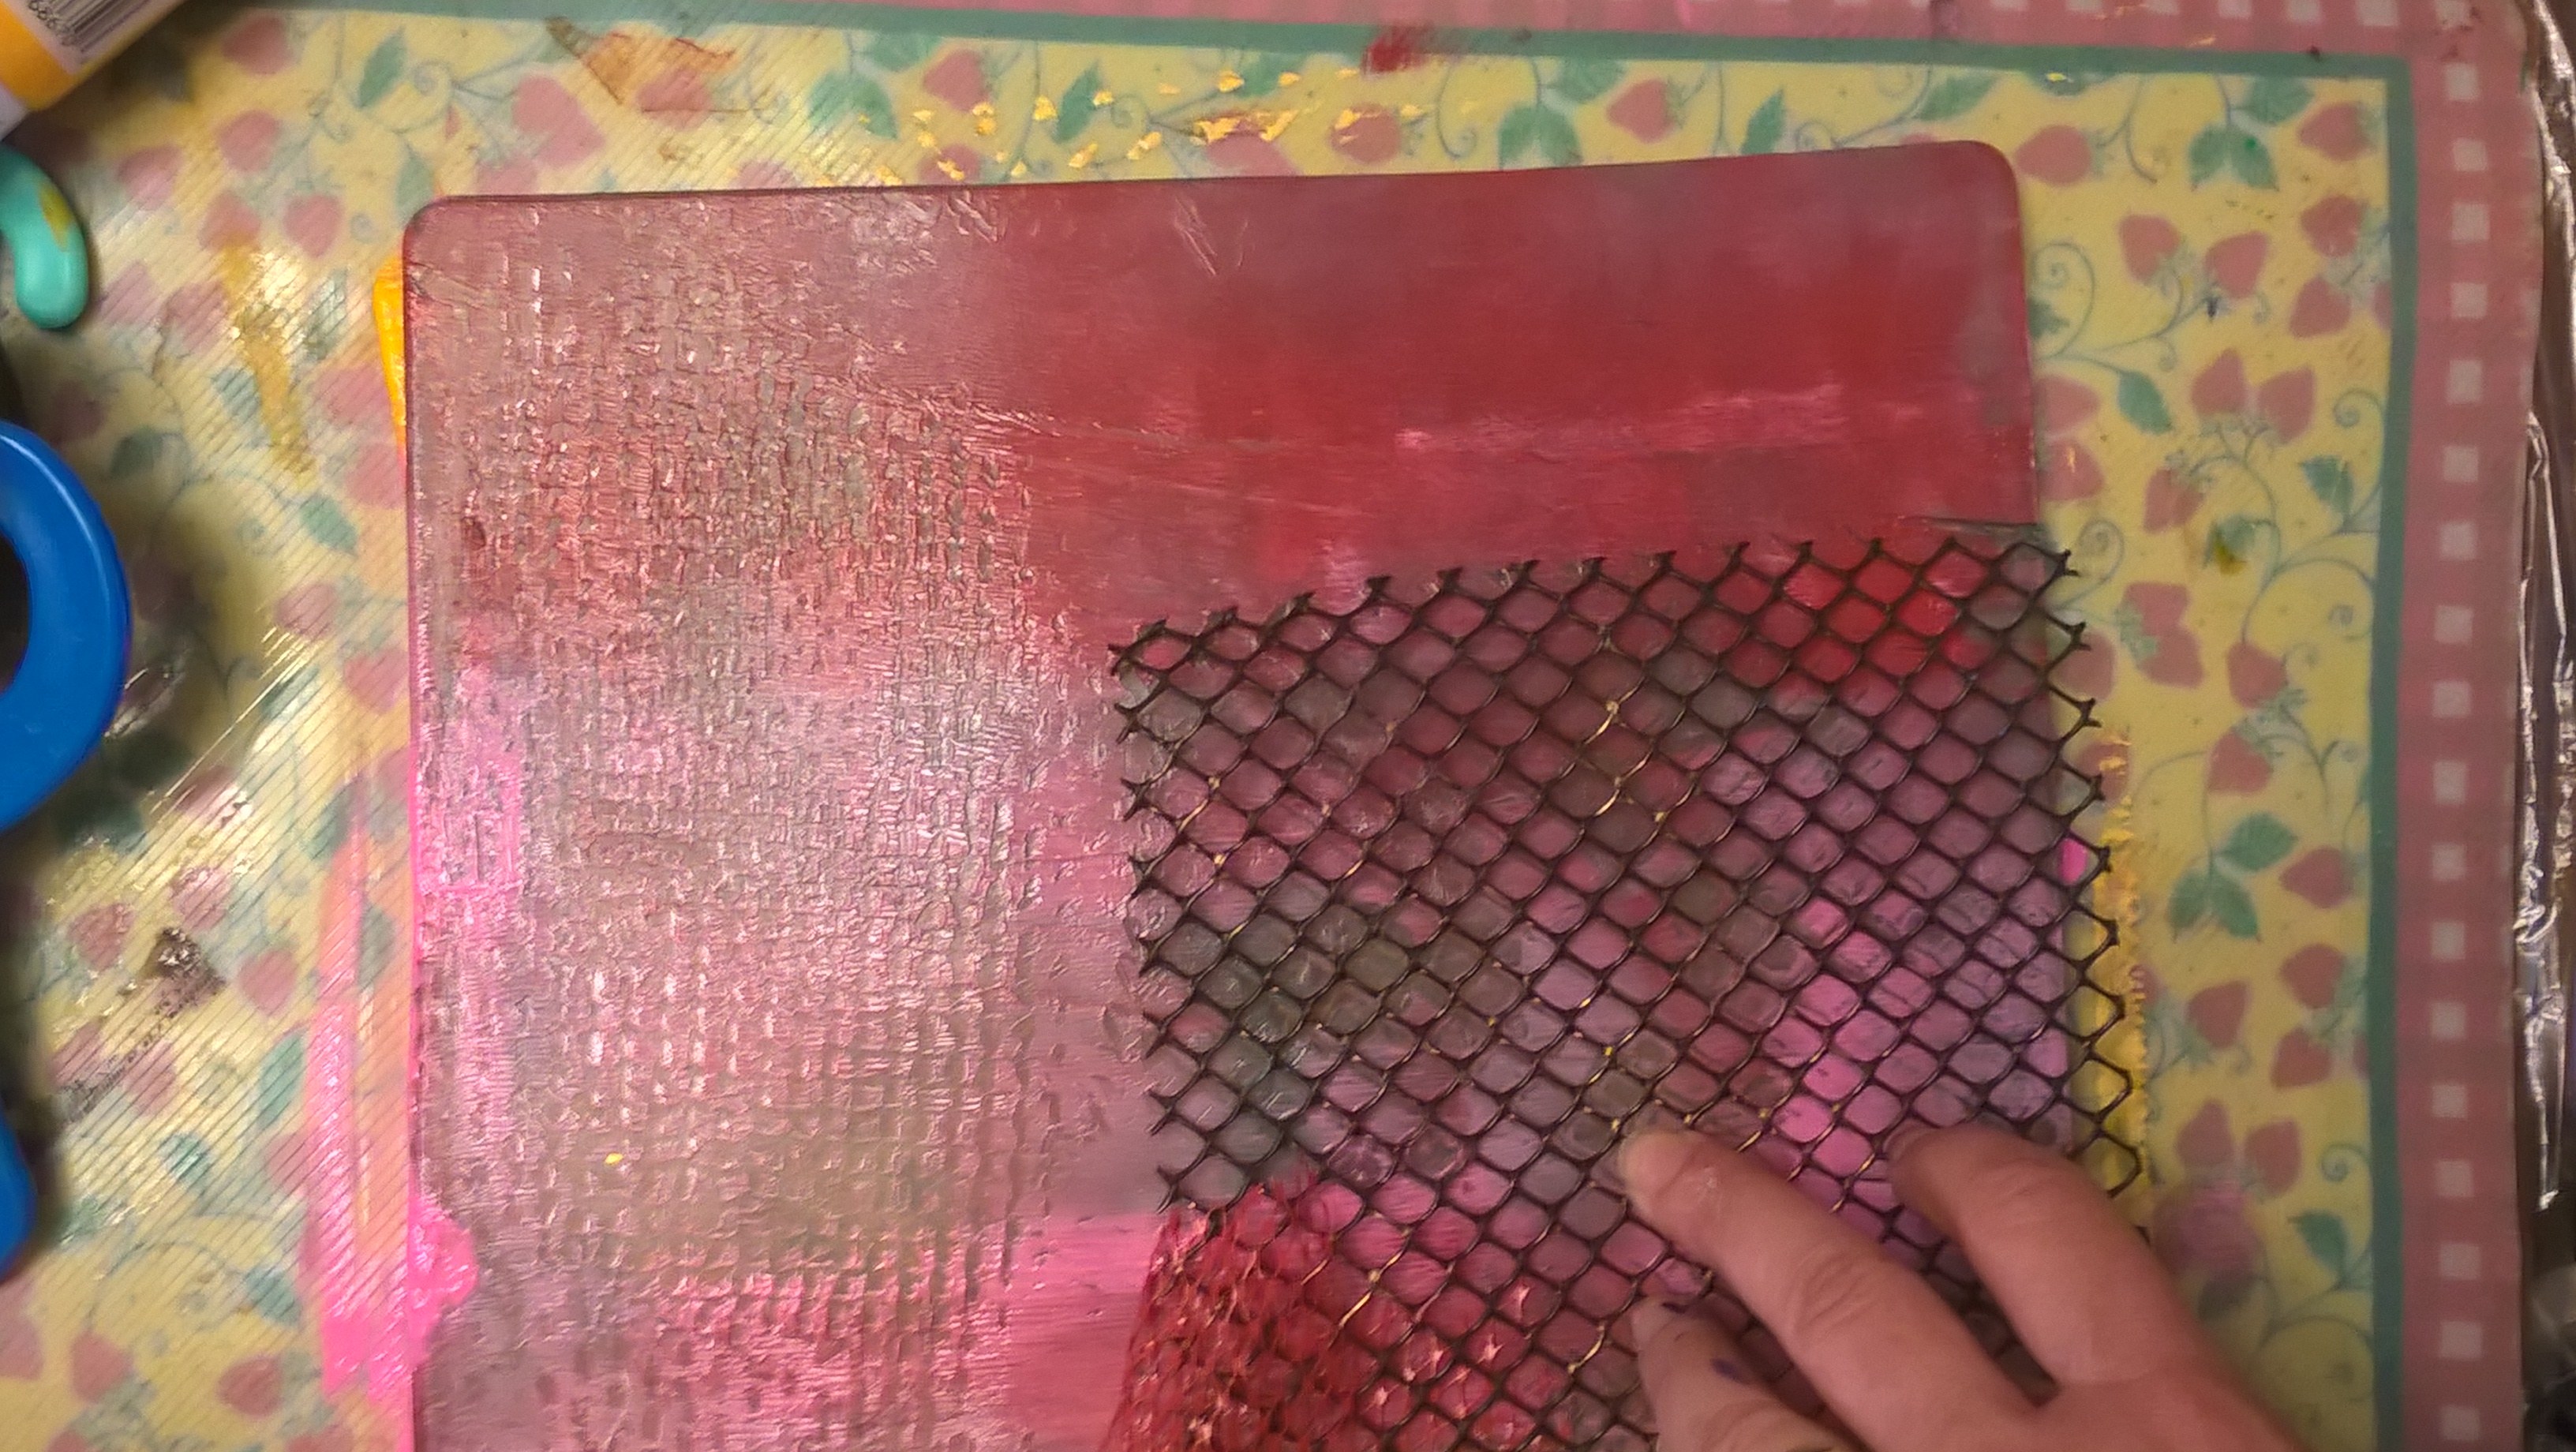
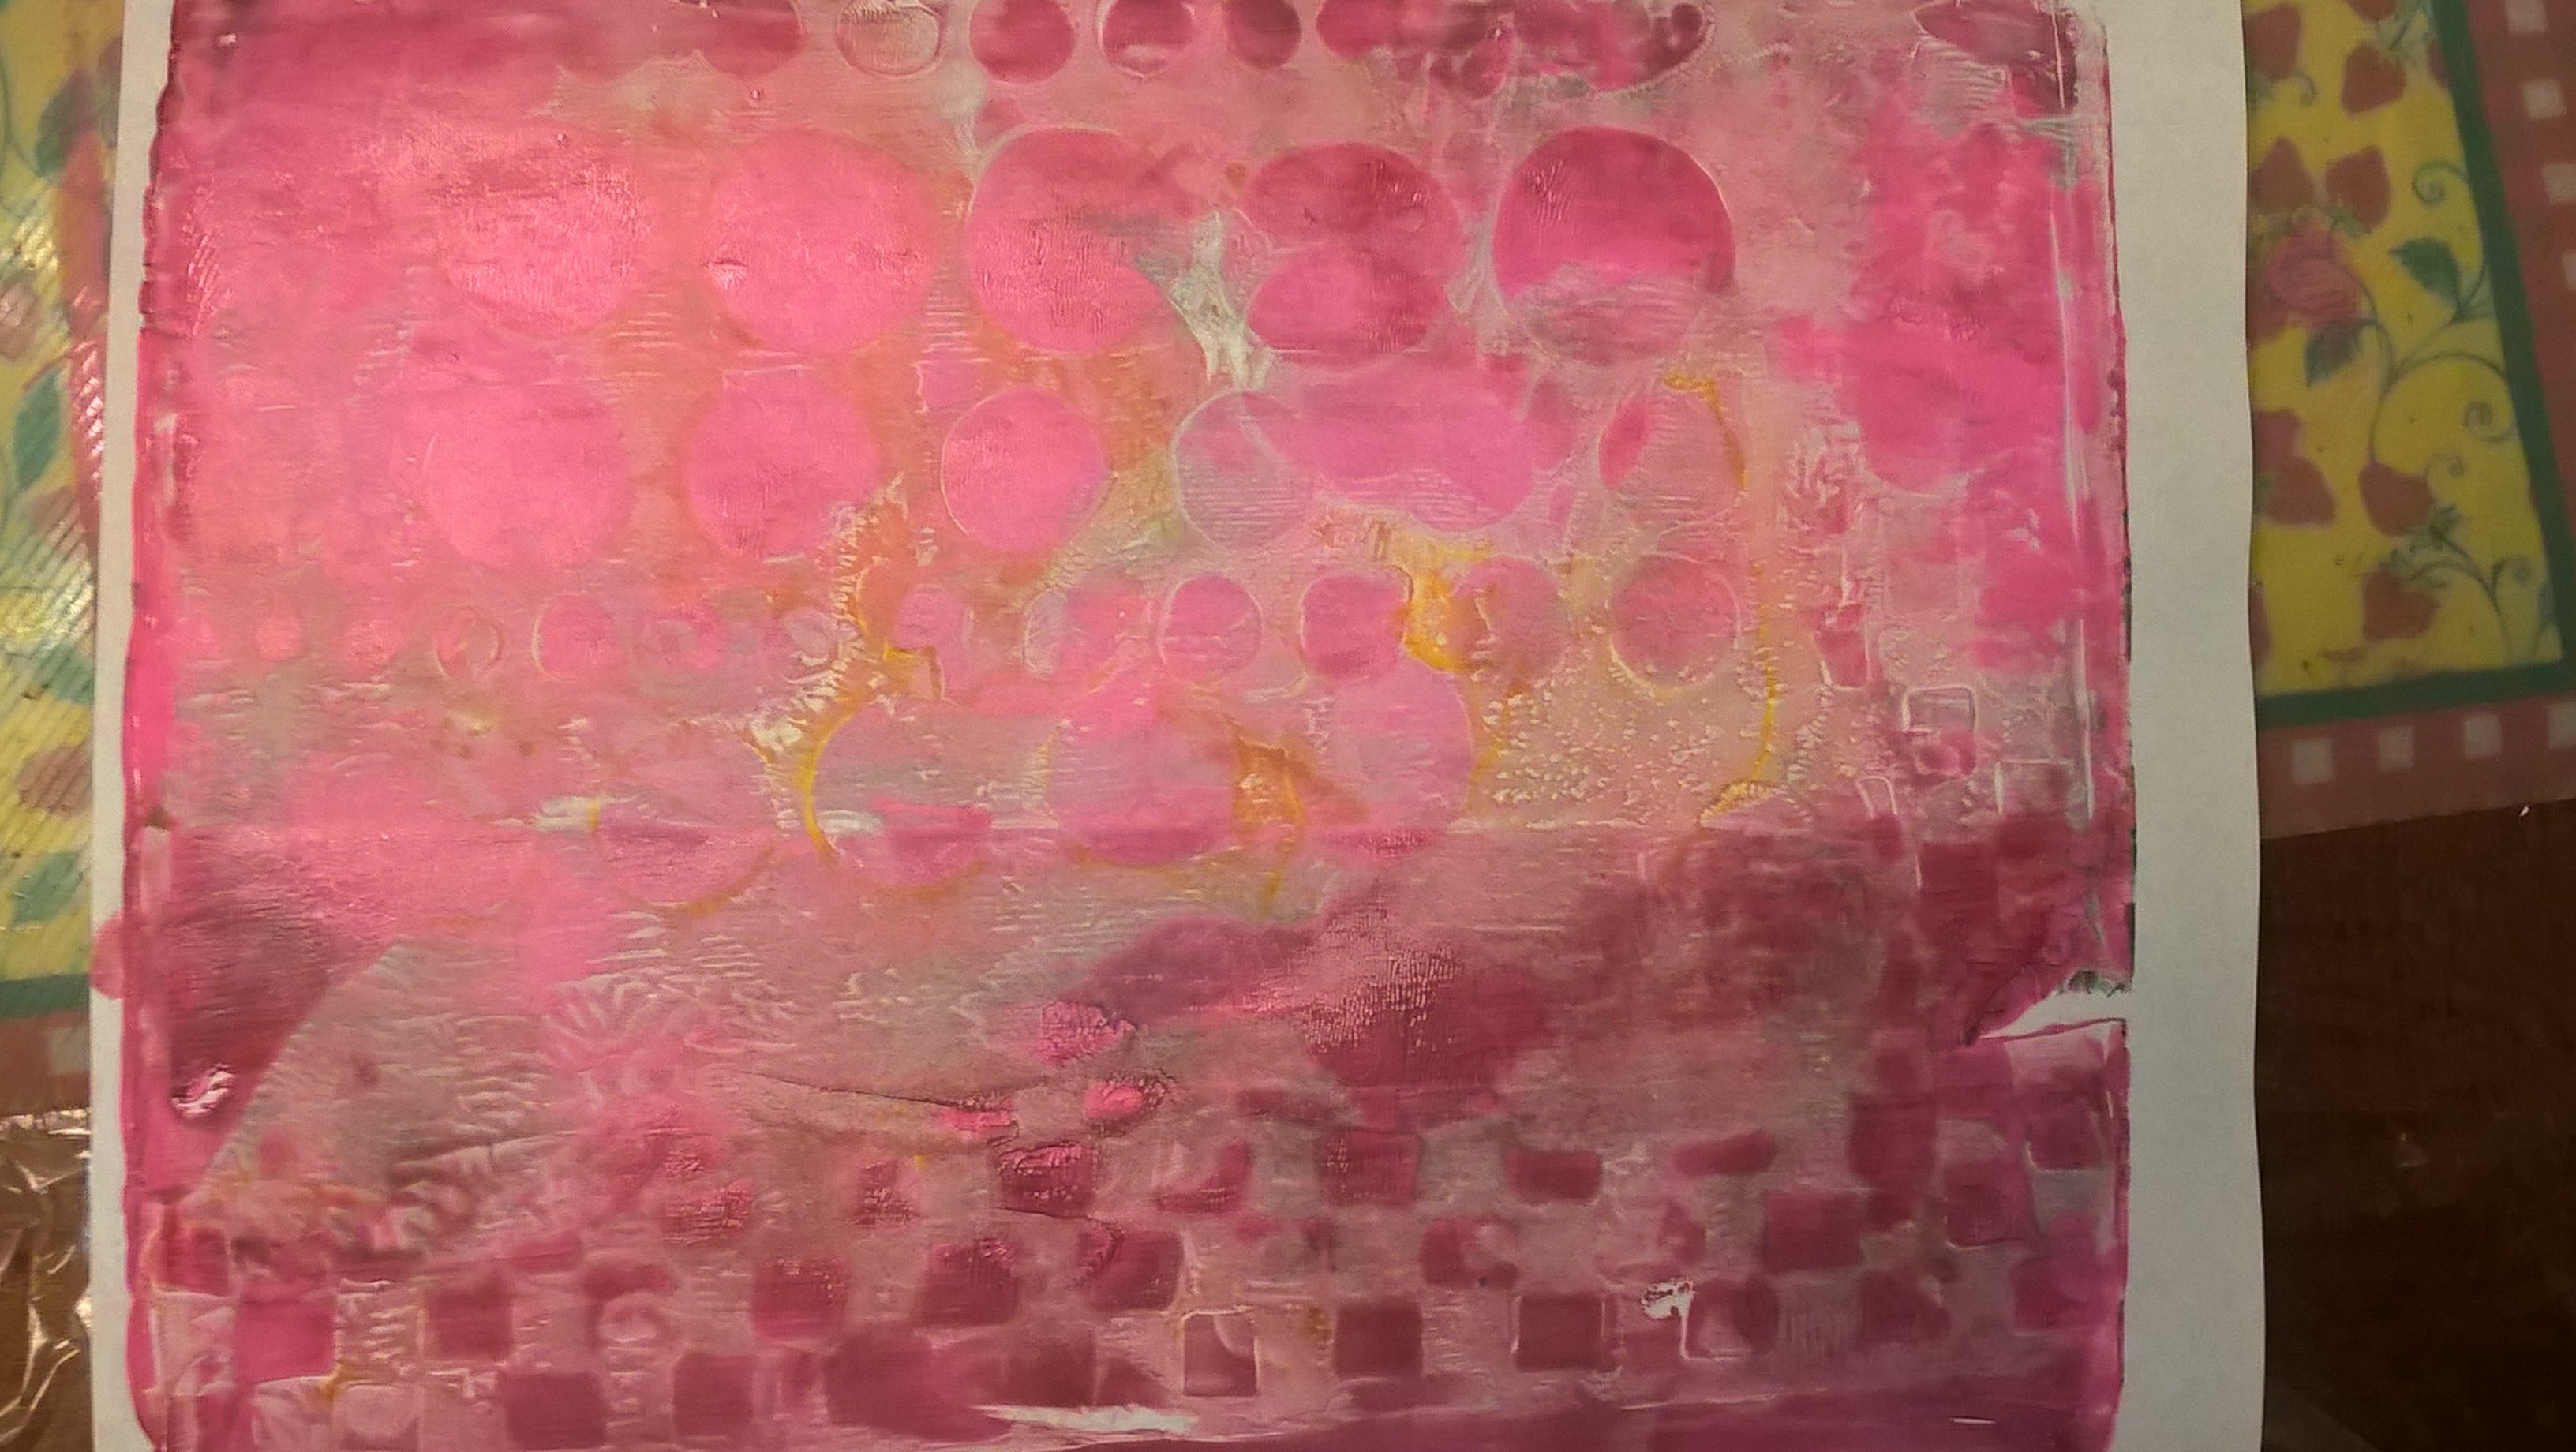
Masks are a fun addition to the gelli plate. Below are some homemade ones that I pressed on top of a painted gelli plate and then laid a paper over it and pulled.
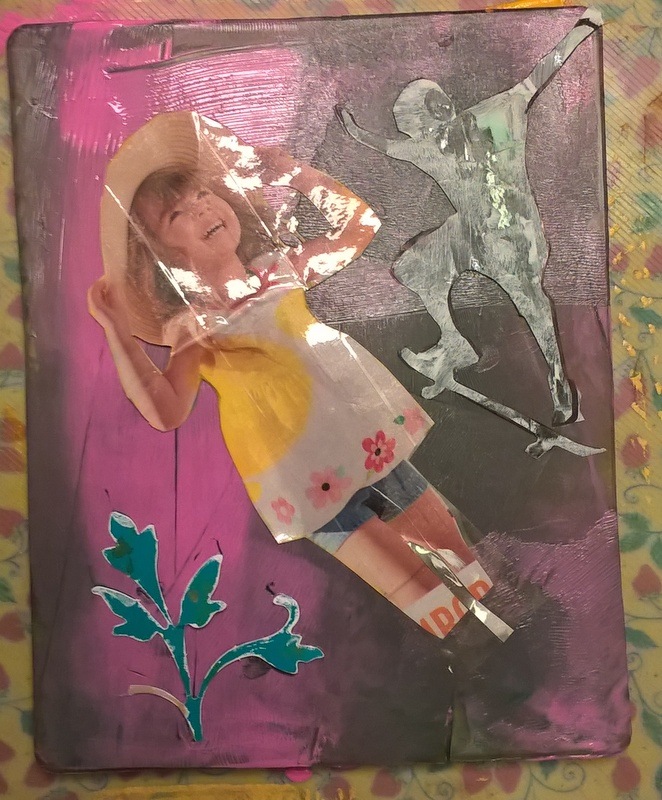
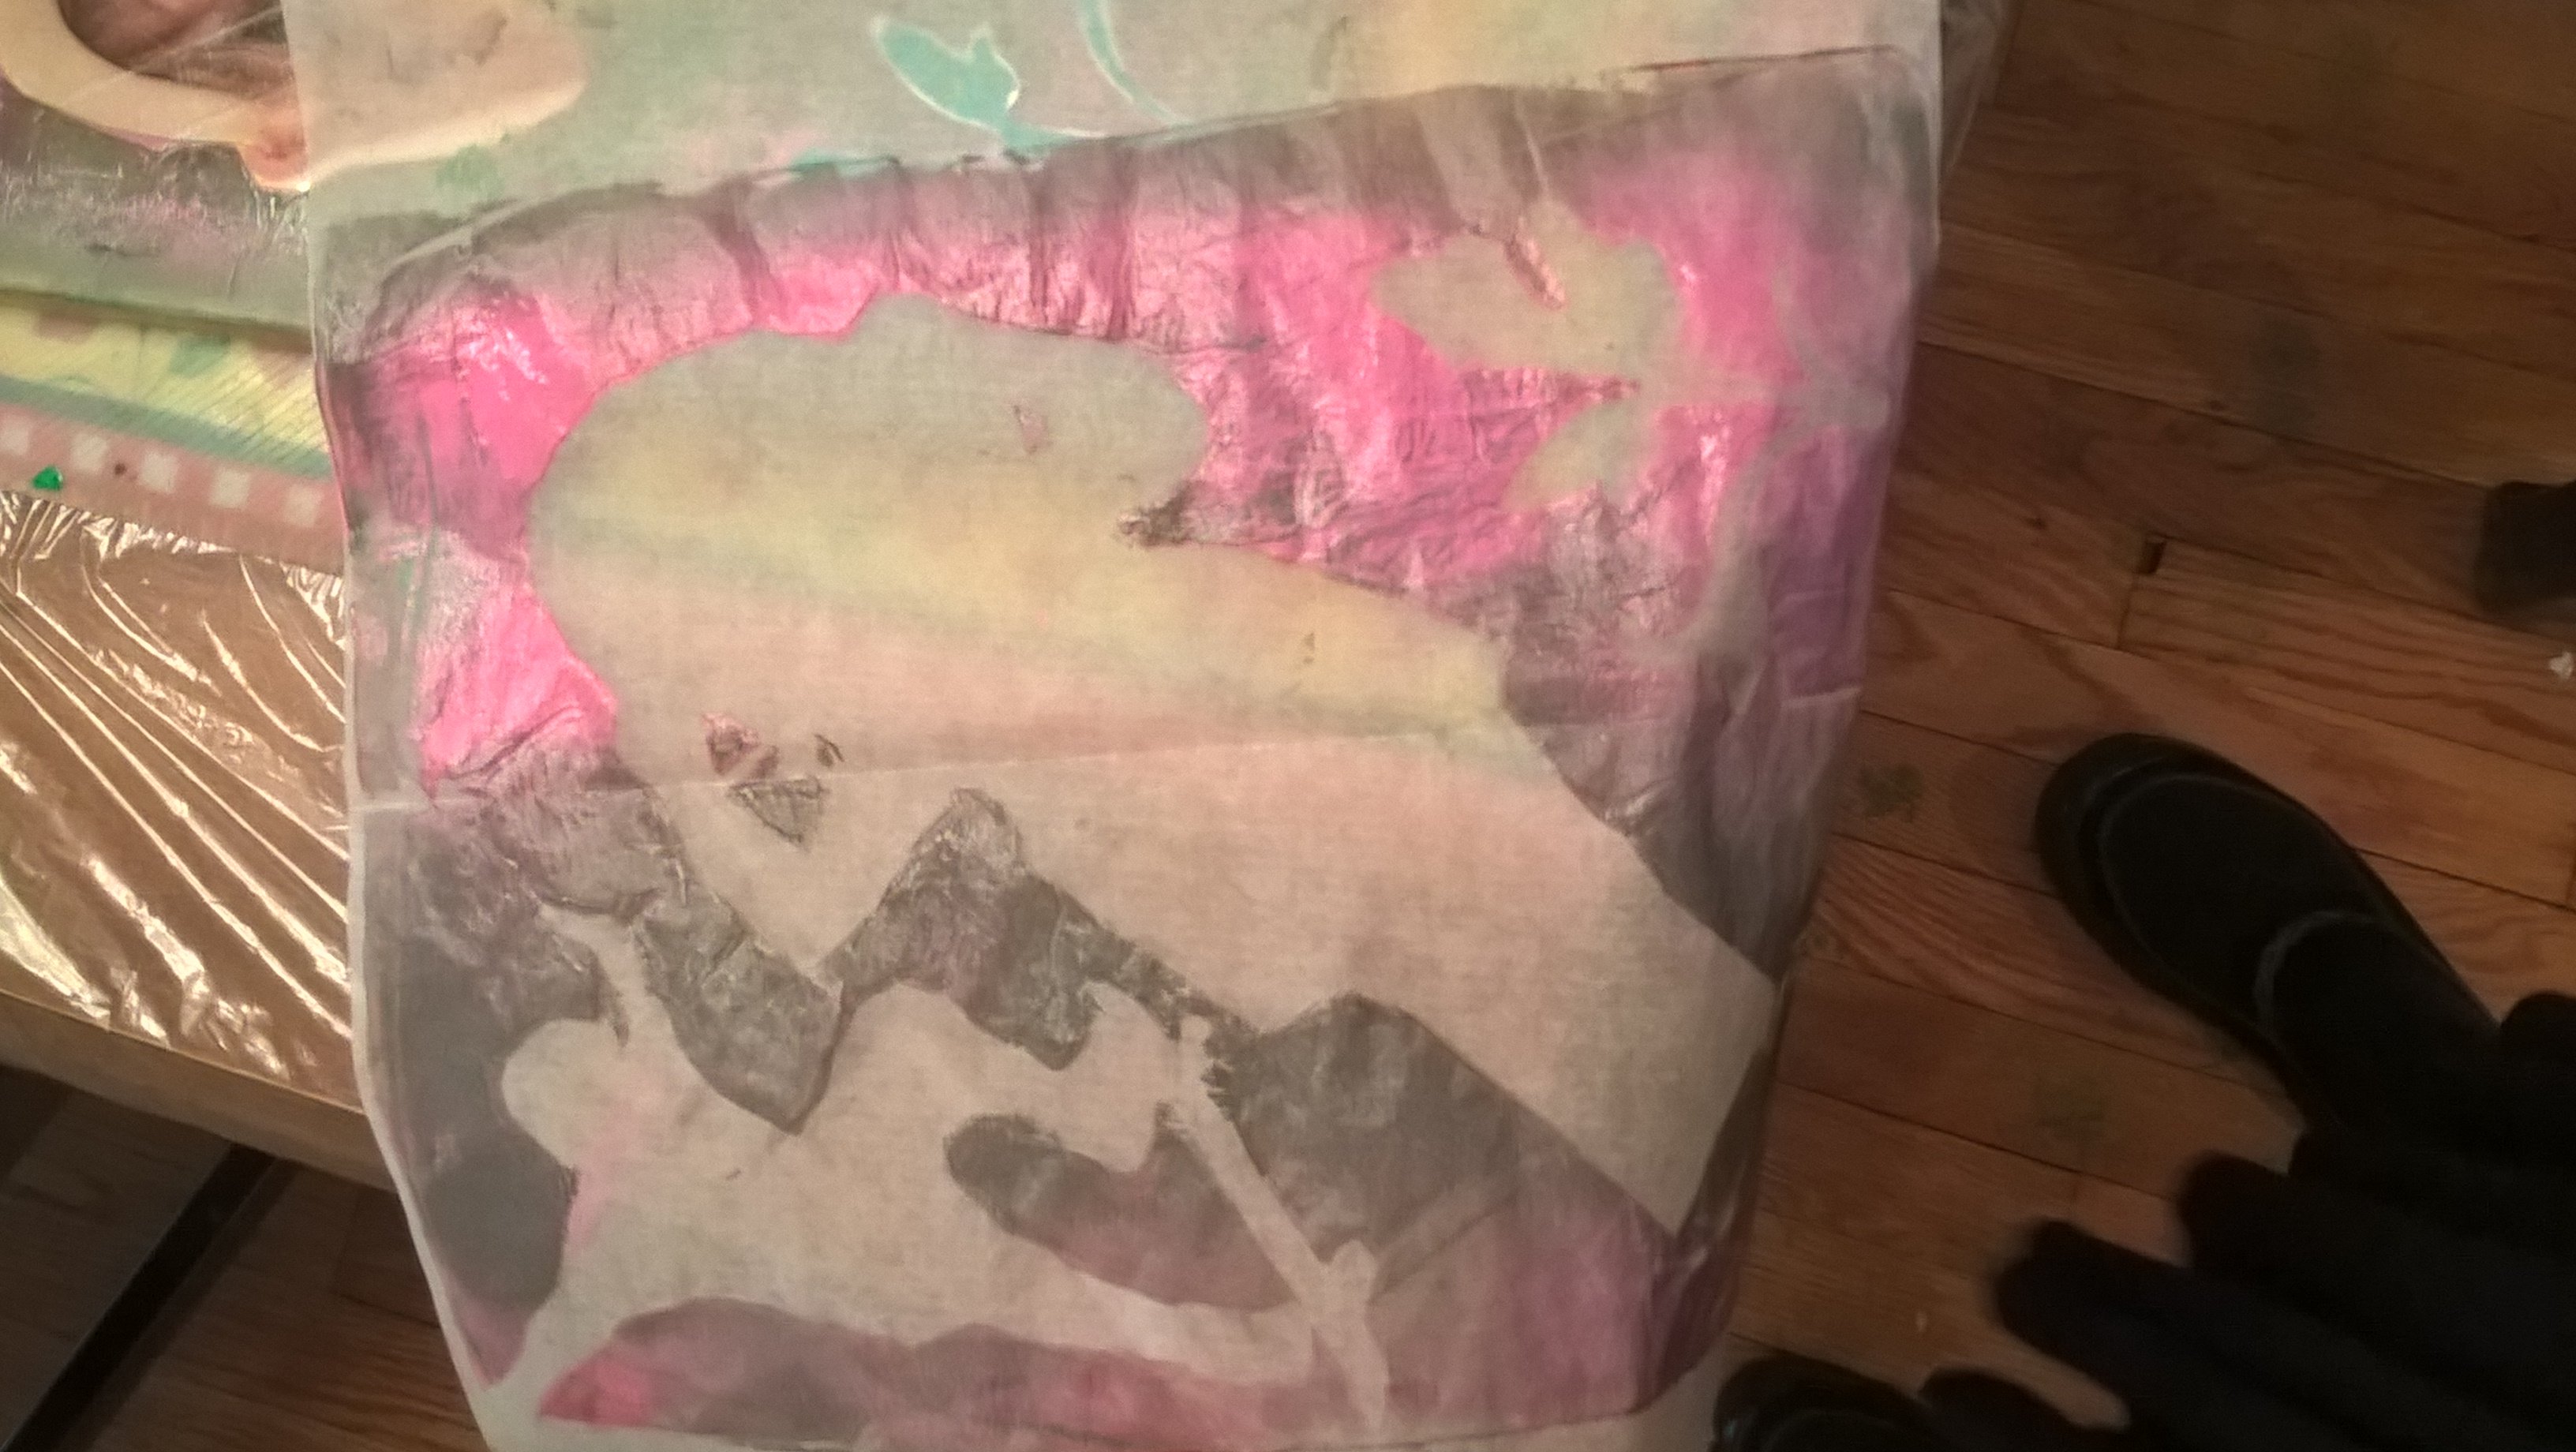
This activity is a tip of the iceberg on the coolness of what you can do with these plate. I rolled some silver over the plate and added some masks. I then took a paper that I had already previously pulled with texture on it and laid that on top of the silver. The image on the right is the result.(I ended up pasting that into my art journal and will probably add to it)

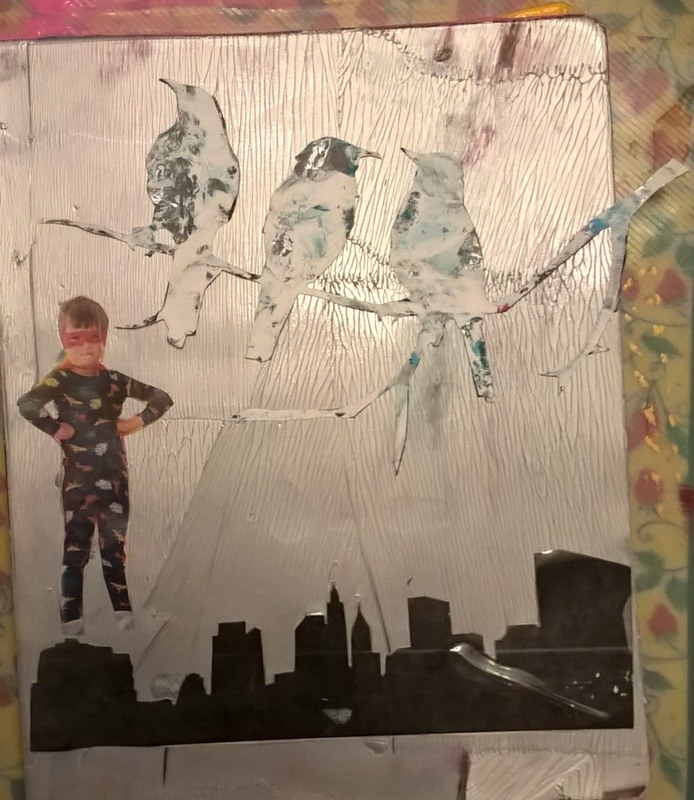
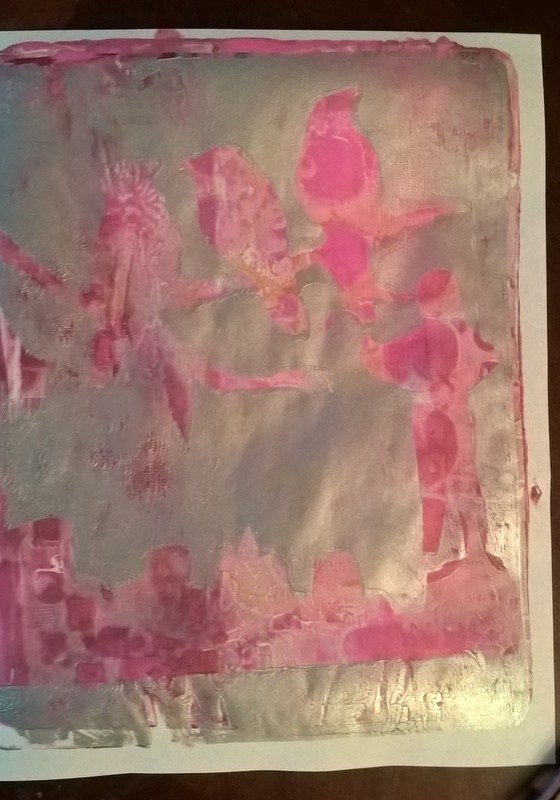
Below are some examples of how I used tags but, I would check out the site of Julie Fei Fan Balzer as she was the one I learned about tags from. (Her site is also a font of information)
Monoprinting with plexiglass
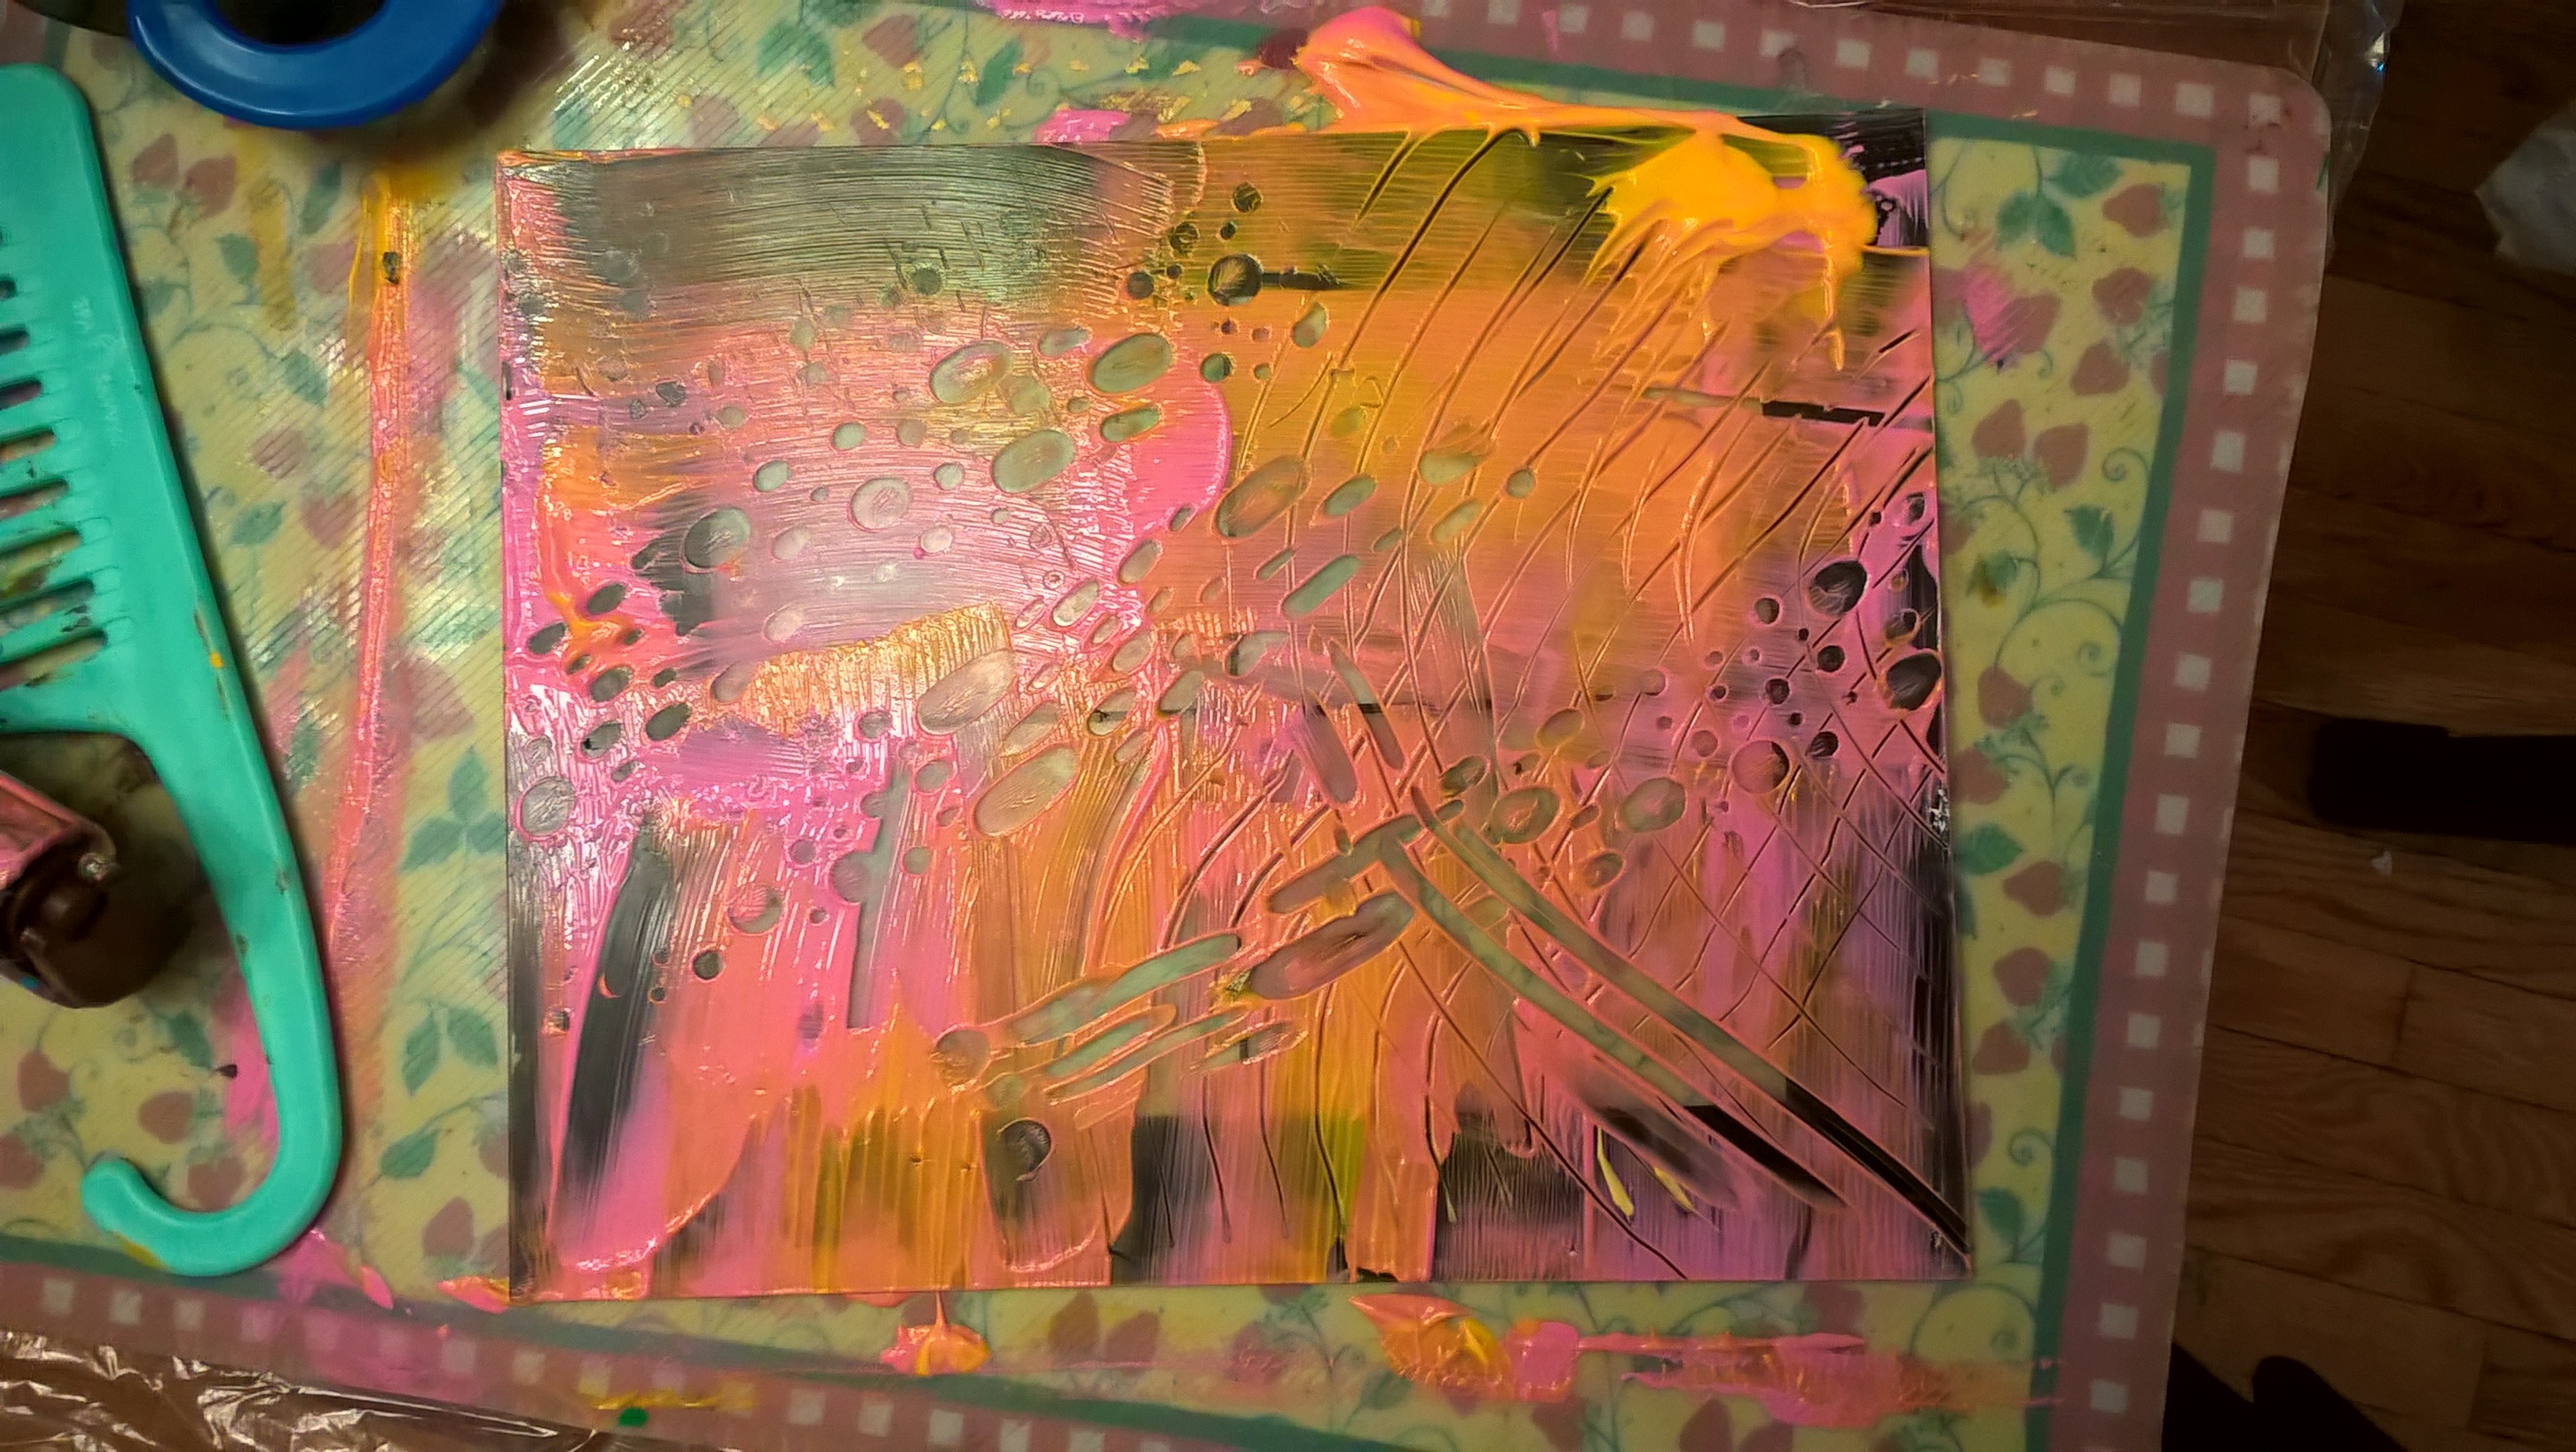
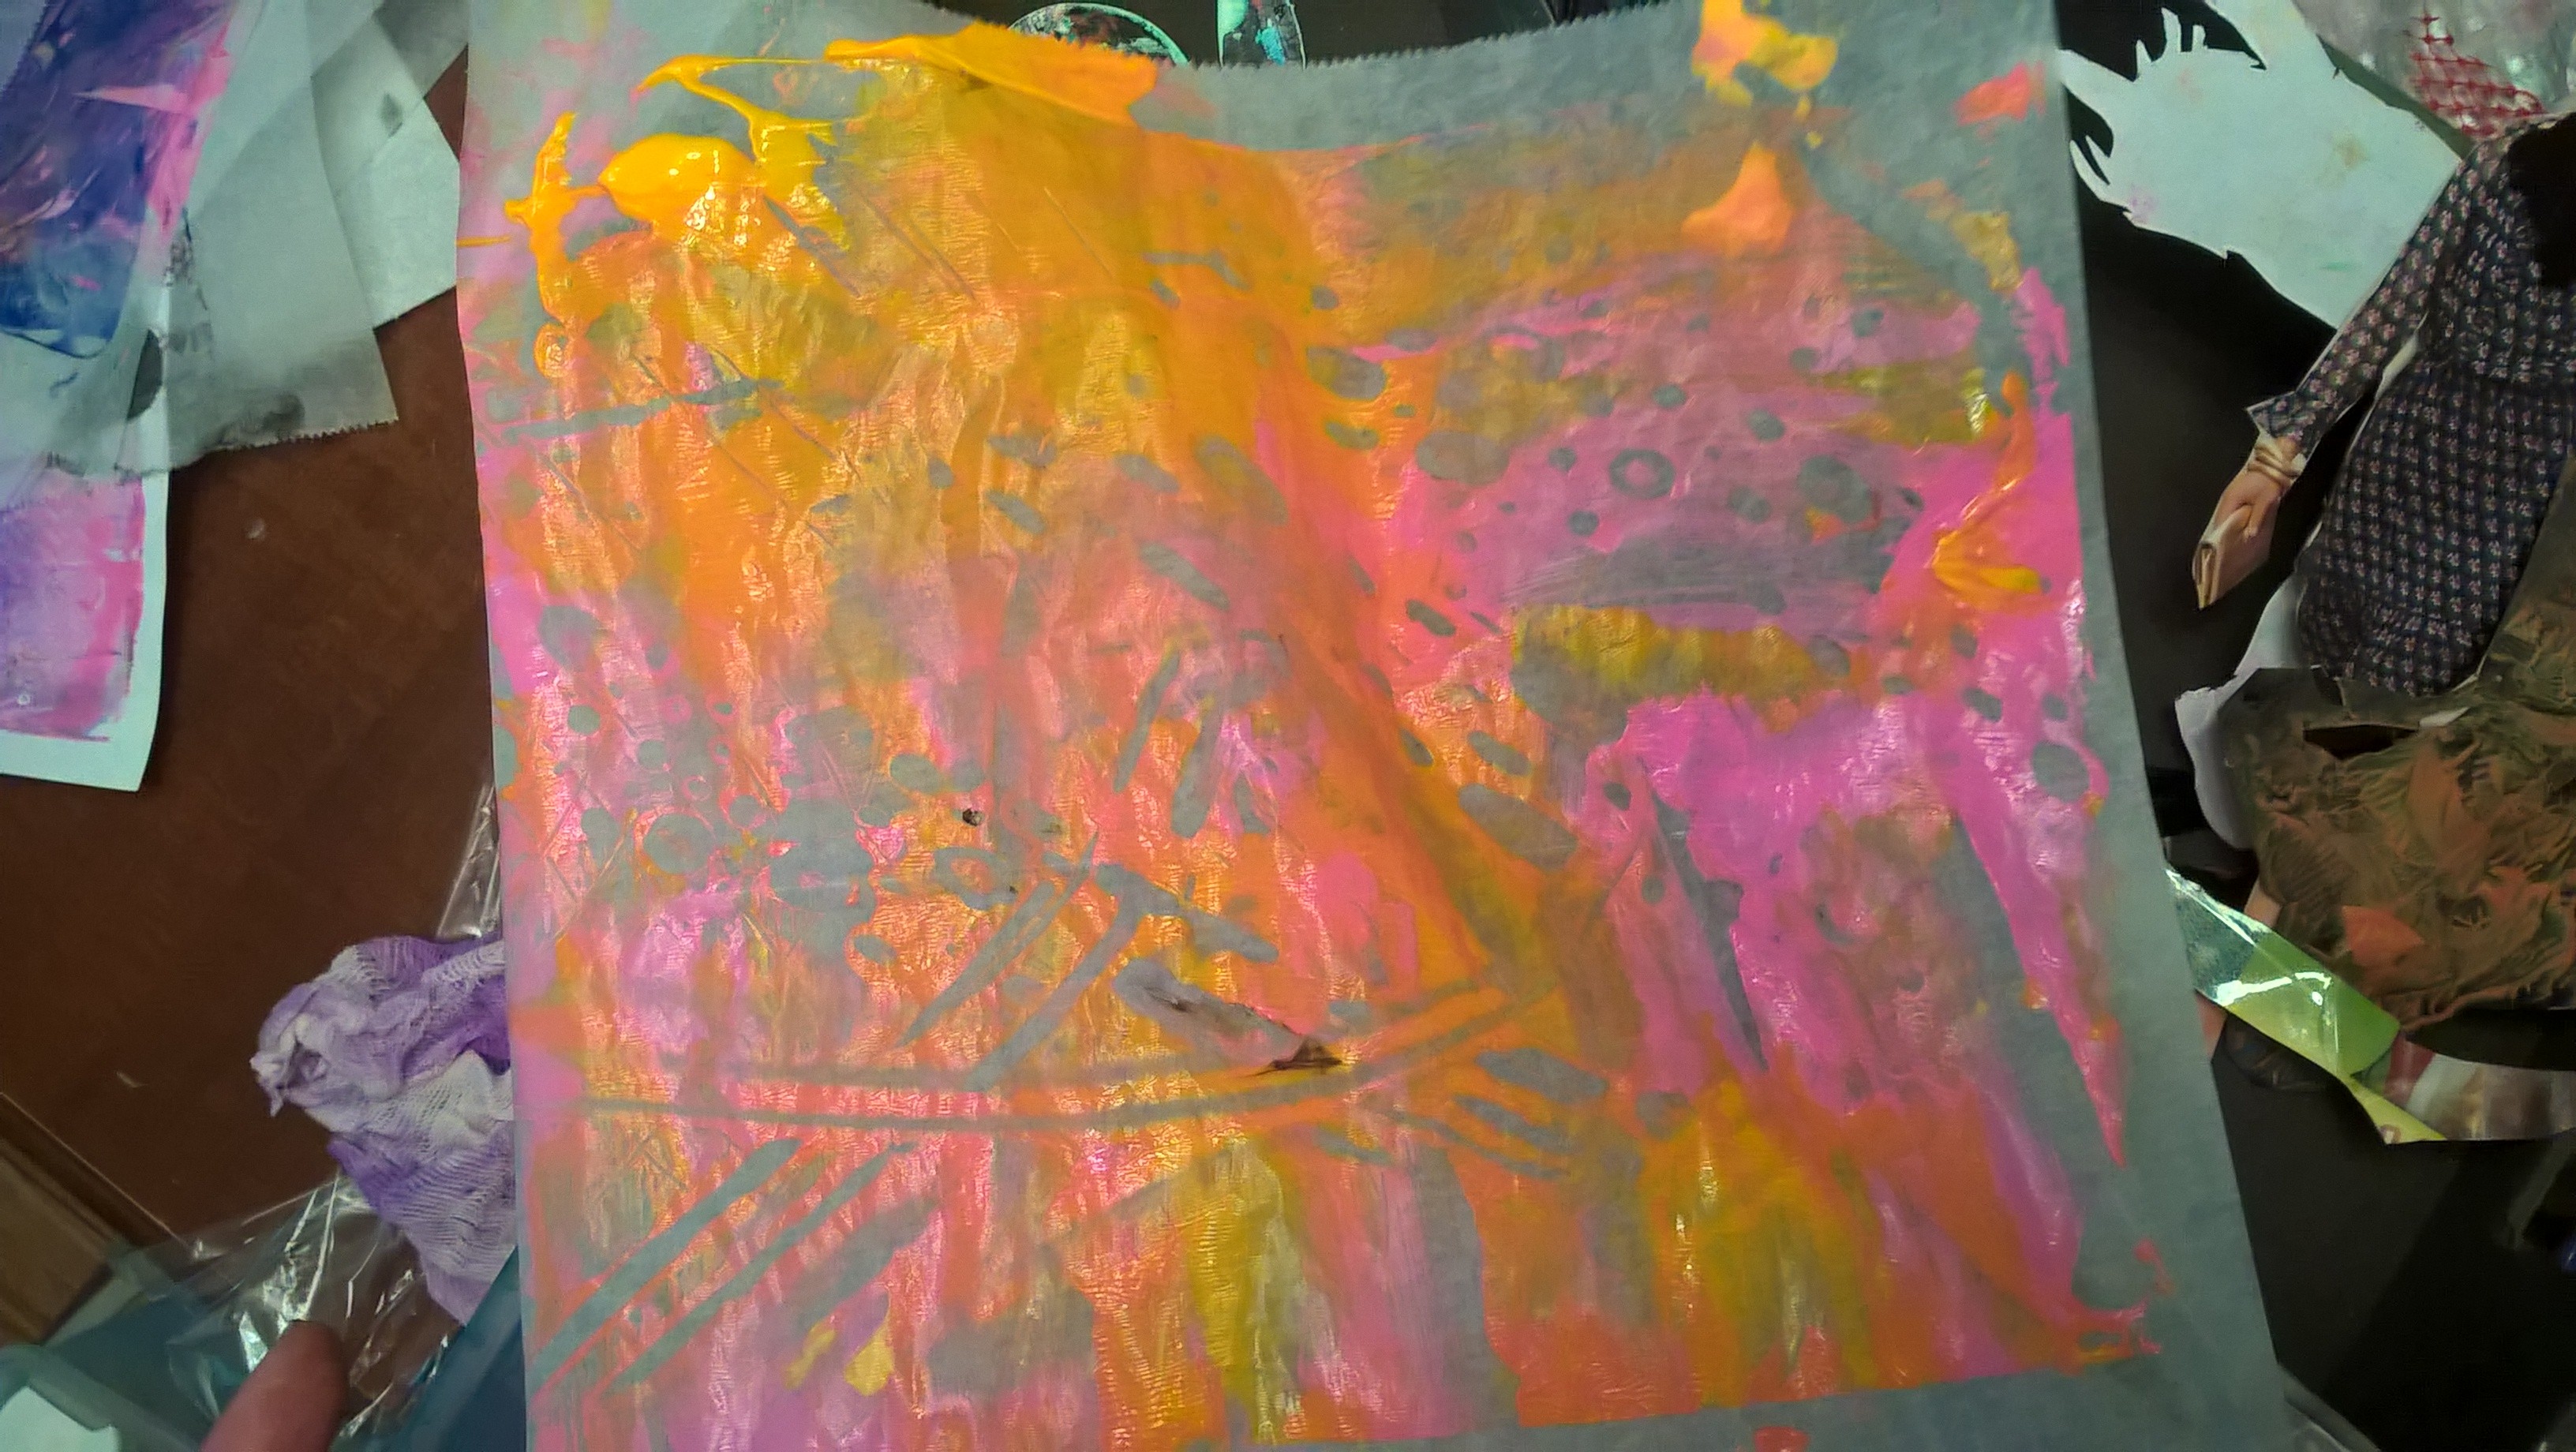
Lest you think that a gelli plate (which can expensive for the initial payment that I think is quite worth it if you are going to be doing lots of printing) is the only way to go, I rolled some paint onto a piece of Plexiglas and pulled a print from that after making some marks. I did not do extensive experimenting so I don't know how far you can go with it. (I also used Plexiglas to pull prints in my backgrounds post)
Stenciling is also printing
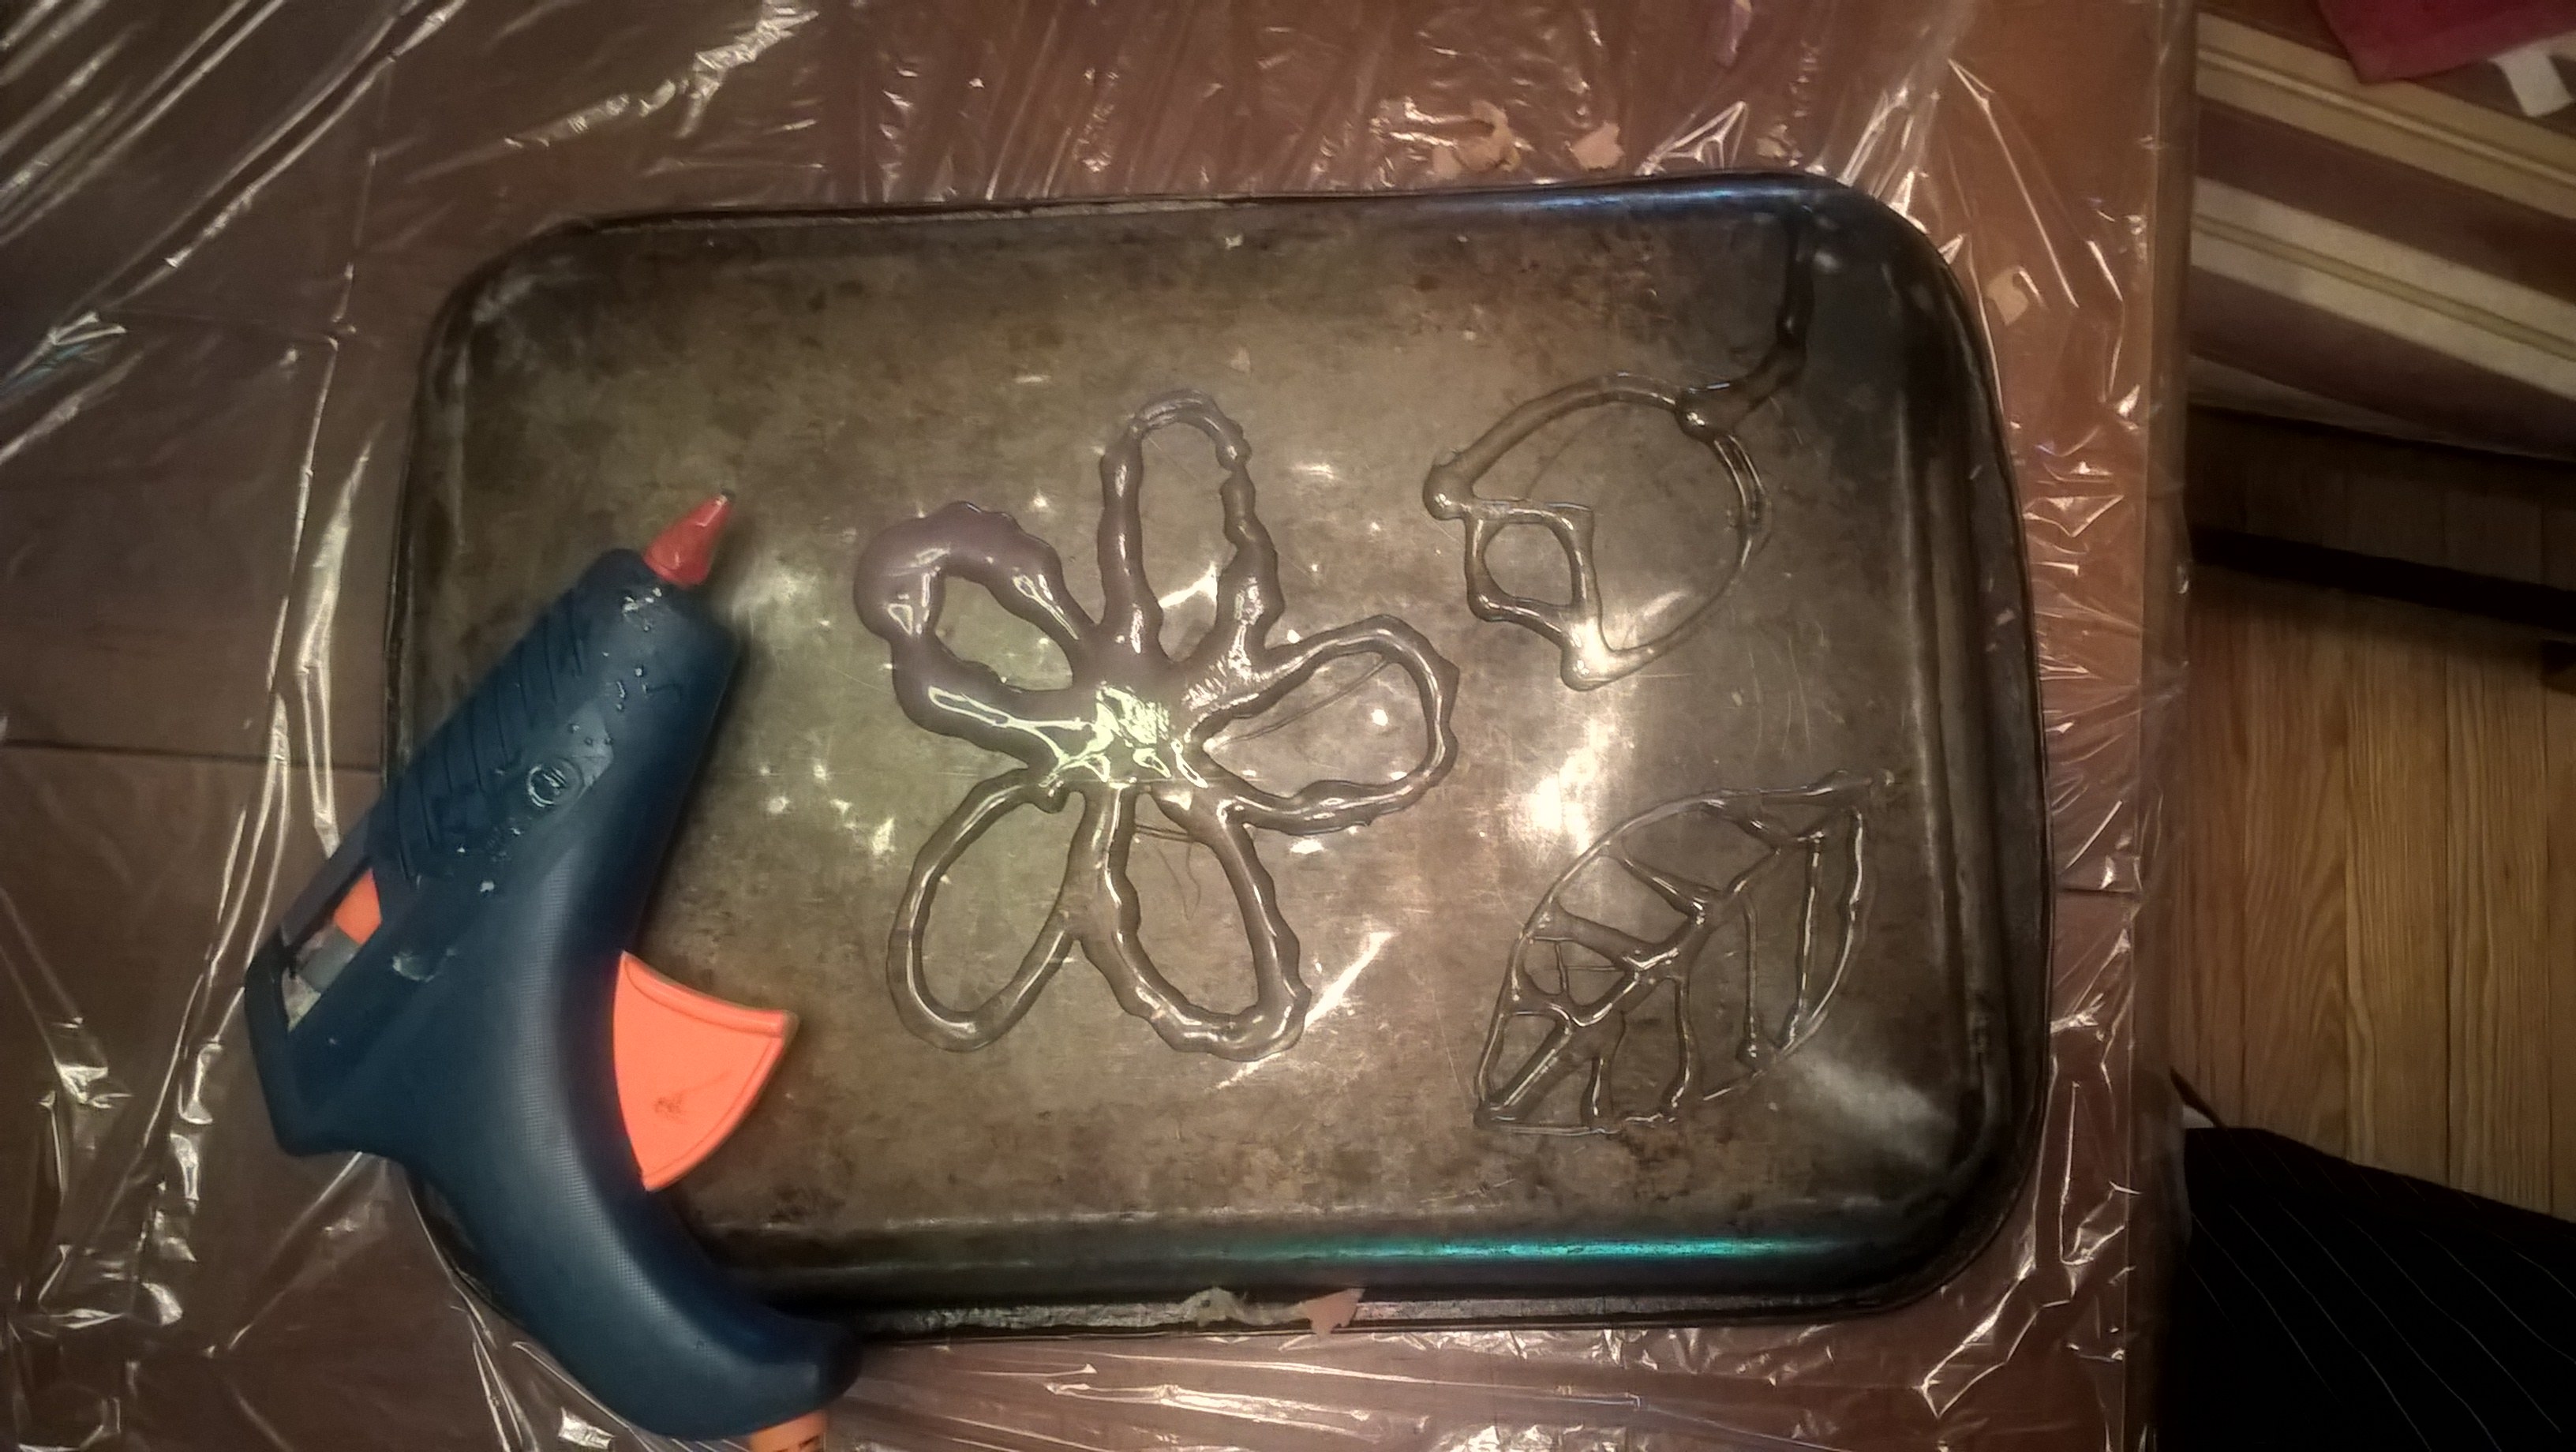
It's true that the following 2 examples are really stenciling and should have been in my stencil art post but, the first one I read about in The book Printing Unleashed so I figured if it could go in the book all about printmaking then it can certainly be in this post, especially since it is such a different type of stencil activity.
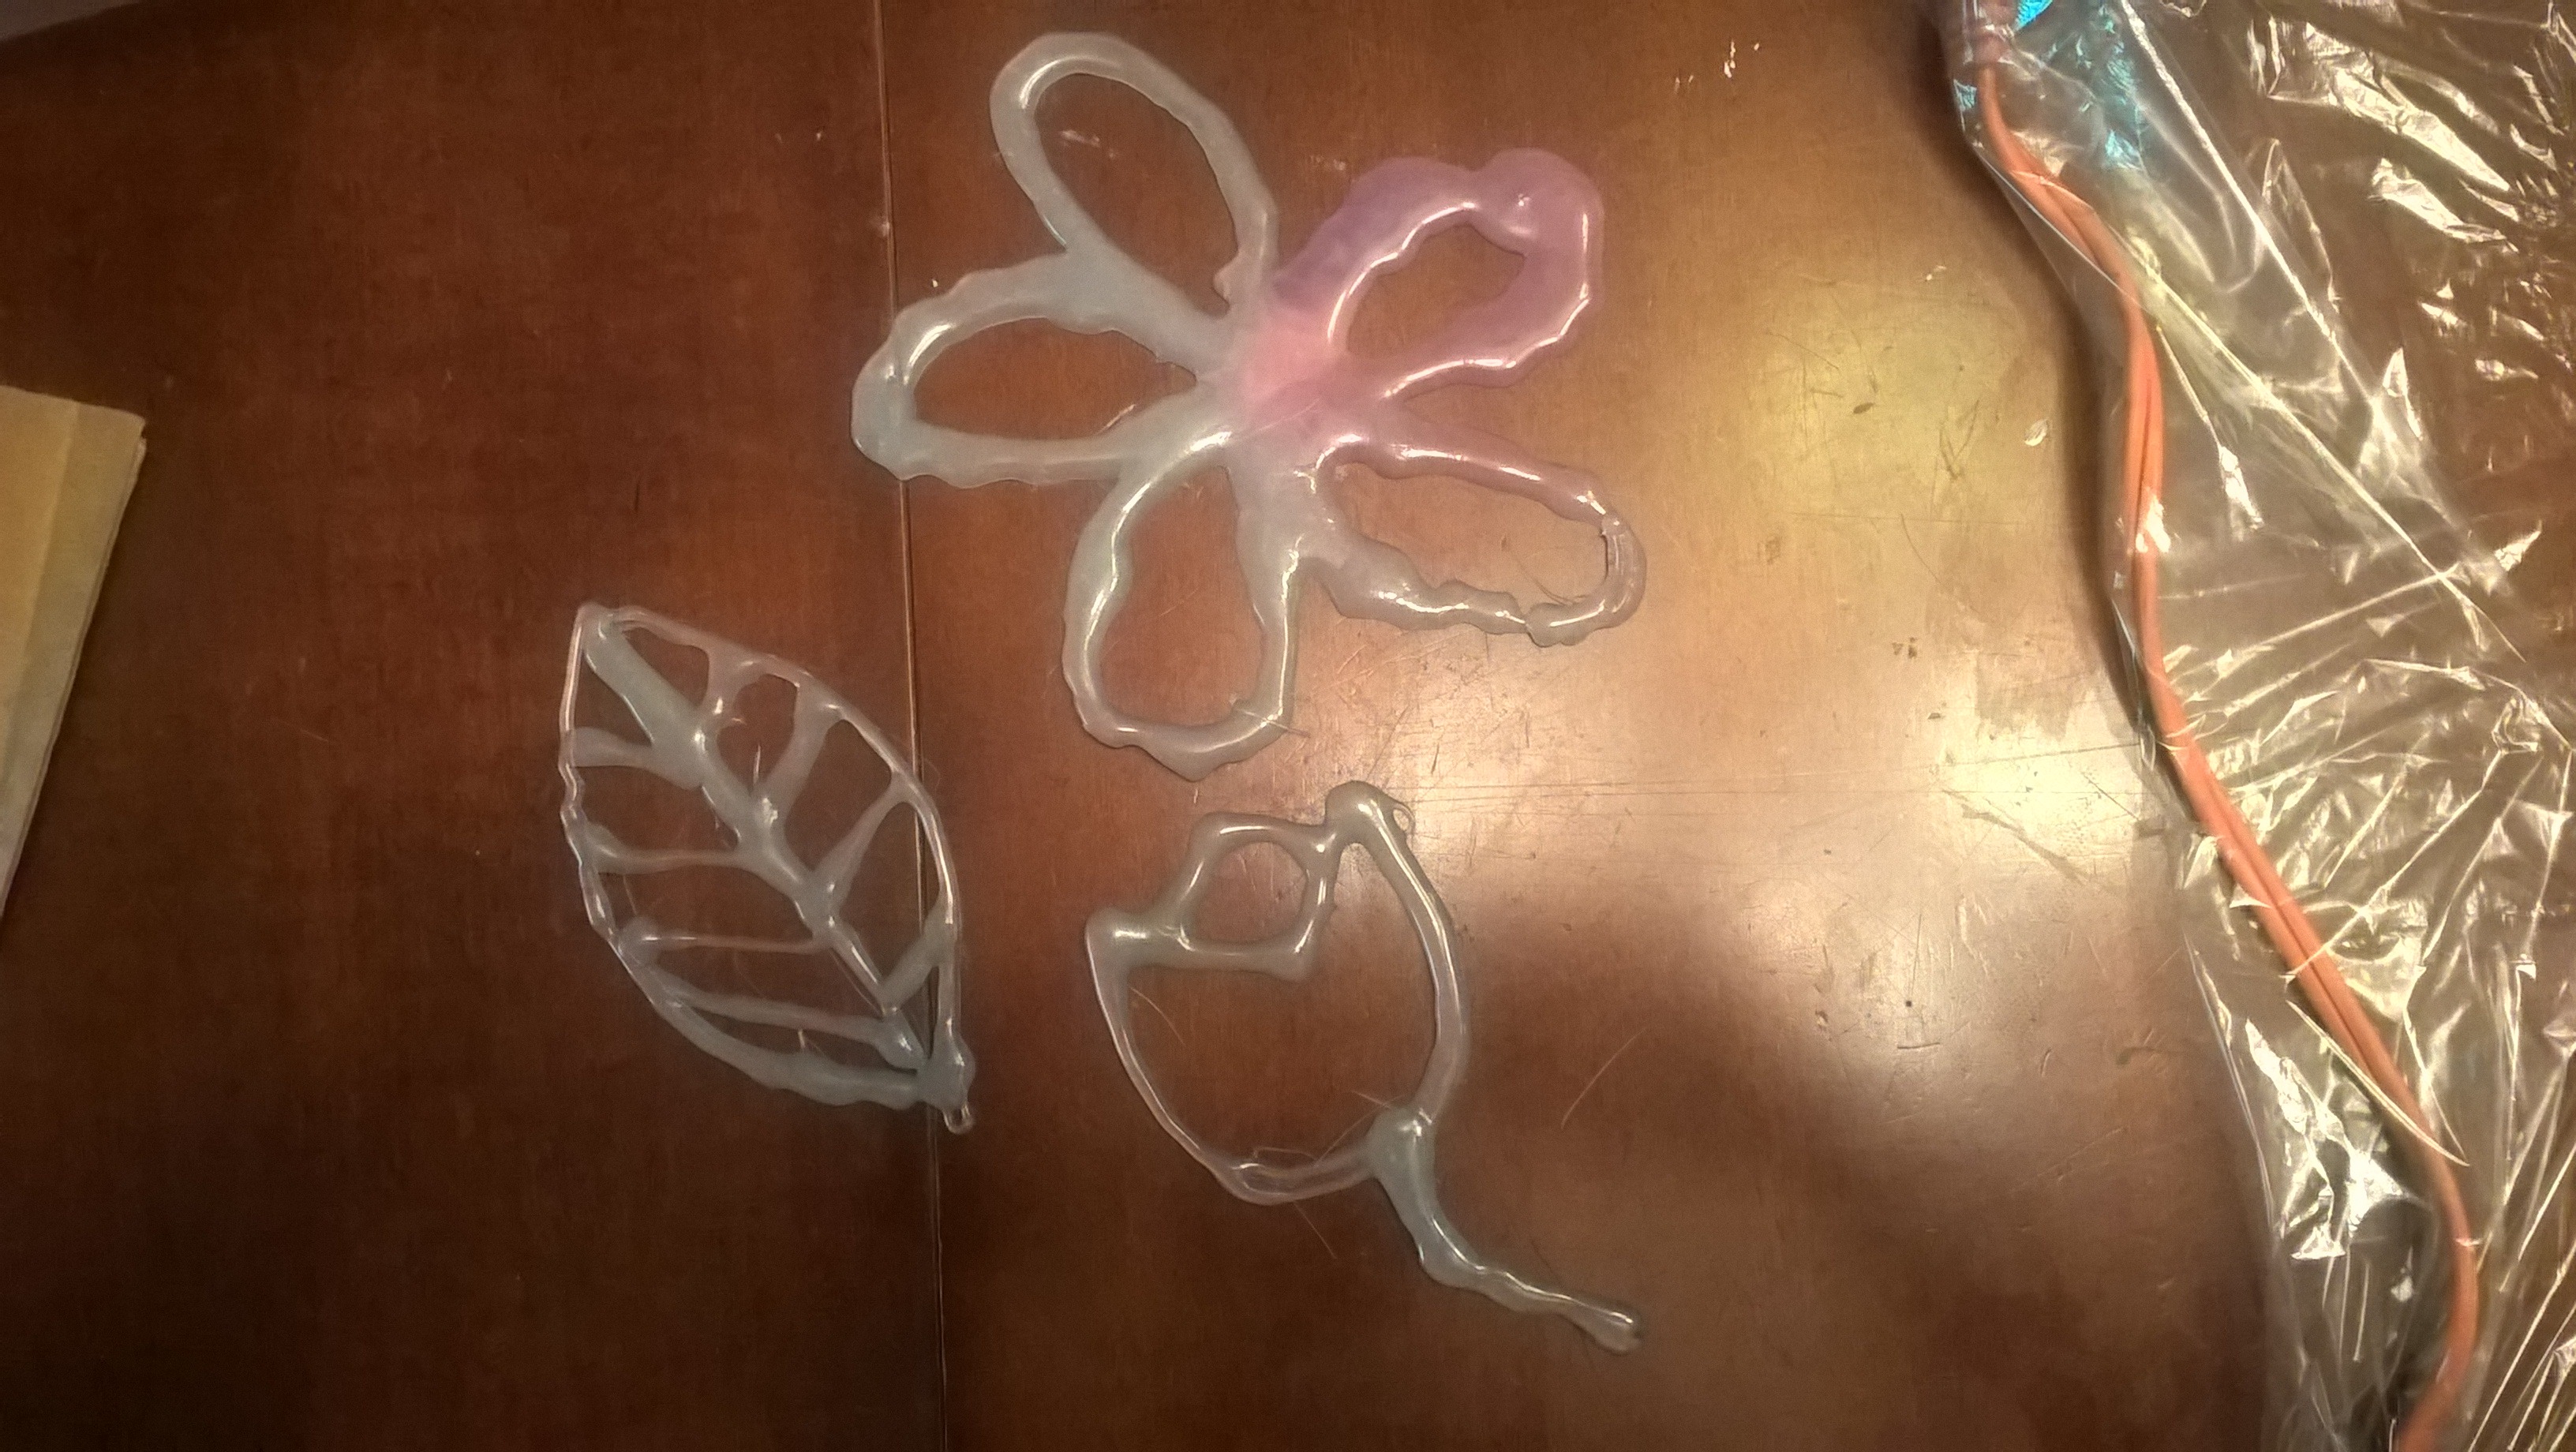
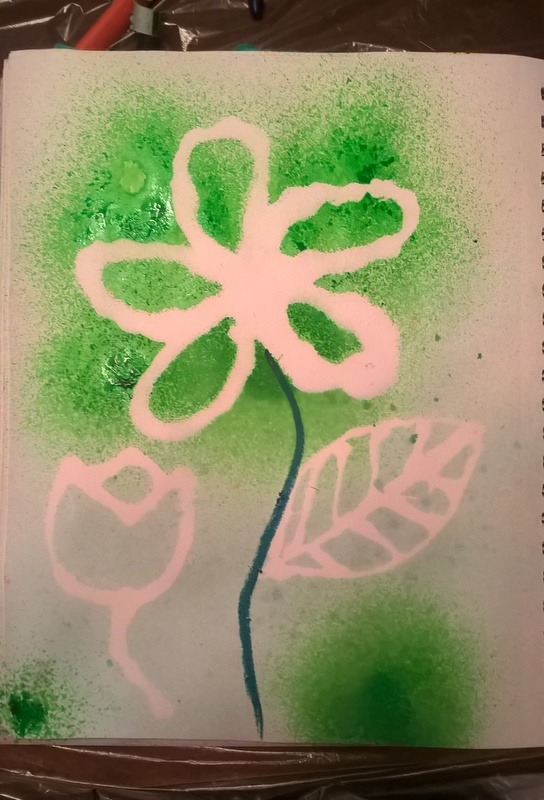
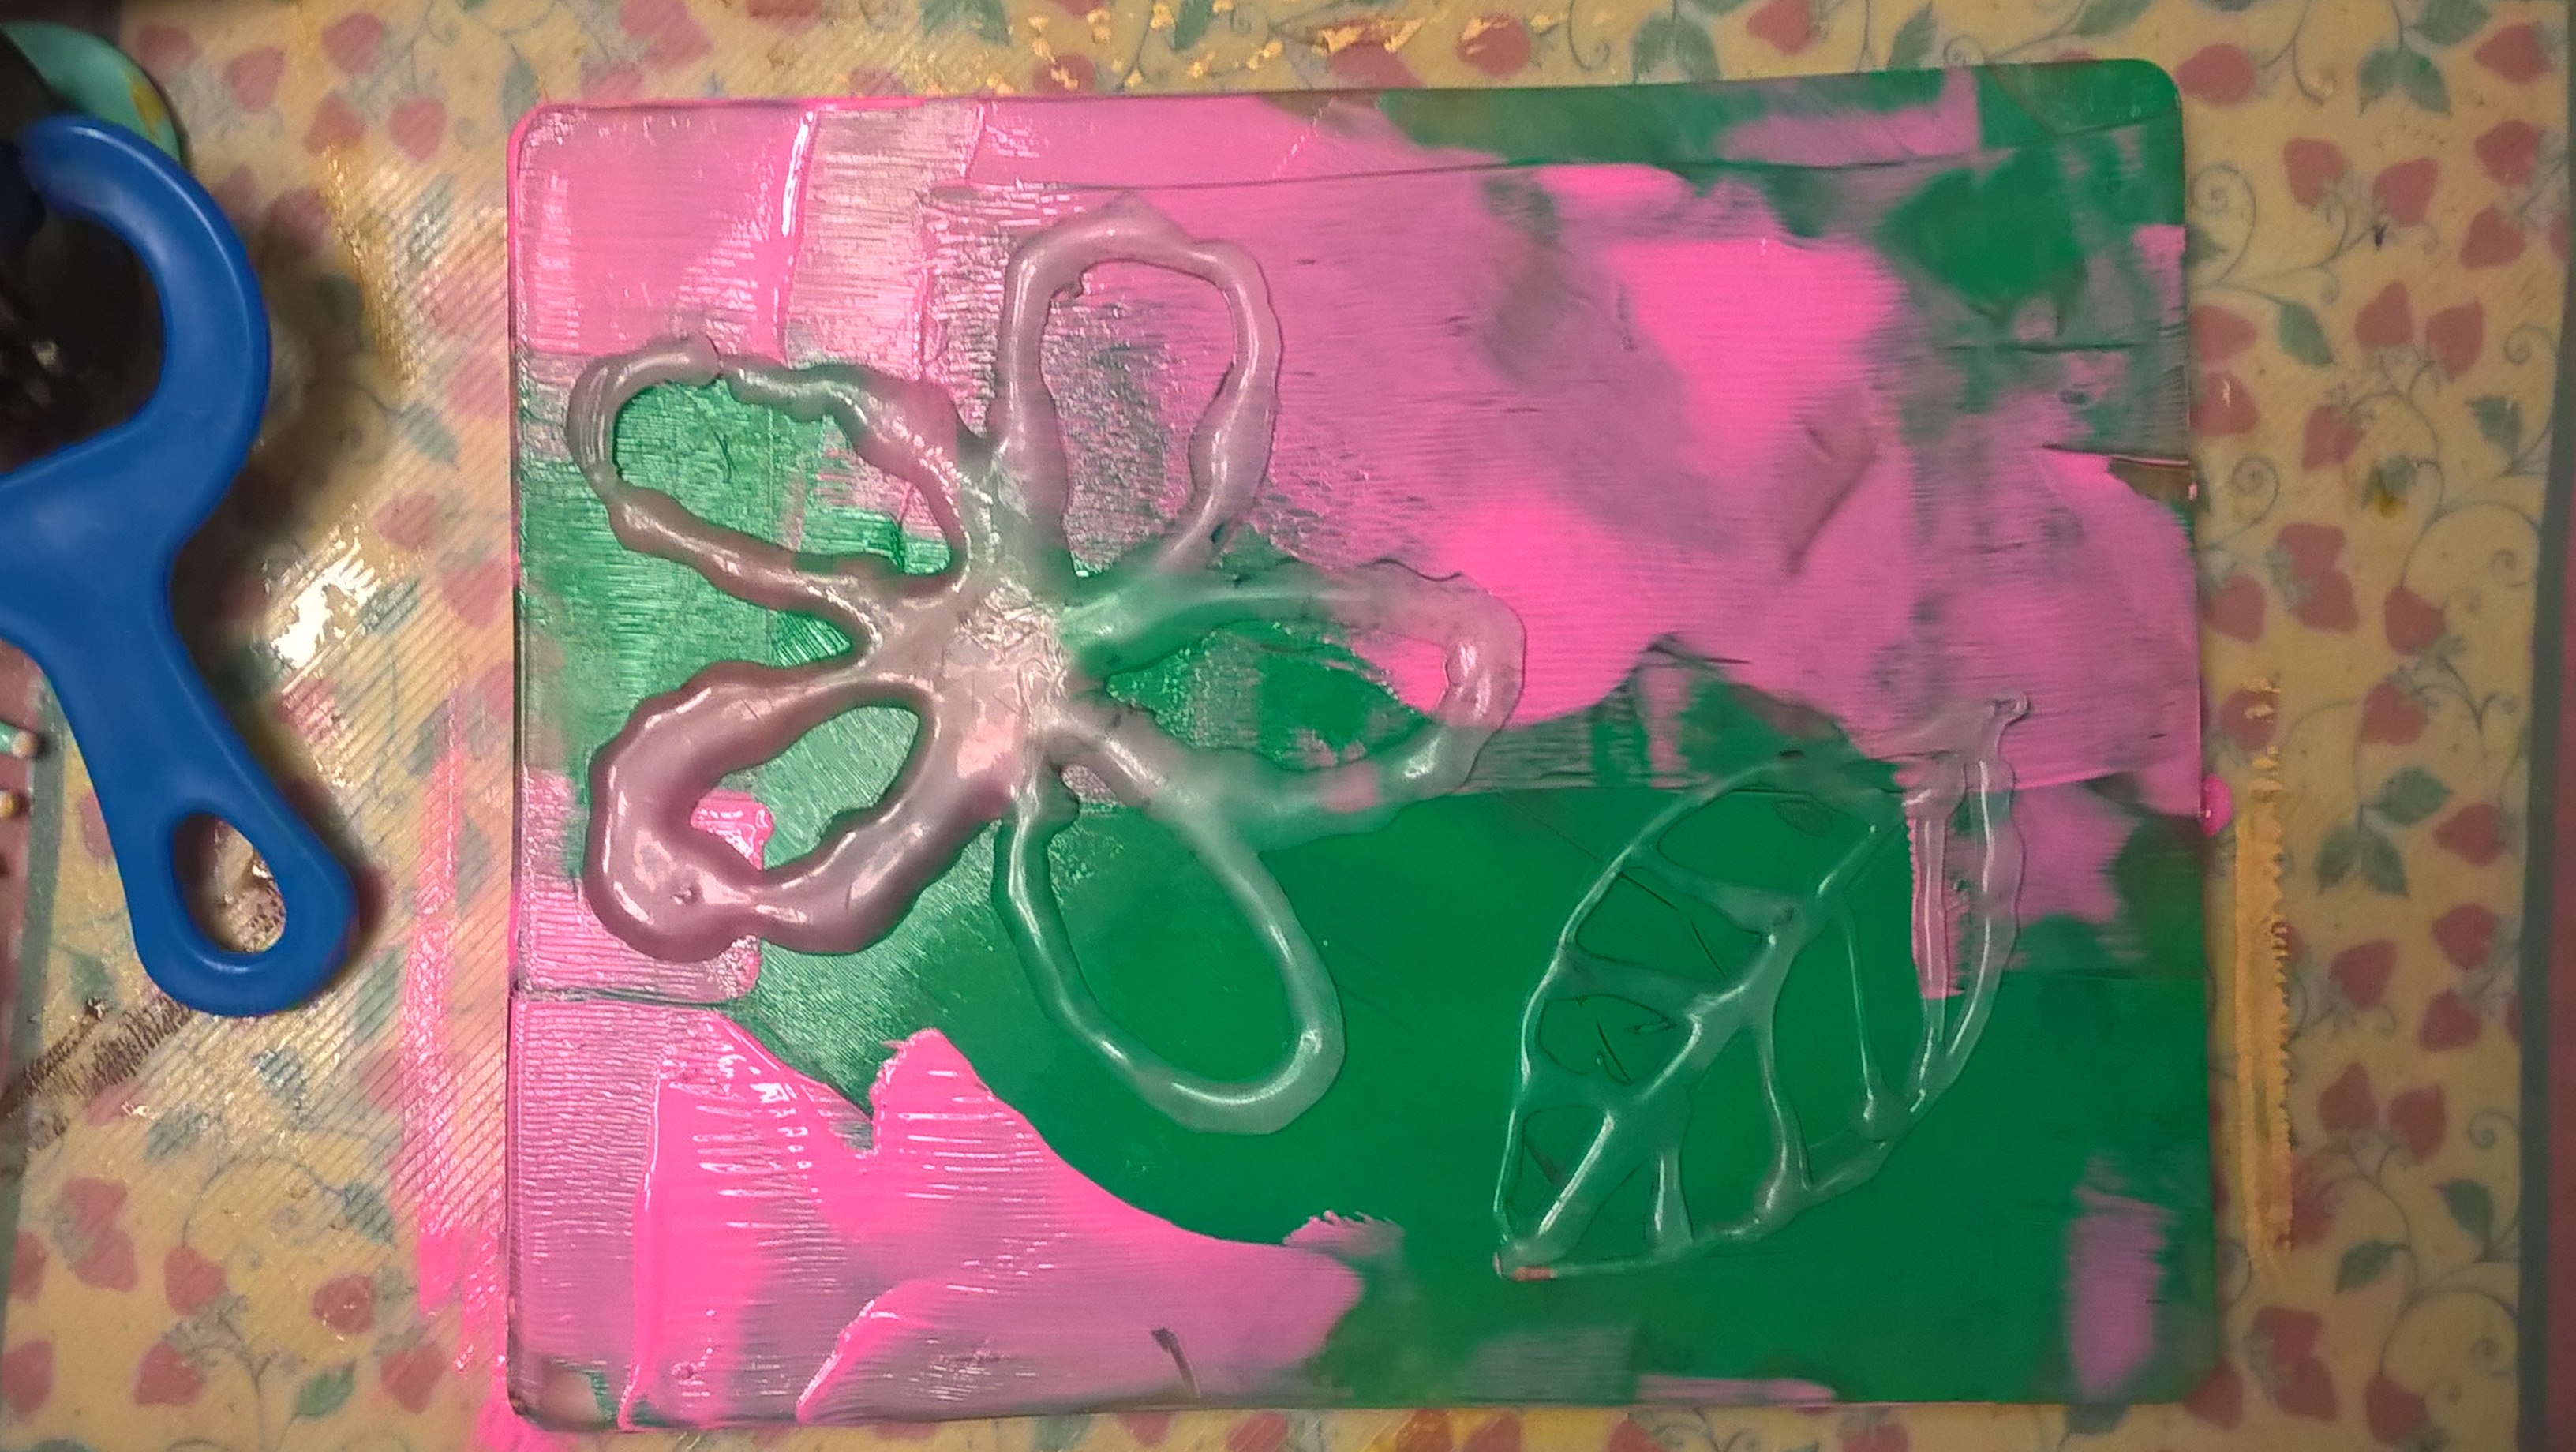
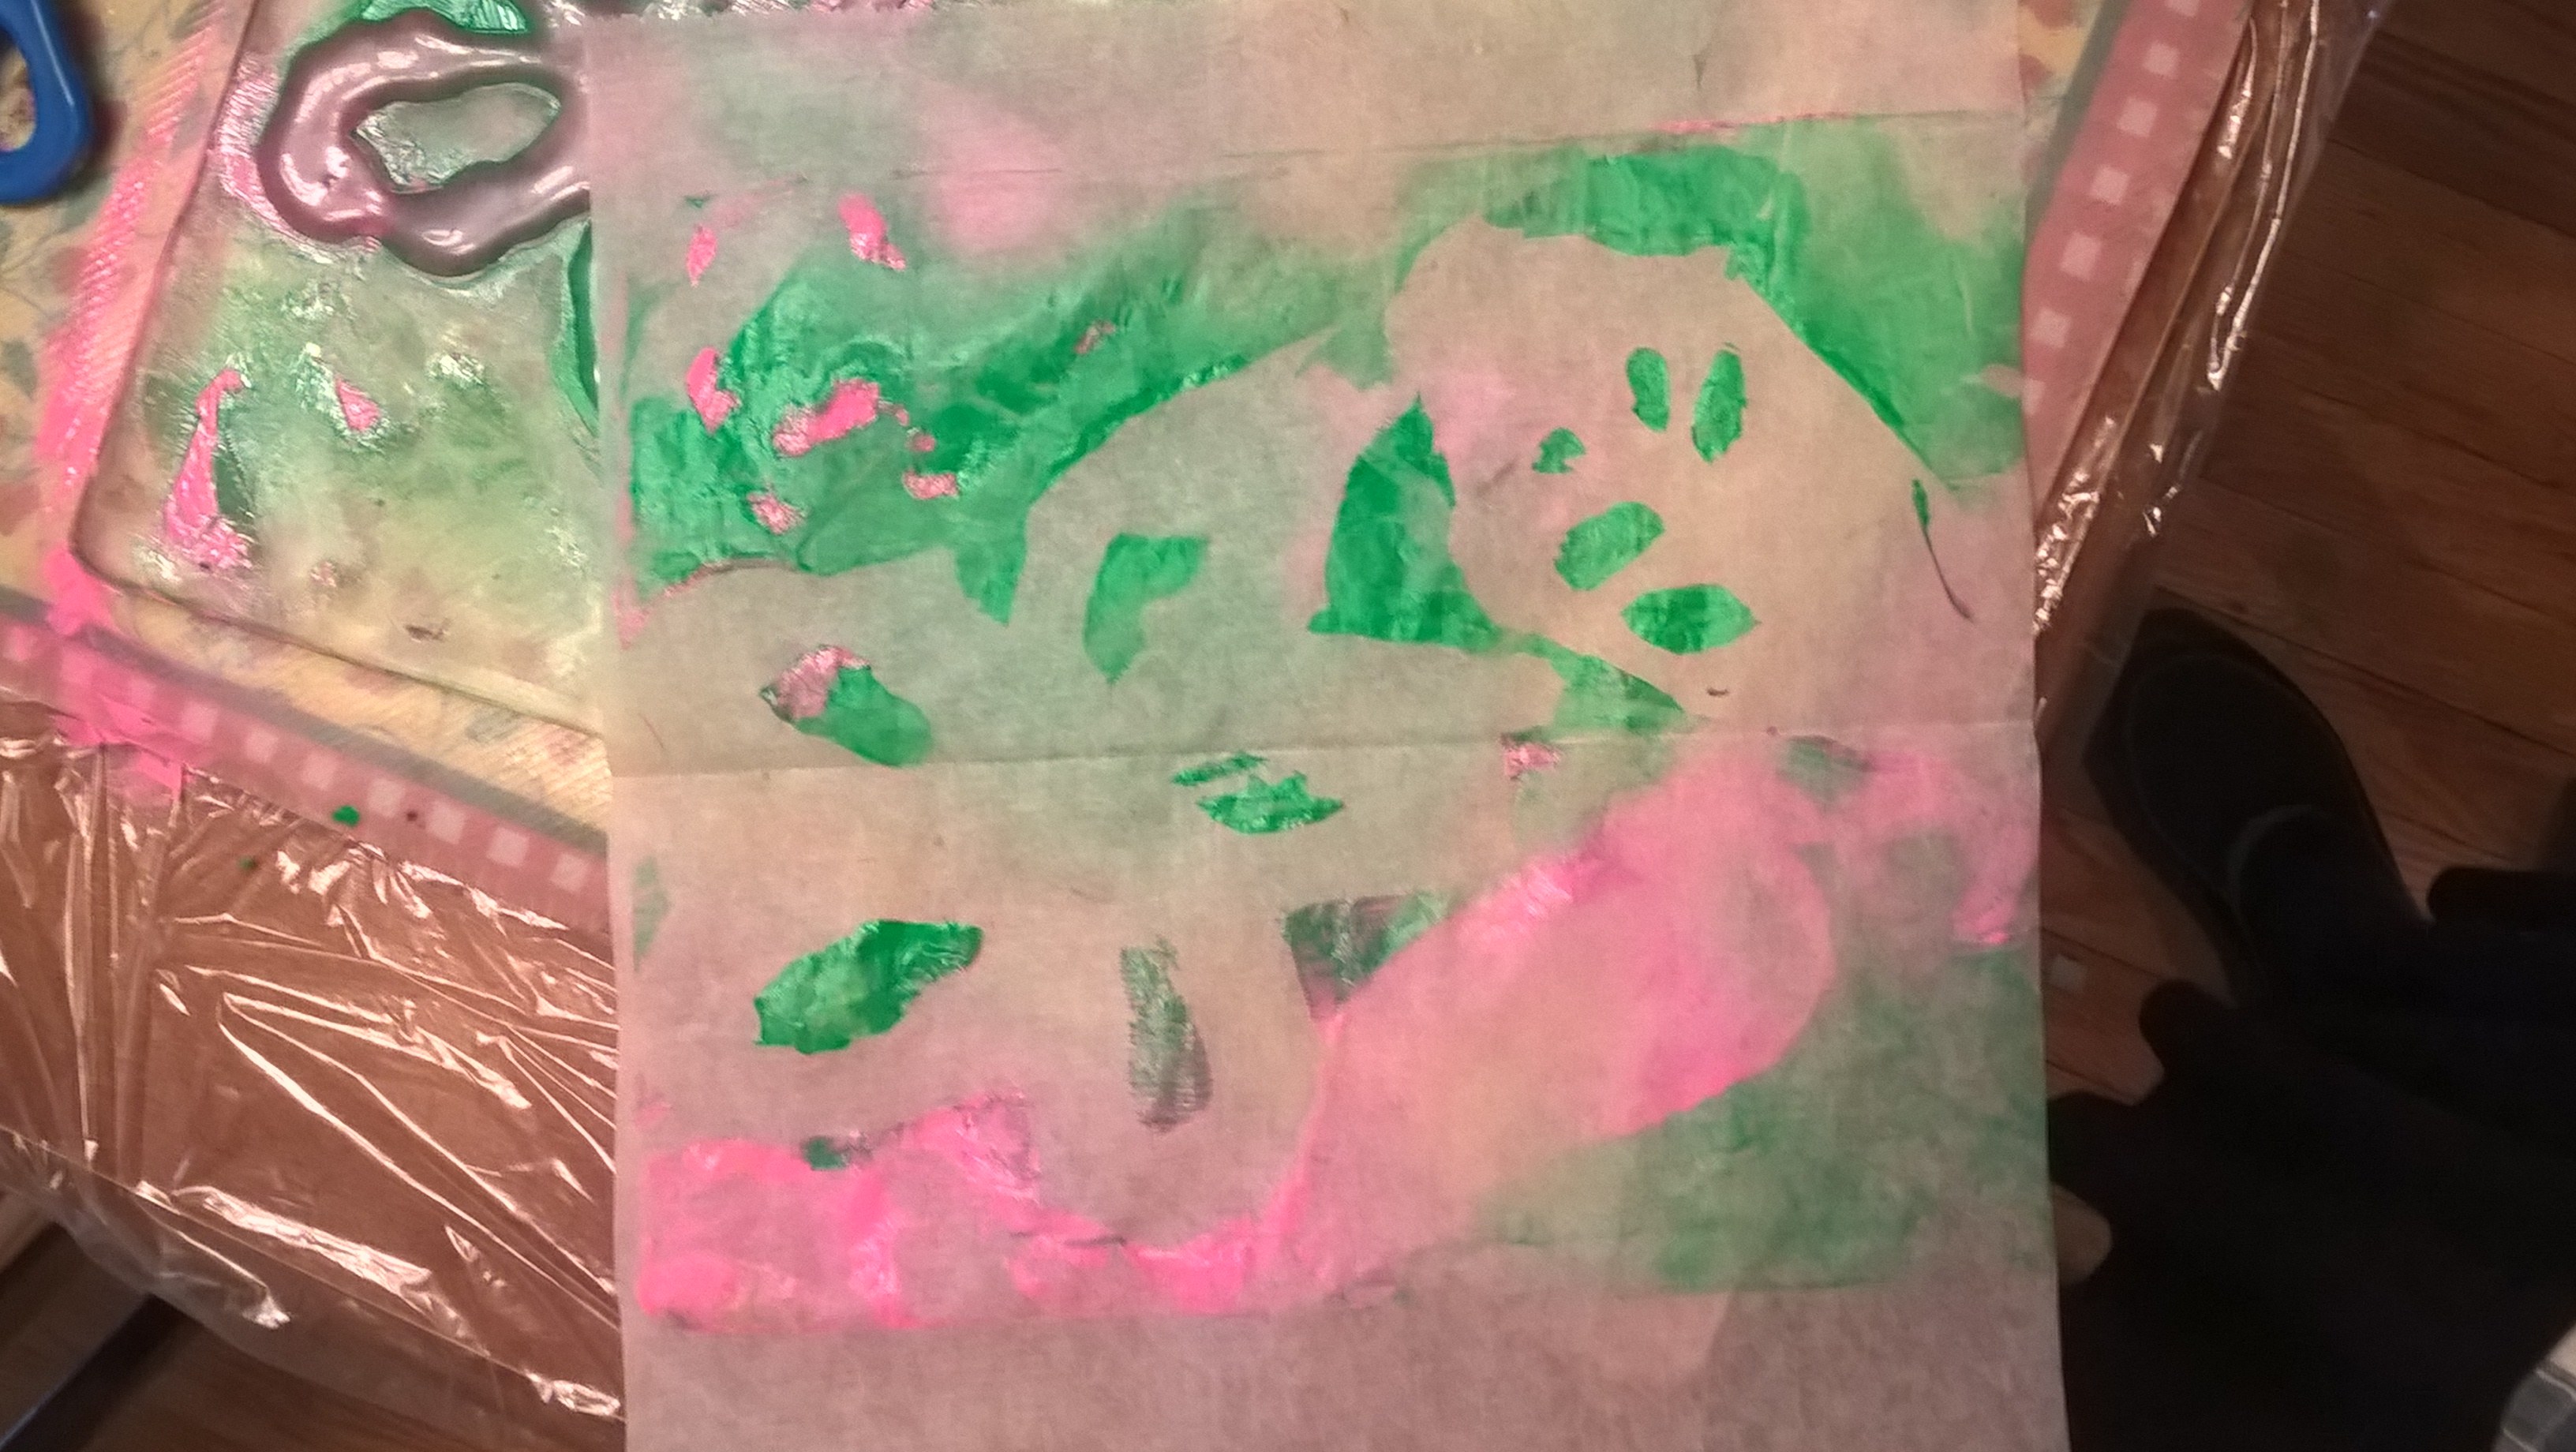
It is creating homemade stencils using a stencil gun. You are supposed to use something like a teflon pan so the glue will peel off easily but, since I didn't have one I did it on the back of a baking pan. You can draw lightly underneath if you'd like if you are not sure if you can do it free hand but, I just free formed these 3 stencils, peeled them off and when dry put them on a paper and sprayed over them.
I also tried them with the gelli plate.
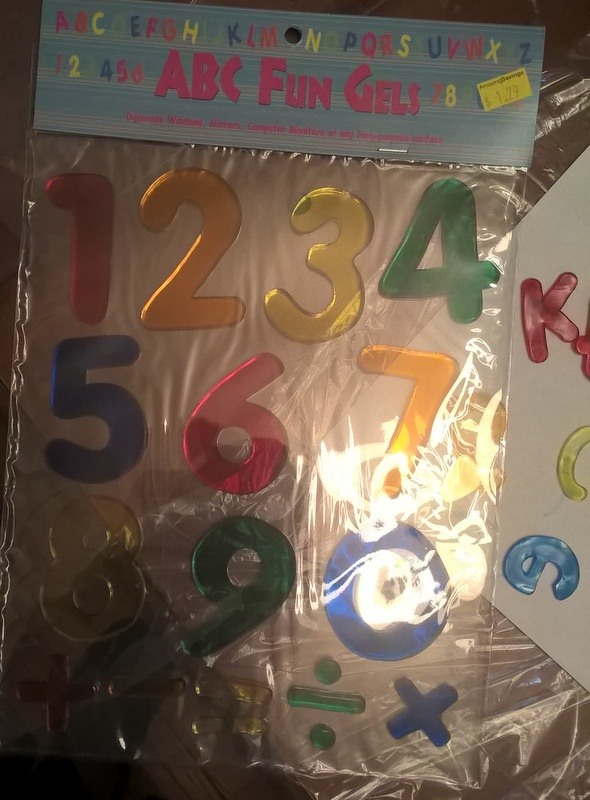
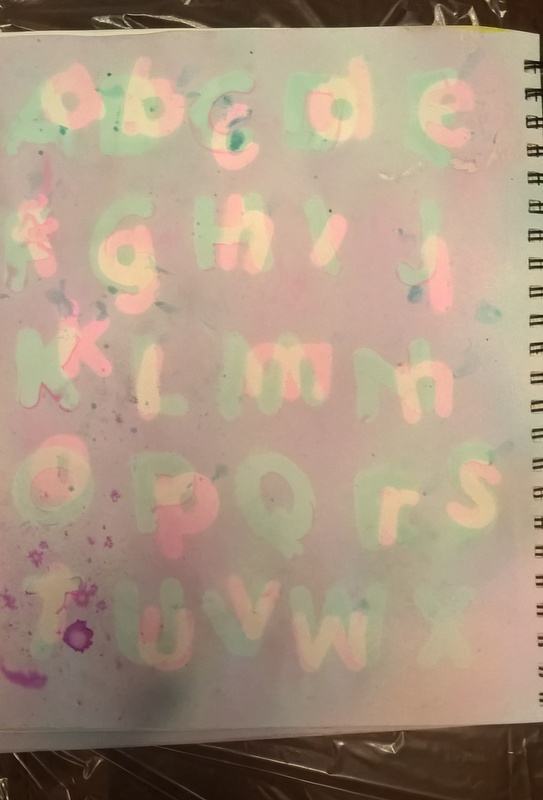
Another stencil idea came about when I found these number and alphabet gels in that great Amazing Savings store. I used the upper case to spray over one color and then added the lower case on top of the already sprayed letters and sprayed another color. You shouldn't use dark colors for this as I found out as it completely overpowers anything underneath the darker colors.
Using printing plates for rubbings
As I was preparing for this post and getting ready to paint with the printing plates I created below I tried using them as rubbings.
I found that the printing plates that were not raised high enough from its background made the best rubbings. A perfect example of this would be the dimensional paint plate. It makes a great plate for a rubbing but, is not raised enough to work great with paint.

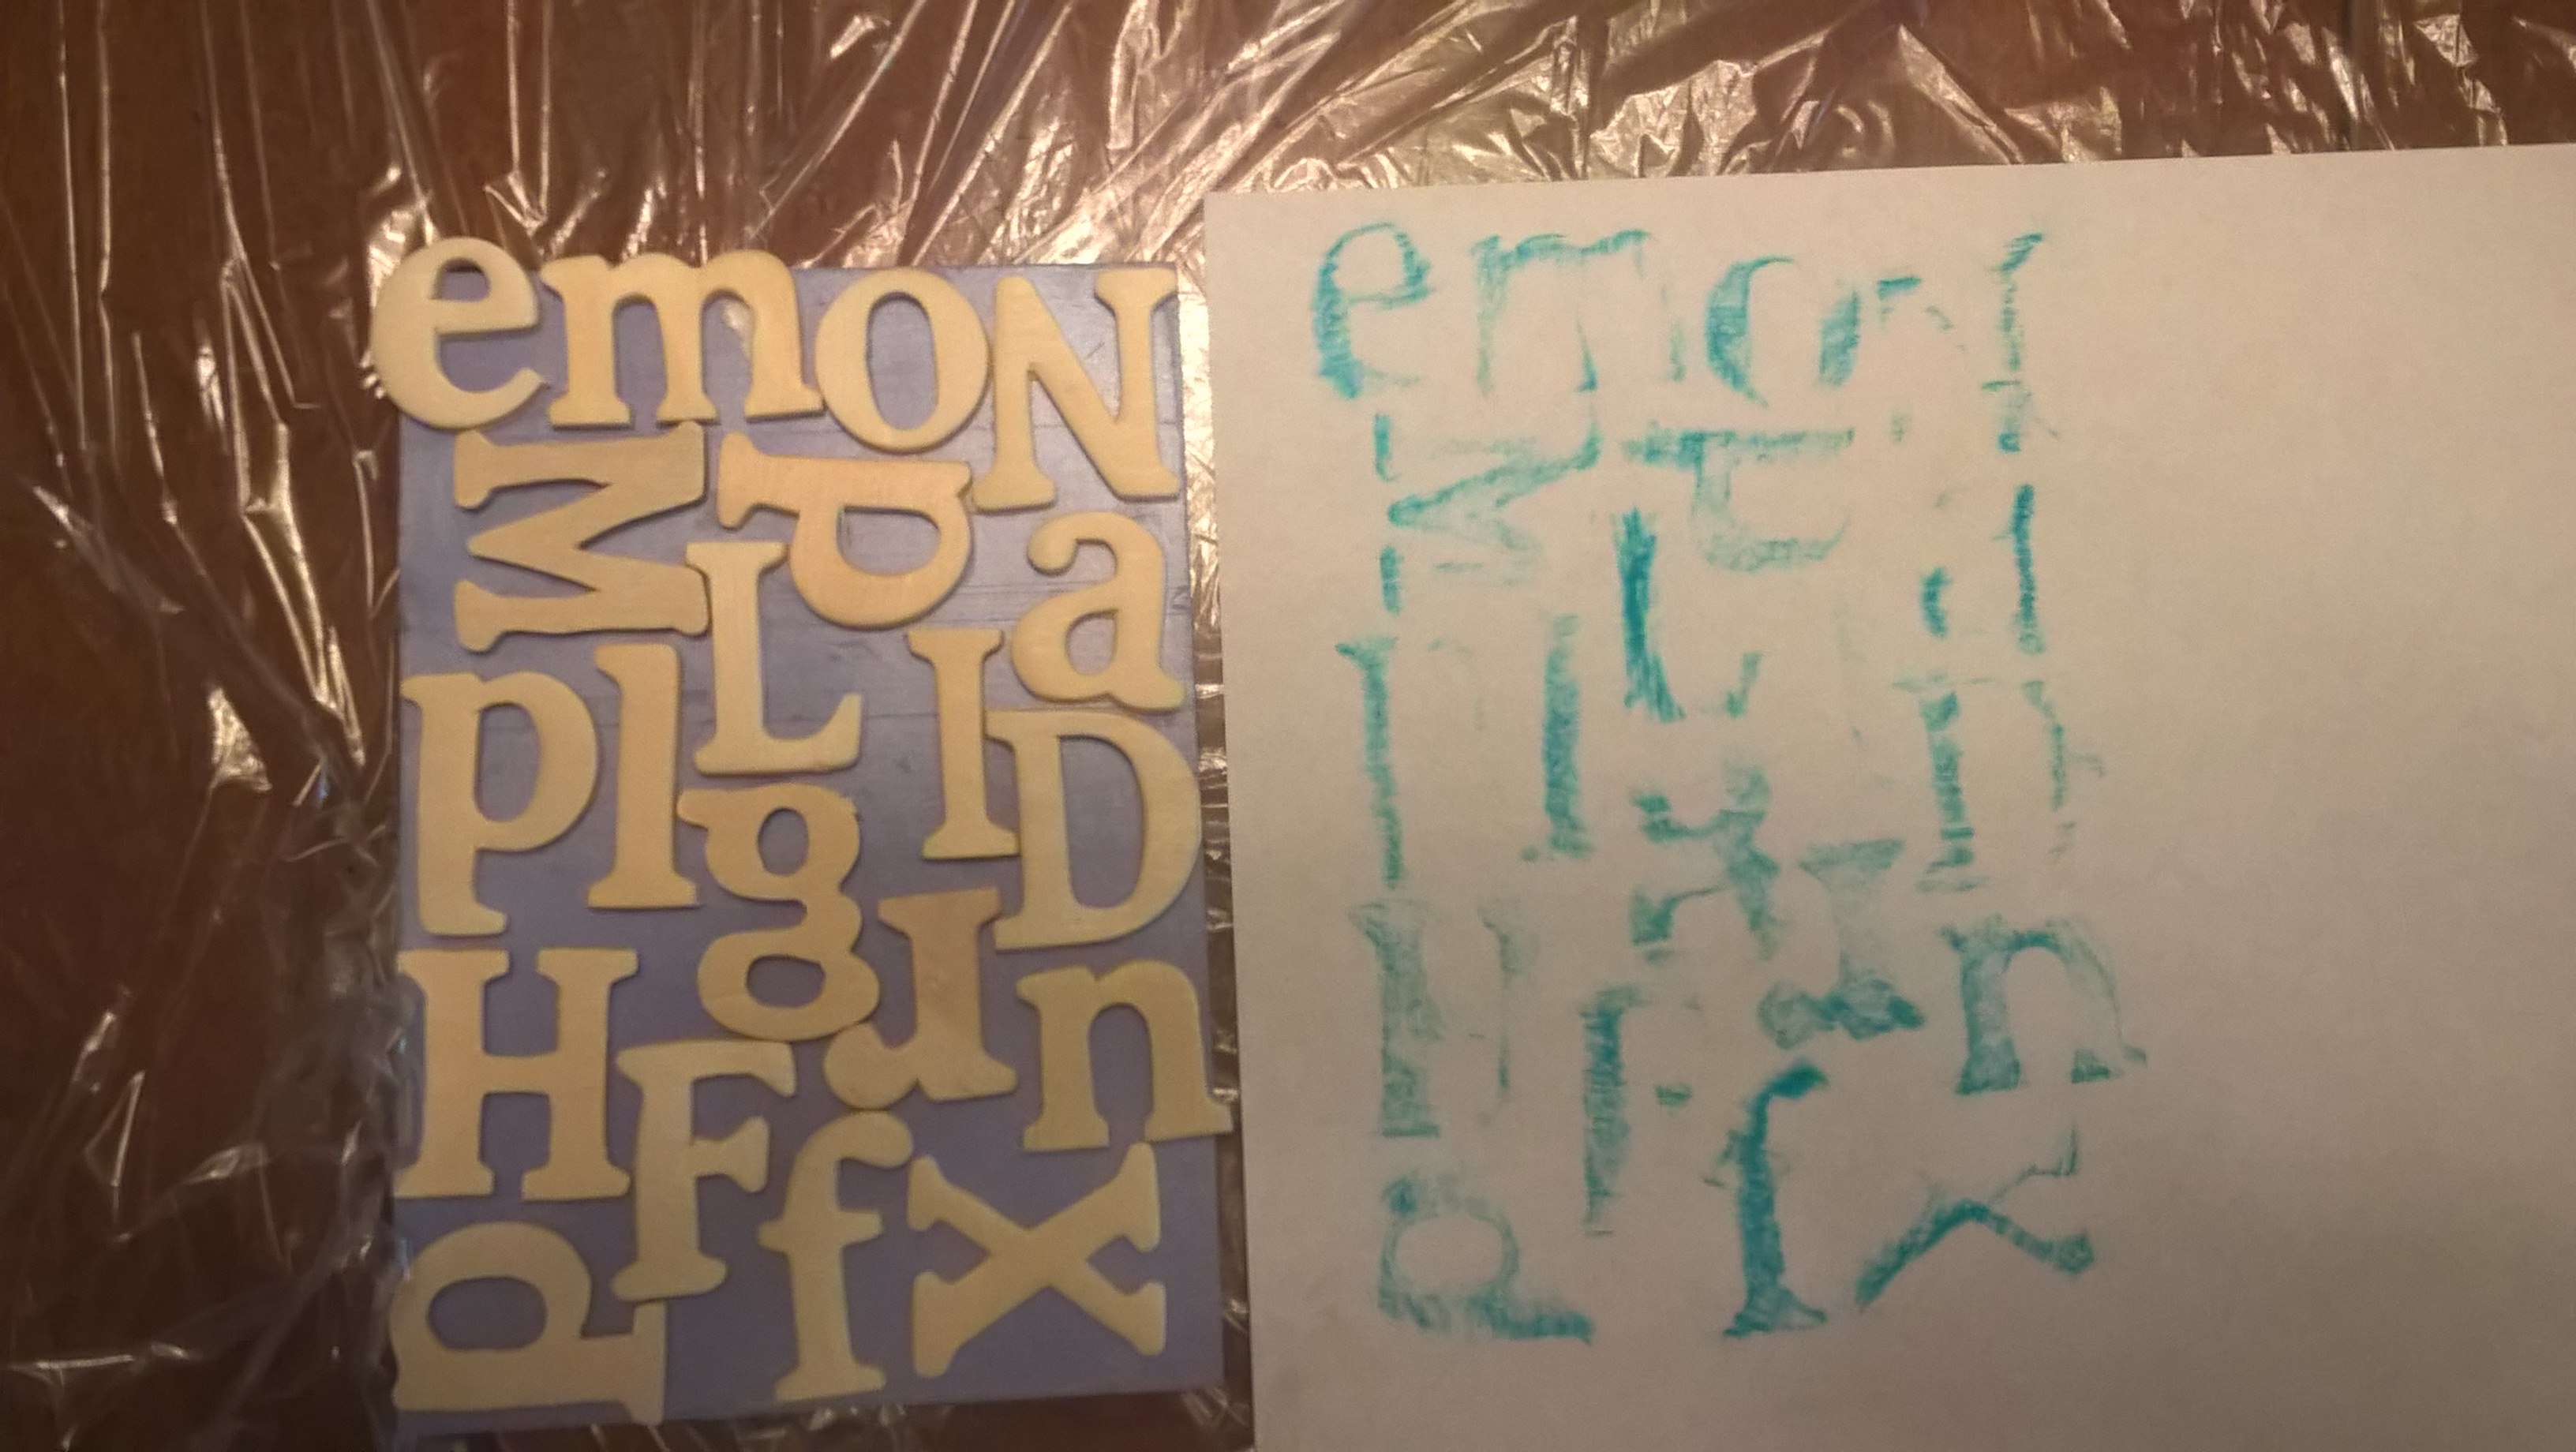
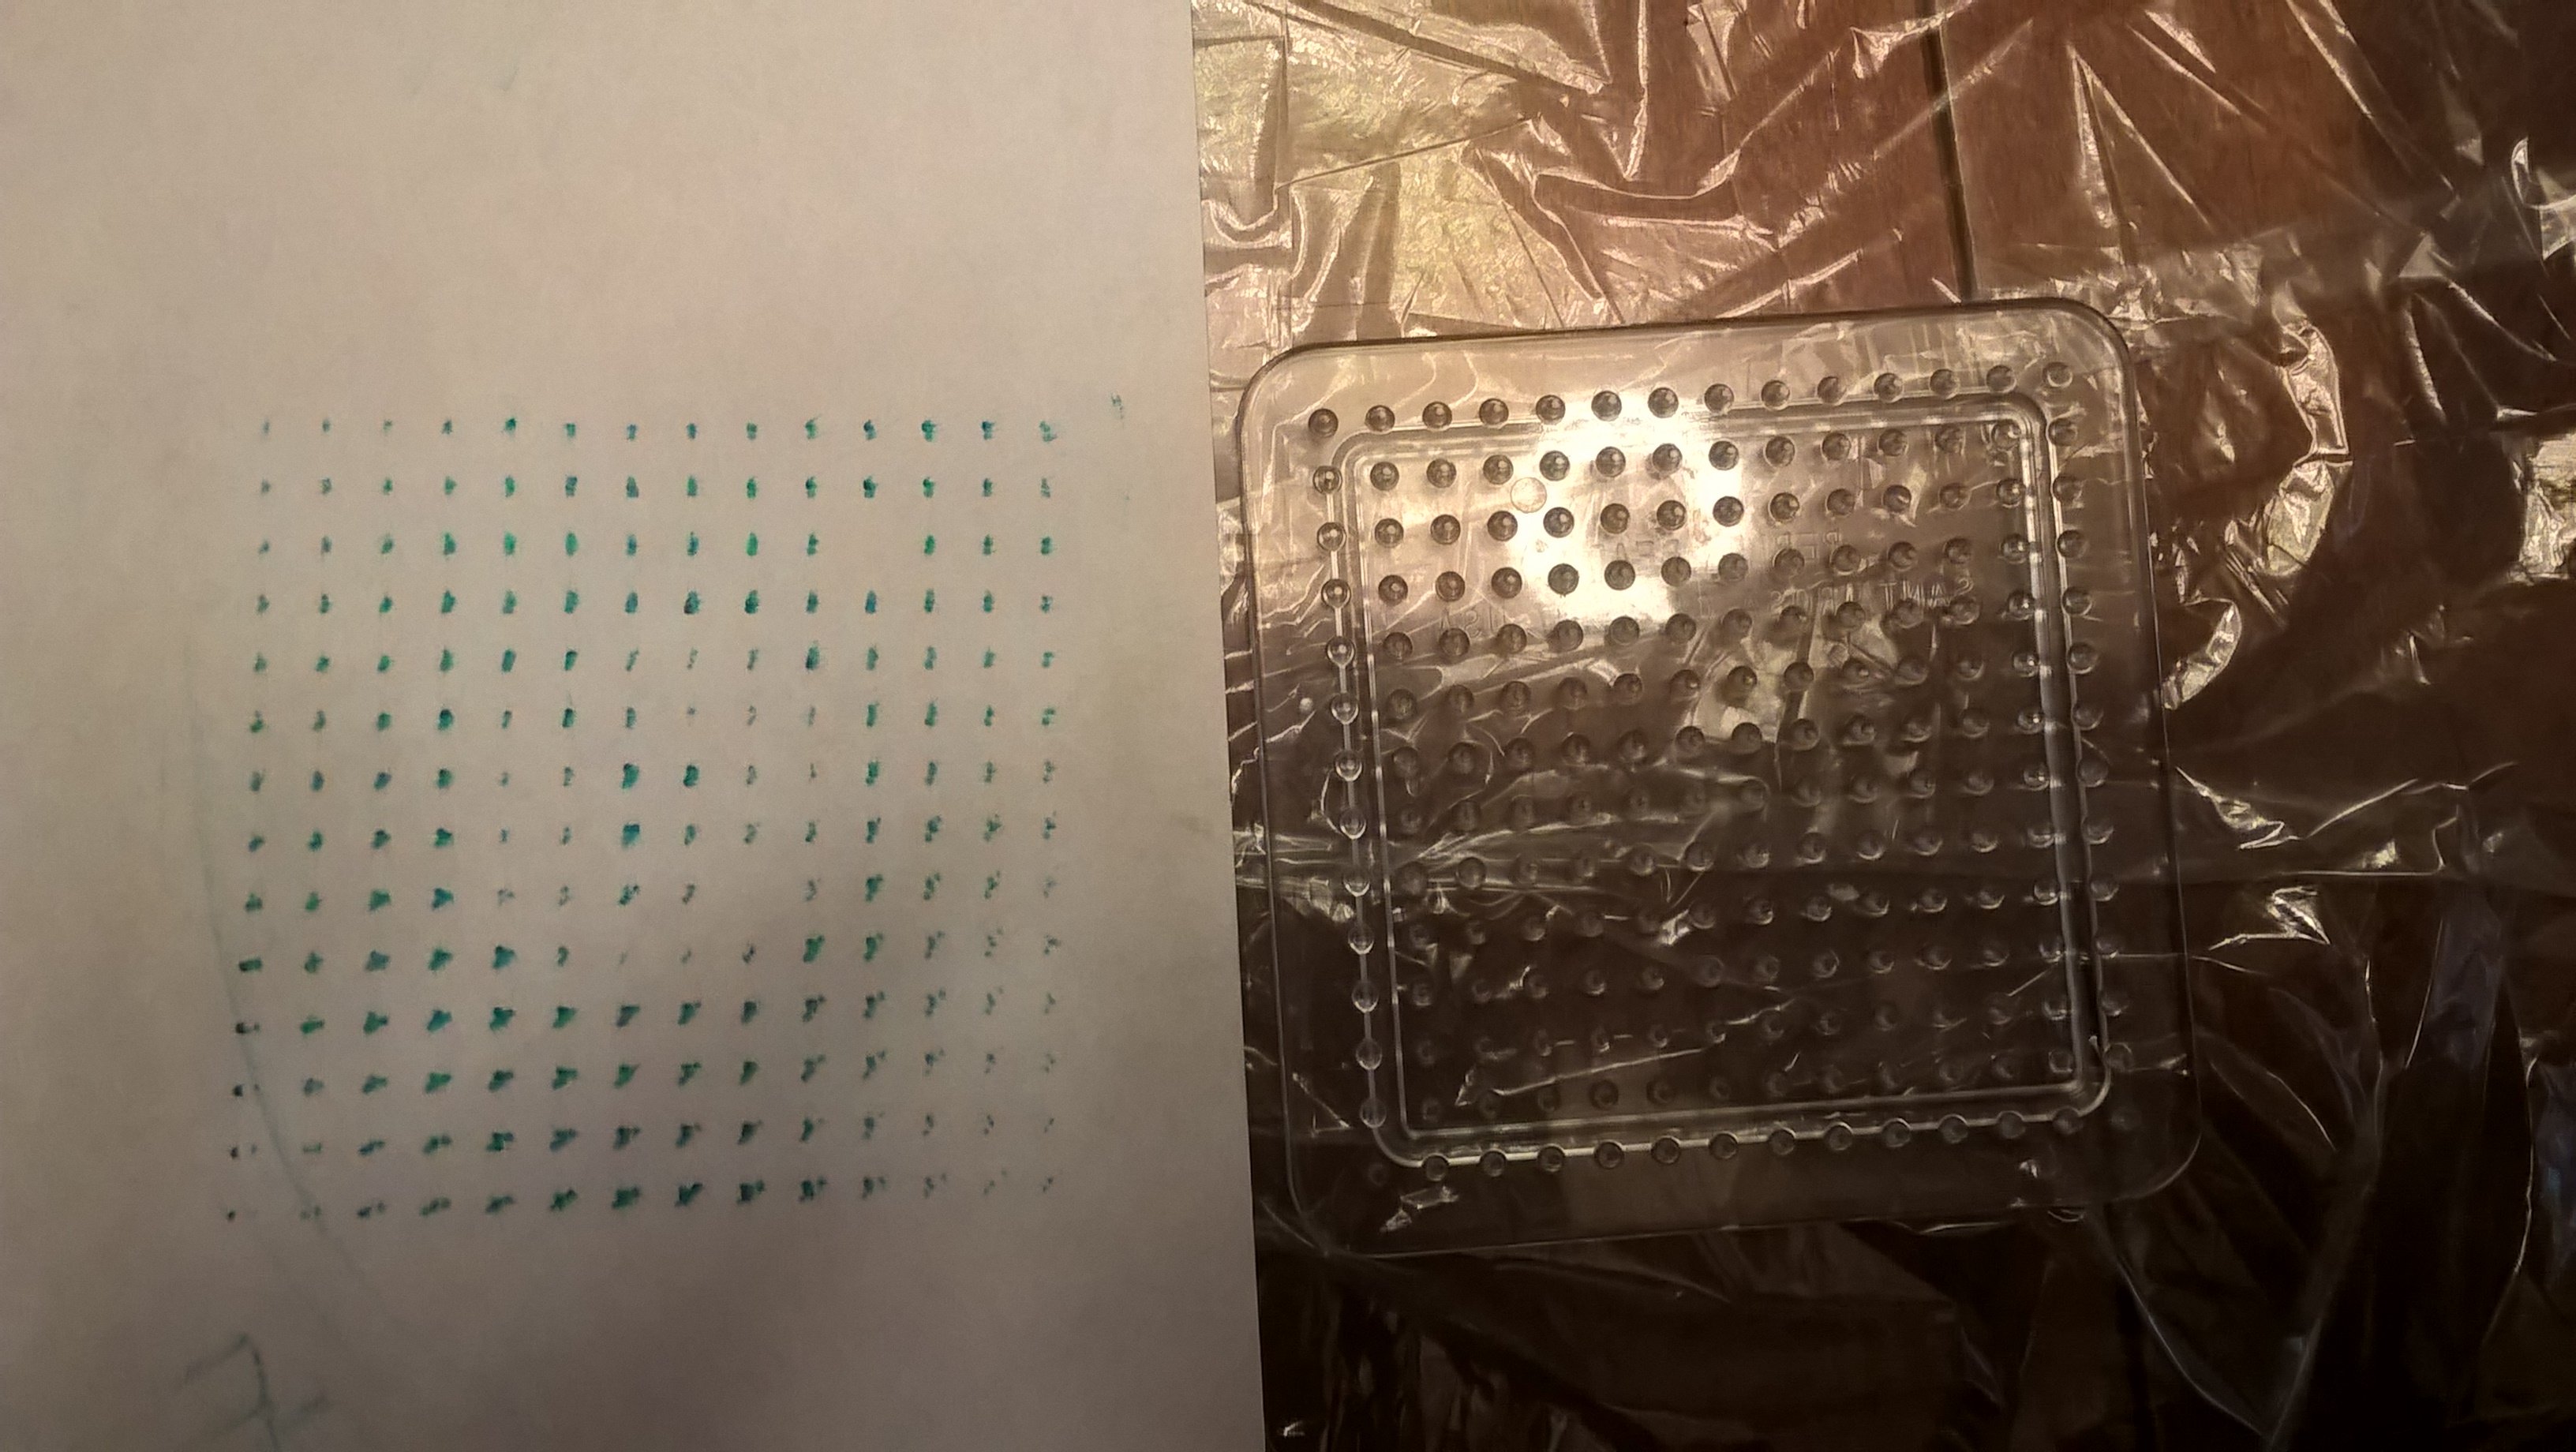
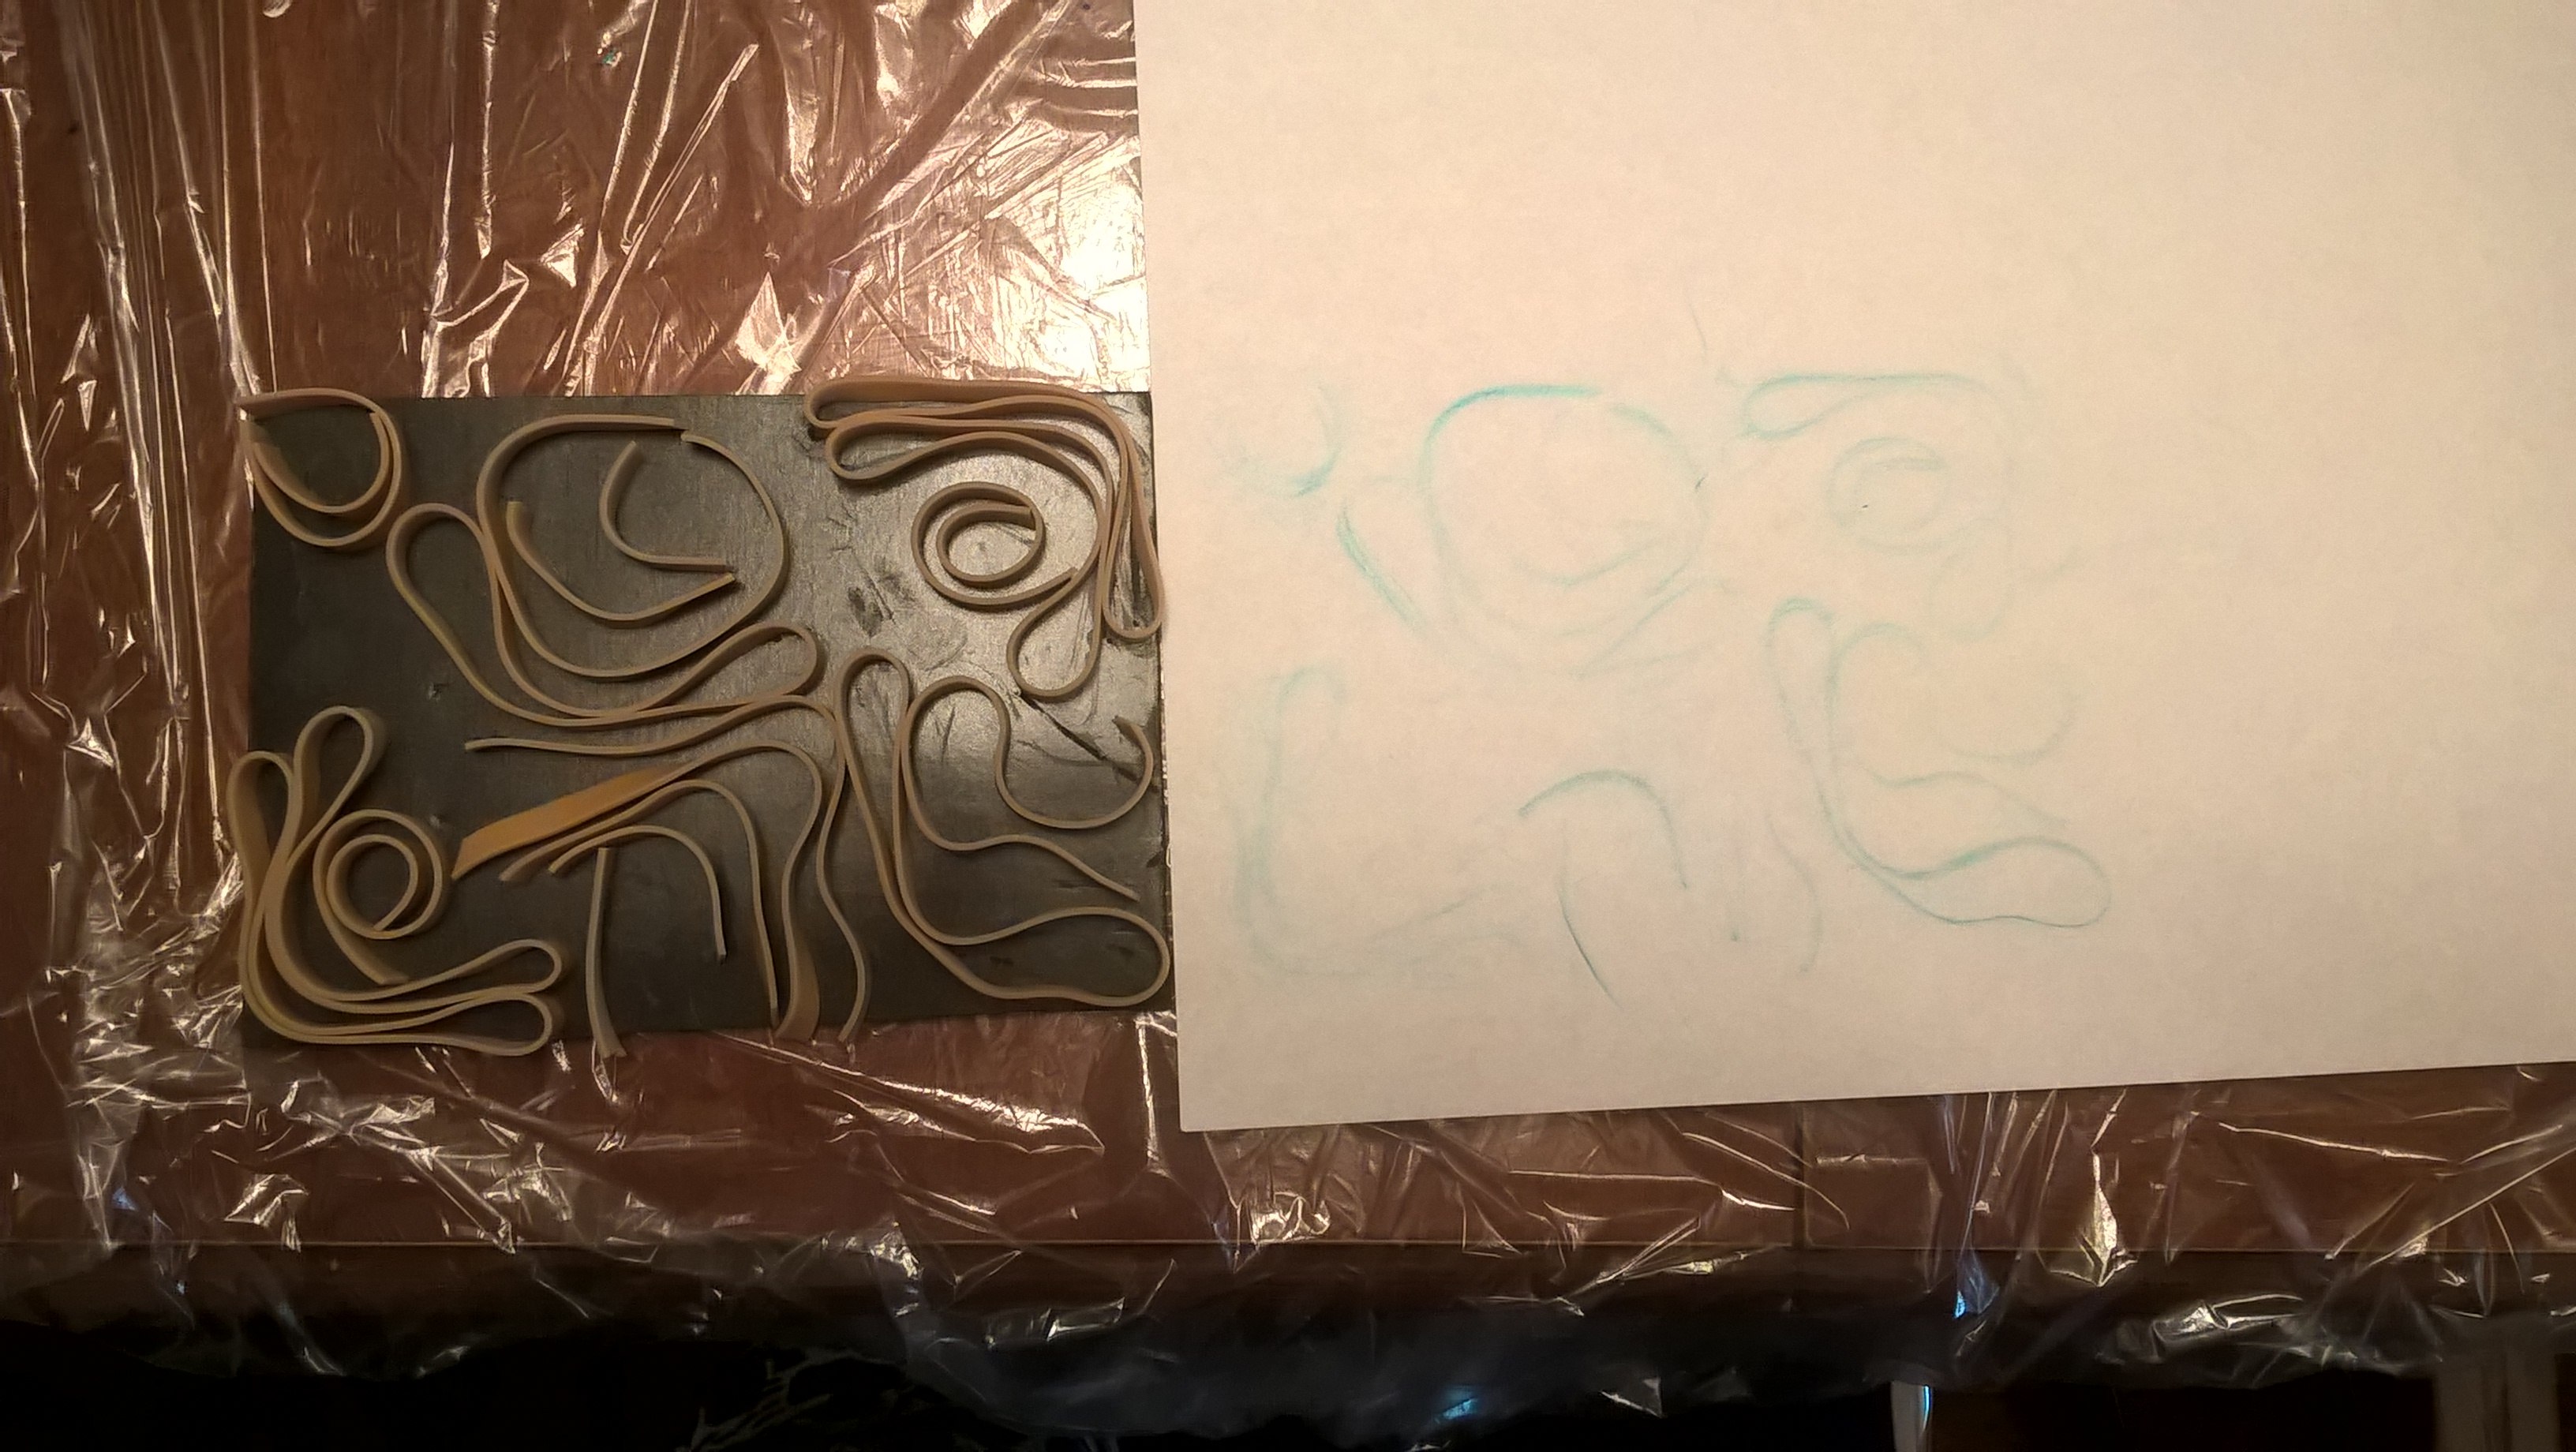
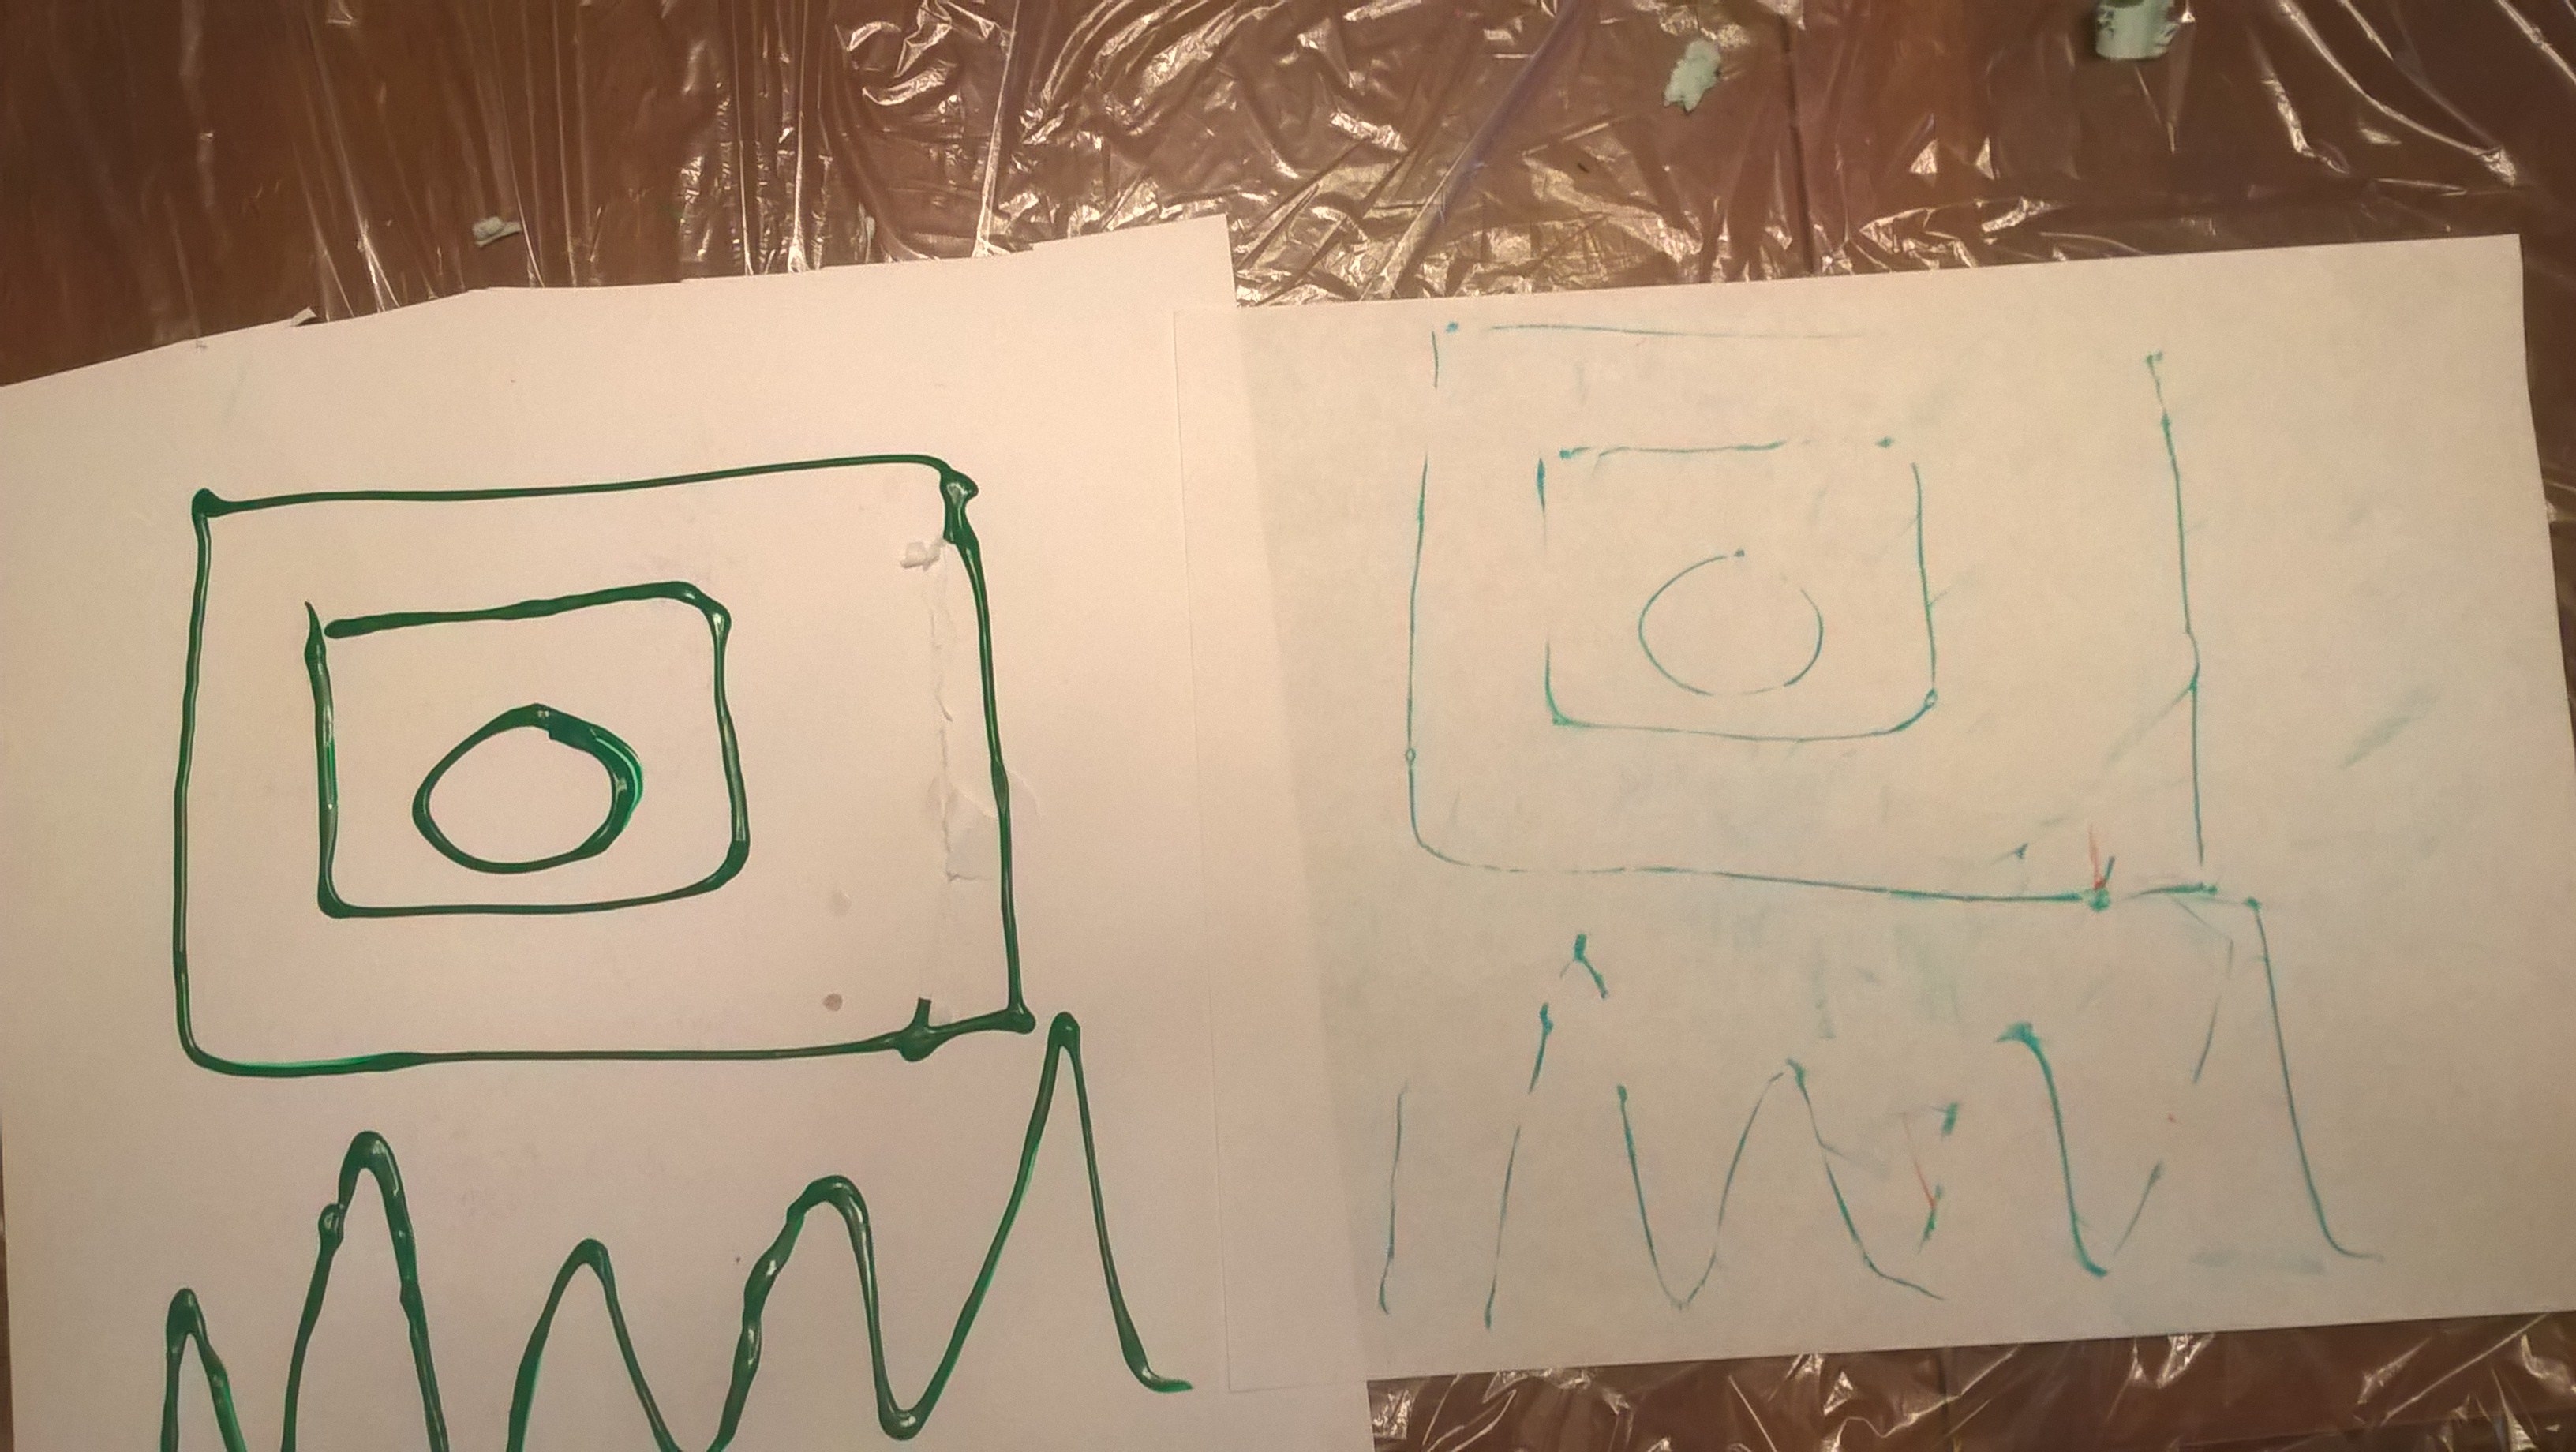
So that's it folks...by no means an exhaustive treatise on printing. Just a small sampling to hopefully get you started on this fun, enriching activity by seeing what I have tried.I find that its already inspiring me to think of what projects I can do to incorporate printing into.
If you find any of this helpful...I'd love it if you can share.


I was introduced to Gelli Plates at a workshop and was hooked. I thought I would try to make my own first and used this approach: http://sharongiles.artdfw.com/making-your-own-gelatinglycerin-plate/. I bought a shallow 9 x 13 baking sheet at the Dollar Store to form and contain the plate. This worked like a charm! The best part is that when the plate is pocked or marked, you just microwave it and re pour. Too cool!
Thank you for your reference. I never tried to make my own because it’s just so much easier to buy one 🙂