
Rubber stamping has been around for a really long time.
There are probably thousands of rubber stamps on the market with books and classes showing you how to use them.
I used to think that there was no creativity in using rubber stamps. I mean how creative can you get when you are using an image that is already designed for you. As I got more into it mixed media though, I changed my mind and now love rubber stamps and I use them a lot when art journaling.
I have also gotten into making my own stamps with various materials which add a whole new dimension the stamping.
Types of Store Bought Rubber Stamps
The first and most common types of stamps are the ones you see below. These rubber stamps are mounted to wooden blocks and are all over the craft stores. There are many styles and genres to choose from.(All images are links to Amazon. I put them there to give you ideas of what I am talking about.but, of course you can also go to Michaels, Joann's, Hobby Lobby or any other craft store and buy what they sell there.You can also search for similar items while on Amazon)
I've only recently started using them. They are made out some kind of rubberized plastic and usually come in groups. You need an acrylic block to mount them temporarily. It is possible to use them without the blocks but, the blocks make it easier to use.
Rubber stamps also come in a red rubber and are unmounted. I have seen various crafters and artists say that they like using them when they are not stamping on a straight surface.They can bend and fit into non straight backgrounds.
Alphabet stamps are probably some of the most common stamps used a tremendous amount in scrapbooking as they need to title their scrapbook pages. The wooden ones on blocks are the most common. The drawback is that it takes a long time to write out sentences with them.
To solve that problem there are stamps that can be locked together to form a word before stamping so that your word making takes much shorter. They can be plastic or metal.
Then there are the unmounted rubber alphabet stamps that can also be put together before stamping to create words. In this case you would have to use some kind of temporary tape on a block to keep them together.
Rubber stamps are not just for card making
The reason I was not so interested in rubber stamping for a while was because it was more in the domain of card making enthusiasts and scrapbookers and that was not my thing.
As I went through the various books I got from the library to do research on stamping, I saw many, many card making ideas and scrapbooking ideas that could be used for mixed media too.
If you would like to use these ideas for card making or scrapbooking then go right ahead but, my concentration is really on how to use stamps for mixed media and for art journaling.
You don't need to break the bank to start rubber stamping
There are a few things you will need to add rubber stamping to your art making.
Even though you can start simple stamping with very few items, as in all crafting you can spend as much money as you want buying all the luscious inks, powders and sundry to enhance your stamping activities.
To begin you will need:
- Stamps (purchased or homemade)
- Colorants- some kind of ink, paint or dye to get the stamps impression down
- Backgrounds to stamp on
- Embossing powders for more 3d elegant stamped images
- Heat gun to set the embossing powder
- Markers, pencils or paints to enhance your stamped images
The heat gun and embossing powders are only if you want to do embossing. You can use stamps and never even do embossing. (explained a bit later in this post)
What are the different types of ink
There are 3 kinds of inks that are the best for stamping and then there are some other colorants to use as well.
The first kind of ink available is solvent ink which include alcohol inks.These are used to non porous surfaces (like glass, photo paper, plastic etc.) and can also be used for paper as well. I personally at this point, don't find much use for them to use with stamping.
The second type is standard dye ink and in comes in many colors. Most of us know this ink as the common black ink pad but, you don't have to limit it to black anymore as there are so many choices in ink color.
There are inks that come in many colors and if you buy the color box inks with lots of small inks then you can remove them and use a number of colors for one stamp.

The third type of ink is pigment ink and is what you use for embossing. Pigment ink comes in individual pans with clear covers so you can see the colors and they also come in packs with a few colors that you can often take out to rub over your stamp. They have black of course, and lots of metallics.
Is ink the only way to color a stamp?
Nope...there are more ways to skin a cat.
Markers that are water soluble are good to use to and there are some markers that are made specifically for stamping. You just color the stamp and with markers and stamp.
You can also easily color different parts of the stamp with different colors. Before stamping, to make sure the colors are nice and juicy, you should either breathe onto the stamp or give a quick spritz of water over it. This way the colors print more vibrantly.
You can also use acrylic paints or block printing ink. These can be applied a few ways. You can use a brush or you can use a sponge. Cosmetic sponges work particularly well. Another way to apply the acrylic paint is by squeezing it out onto a piece of wax paper or Plexiglas and rolling it out with a brayer. You then take the brayer which is now full of ink and roll it over the stamp. It's important to note that using the cheaper acrylic paints will not give you the same results as the better ones.
How to get these colorants onto the stamps
There are a couple of ways to do this
- The old fashioned way: Stamp the stamp onto the ink pad and then onto the background
- New fangled way: Turn the stamp pad over and dab it repeatably over the different parts of the stamp. This works particularly well when the stamp pads are smaller than than the stamp and you need to get to many areas of the stamp
- You can use a cosmetic sponge to dab onto the ink or paint and then dab onto the stamp
- You can use store bought daubers that basically do the same thing as the cosmetic sponges
- You can also add some ink to an old cd and use it as a palette with a brush
- I also recently saw a video on you tube on how to make a stamp pad for acrylic ink that you can check out here
How does embossing work?
Embossing can be done either just with ink or along with embossing powder.
NUMBER 1- You use a clear embossing stamp or liquid as shown below to cover your stamp with and then pour colored embossing powder over it
NUMBER 2- You use colored pigment ink and clear embossing powder.
That's it. It can get very confusing when you start reading up on it and even more confusing when you go to Michaels and see the array of powders and inks to choose from.
So if you are using the clear ink, you ink the stamp and stamp your image onto your background which will be clear.
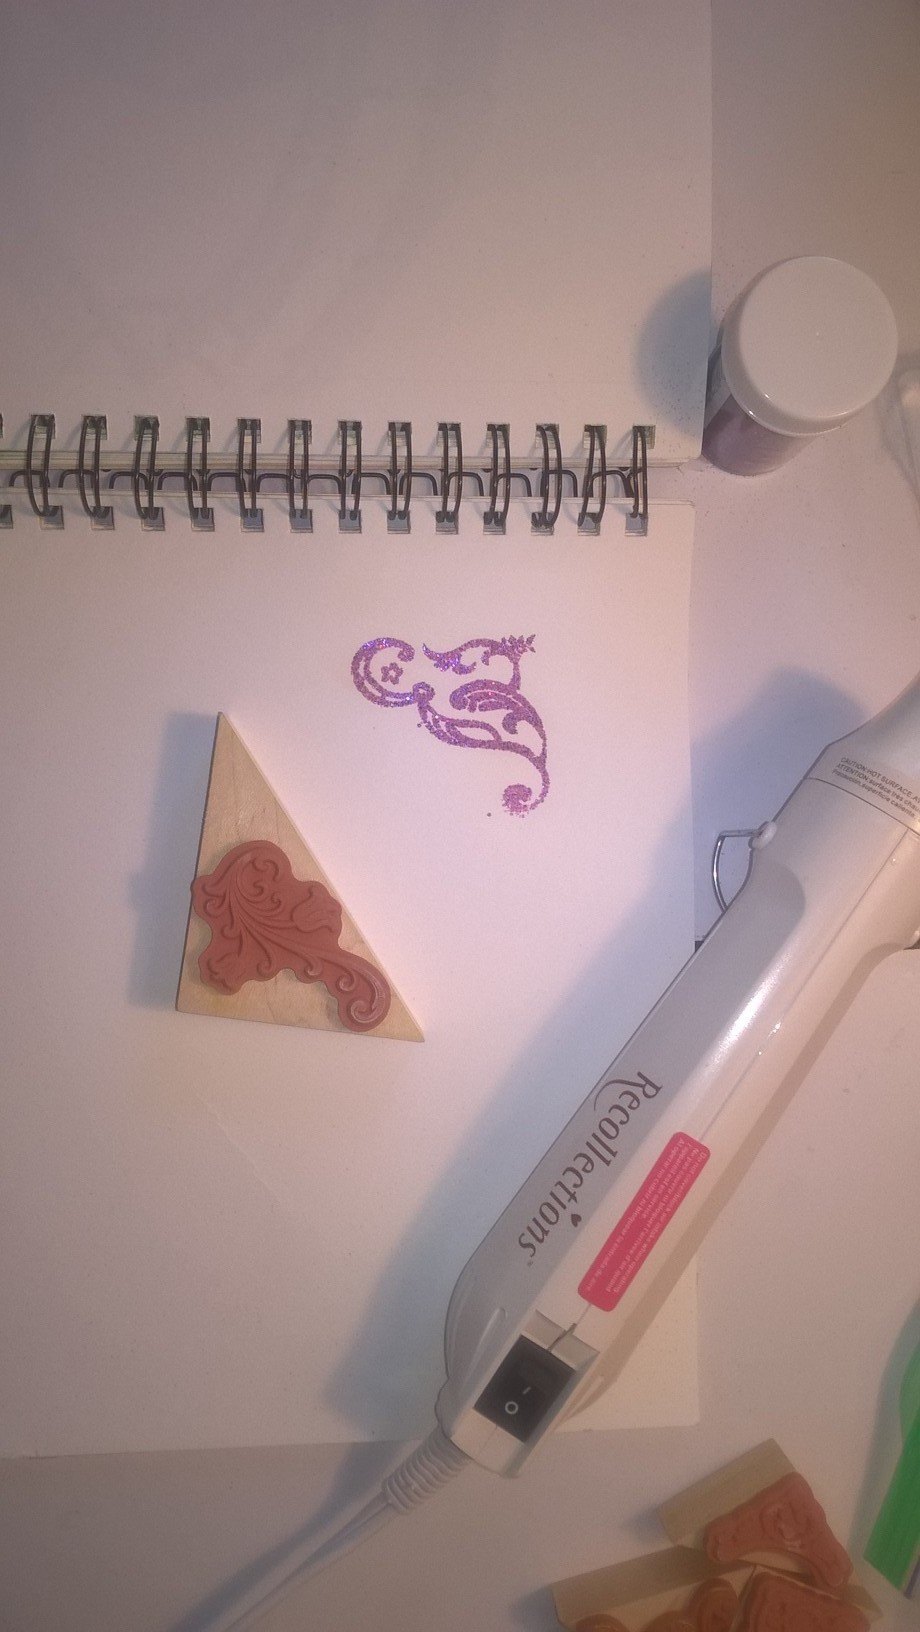
You then shake embossing powder onto the image and then pour it back onto a paper that will allow you to pour it back easily into your jar. The powder remains on the stamped, clear image. You then use a heat gun to melt the powder. This embosses it and gives the image the texture and shine you want.
You need to move the heat gun around on top of the powder until the powder is melted and does not have the orange peel texture to it. If you use pigment ink without powder it's a good idea to use the heat gun as well to set the ink.
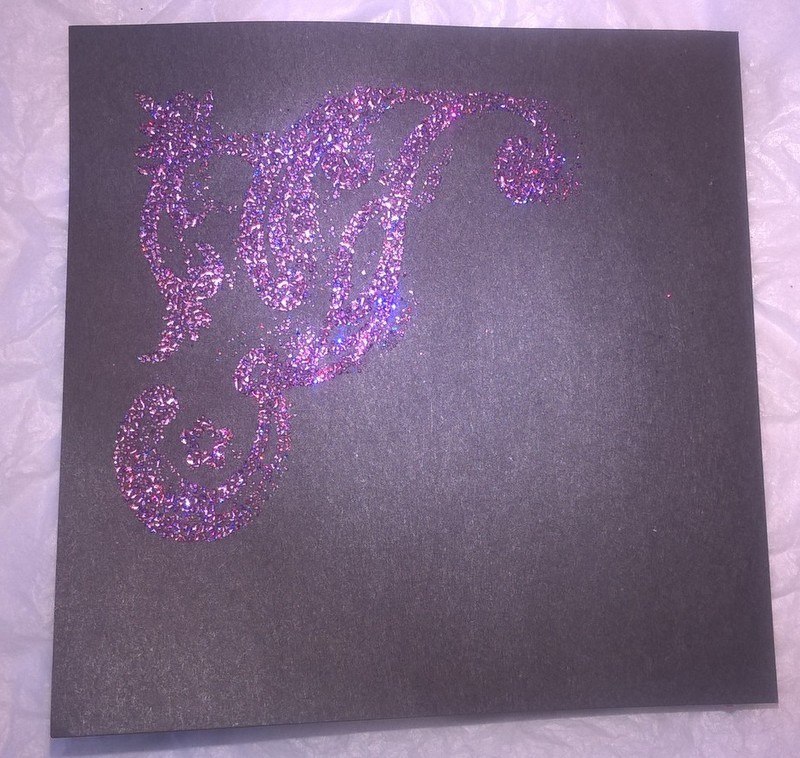
Below was my first experience embossing and using a heat gun. I first did it in my journal and then when I saw how glittery my embossing powder was I did it on a black post it note. (Which I'm sure I will incorporate into my journal at some point or another) If you don't have a journal (yet...see art journal making to learn how to use one) you can use cardstock as a background.
Art foamies...A New Way to Stamp
I just wanted to mention a fun new type of stamp that is on the market now called "art foamies". They are made with a sponge like type of a material that hold a lot of paint. There are many different types all designed by various artists.

This journal page was a combination of art foamies for the sea creatures, a homemade ship from rubber and a bird made from thick foam.

Now its time to learn how to make your own stamps
How to make a rubber stamp
I discussed how to make your own stencils in my stencil art post stamp carving is another way to add dimension to your art.
You can get quite detailed when creating rubber stamps but, you can also make very simple ones like these.

There are 2 basic items that you need to carve stamps that you cannot find at home.
A linoleum speedball cutter and the rubber to make the stamps out of. The cushion and the acrylic blocks you see below are extras that you can use if you want to mount your homemade stamps. You can also use a craft knife, a marker and a cutting mat so you don't cut up your table.
There are a number of ways to get the image you want onto your rubber. You can draw freehand, get an image from the web and then use graphite paper to transfer or trace an image using tracing paper and a sharpie.
Once you have the image you want on your block of rubber you have to decide if you are going to color in the negative or the positive space.
This will help you see what you will need to cut. If you decide to color the positive image then you will need to cut out whatever is not colored. If you color the negative space then you cut out all the space around the image.


The speedball linoleum cutters come with 5 blades in different sizes to cut through the different areas around the images.
This rubber cuts like butter and you need to aim the cutter away from you and just slice around the image.
It is an extremely satisfying activity and can get quite addictive. (Be warned!) The beauty of making your own stamps is the variety you can get and you can create the exact stamp you need for any ideas you may have. (As I did with the boat stamps above)
If you want more, really detailed instructions on how to make your own stamps...I own this book Carve, Stamp, Play by Julie Fei Fan Balzer and I highly suggest you get it.
How to make other homemade stamps
Stamps with craft foam
Craft foam is a great material to make stamps with. (I have a post just about ways to use craft foam)

One easy way is to cut foam in any shape you want, draw onto it with a sharp item or pen, brayer paint over it and stamp.


Another way is to cut up pieces of peel and stick foam, arrange them on another piece of foam, find a base to glue that piece on and stamp.

This was a really cool 3 part stamping project with craft foam that I saw Dina Wakely do in a video.

Stamps with thick foam

The picture above is the foam I use to create these stamps.
They are basically thick pieces of foam that are used as childrens mats that I found in a discount store.
Even though the craft foam cuts easier these are easier to stamp with and give better impressiosn.

I use a cutting mat and a craft knife to cut these. Those are the leftover pieces.
The image below on the right are only thick foam stamps and the one on left with only trees has rubber stamps along with the craft foam ones.


Art journal pages using my house and tree thick foam stamps.


Eraser stamps
It was only recently that I tried making stamps from erasers and I've been very pleased with the results.


The journal page above was made with the eraser stamps. The only problem with them is that they don't make large erasers so you are limited in size.
Julie talks about eraser stamps in her book.
13 examples of art using stamps
Above are a few images of journal pages using stamps.
If you are using stamps for card making and scrapbooking its easier to decide how to use them as the stamp itself is often the whole craft.
Since my intention is using them to make art in mixed media it's more vague and may leave you feeling lost.
Stamps can be used to enhance different journal pages.
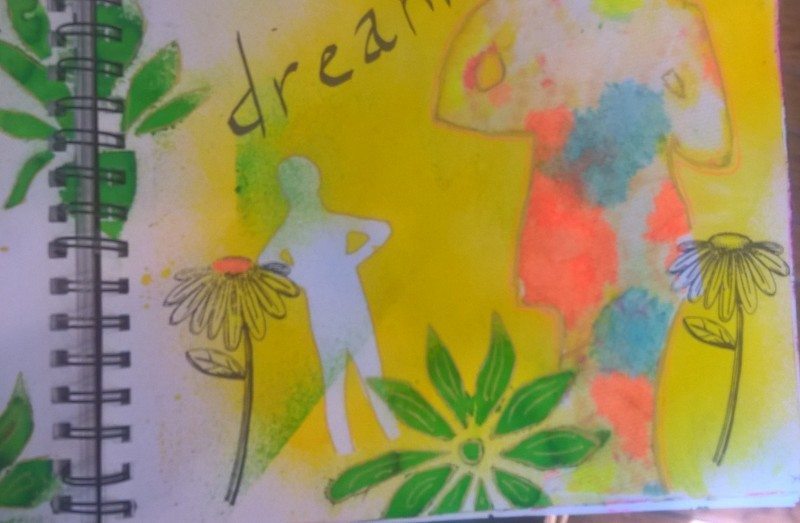
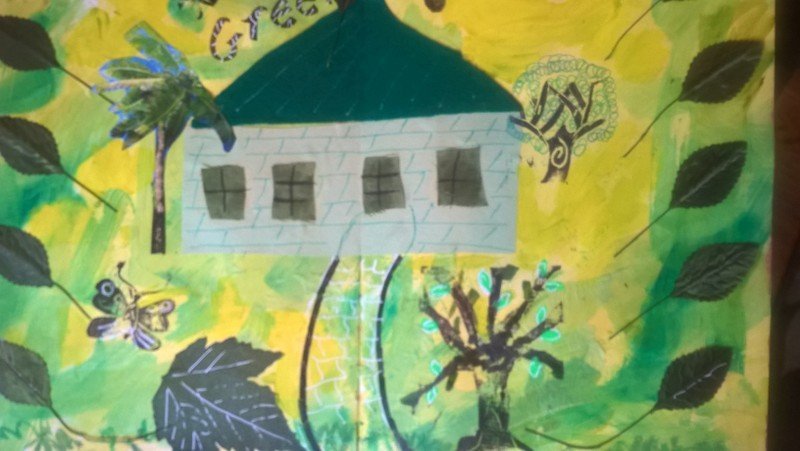
In the images below: The first one was a random page that had an assortment of masking, stenciling and doodling and I just added a stamp to finish off the page.
The second one was a flower based page with drawing and collaging on top of ripped book pages. I had added petals made out of yellow pages and I thought stamping the flower stamps I had would add to the scene. I then colored them in with gold markers.
The third page was a page using the color green and since I had made a house I figured trees would enhance it. I used my own homemade tree stamps to add to the scene.

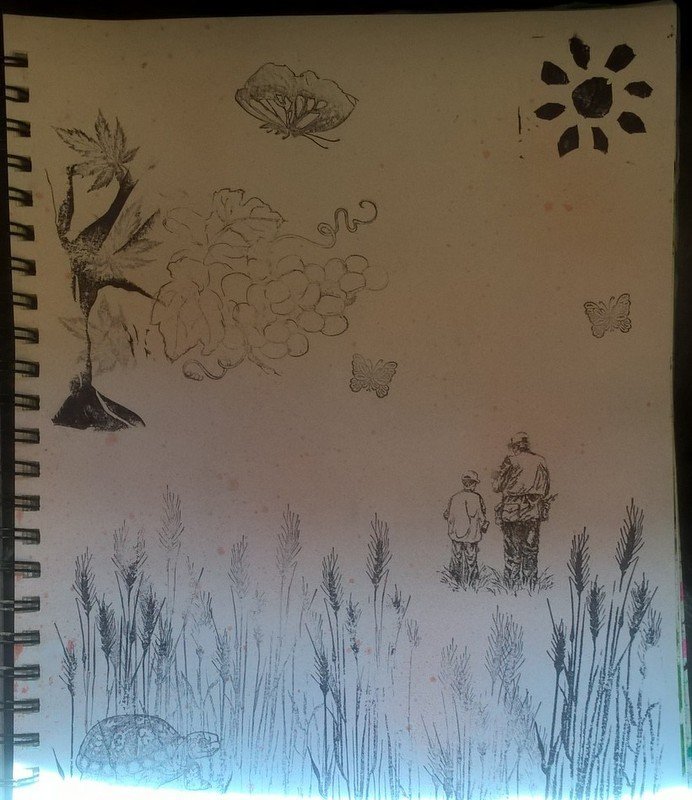
In the pages below I used stamps to create a scene. The one on the right uses a combination of store bought and handmade stamps.
When I buy stamps I often think about how they would fit into a story.
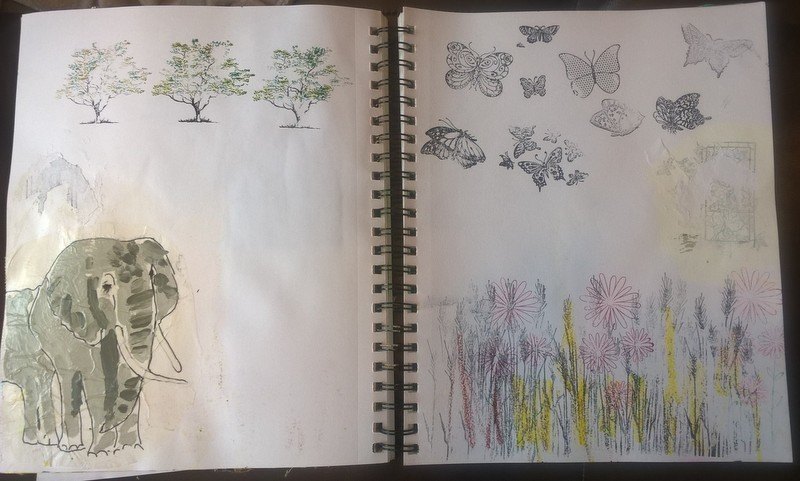
The one on the left is still in middle of being worked on. The elephant was traced with tracing paper, painted and then collaged onto the page. I used the butterfly, tree and grass stamps to create a scene which as you see is not finished yet. (It's looking Safari like don't you think?)
When you do use stamps to create a scene, don't forget that this is mixed media and you can use painting, drawing, collage etc to add to the scene. Sometimes a stamp will give you an idea for a scene to start with and then you just add to it.
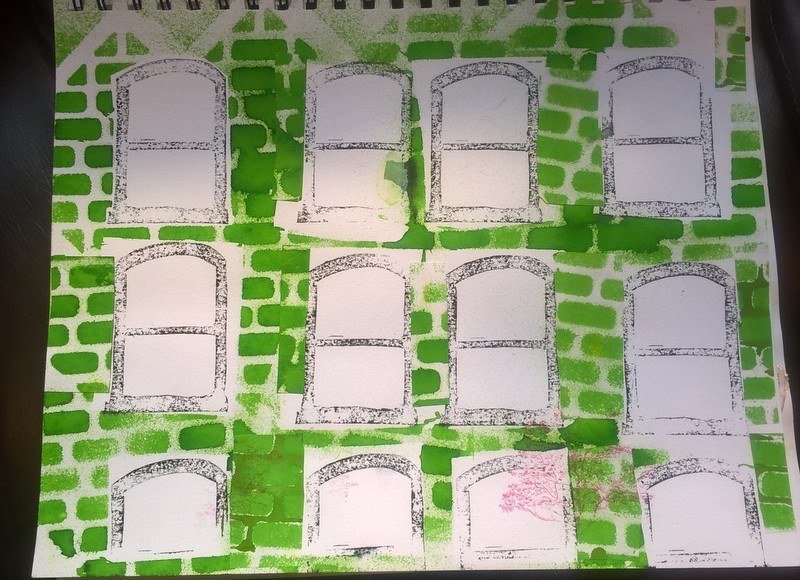
The picture below (which is also not finished) is an idea of how I created a stamp to work with an idea I had. I wanted to make a city apartment building and decided to carve a window stamp to use over and over again. I'm actually not so happy as to how the stamping came out and if I would do it again I would experiment with which of the paints or dyes would make that impression richer.
This is to show you how you can start with an idea instead of seeing what stamps there are and going from there.
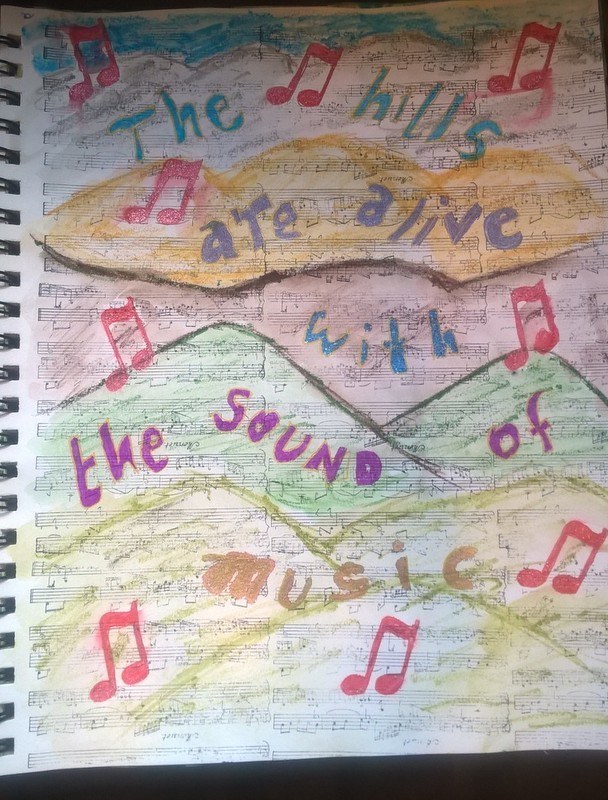
My "Hills are Alive with the Sound of Music" page was inspired by this large stamp I have with musical notes on it. I stamped that on the background with black ink. I create hills with watercolor pencils, did the wording and then added a small individual musical note stamp.
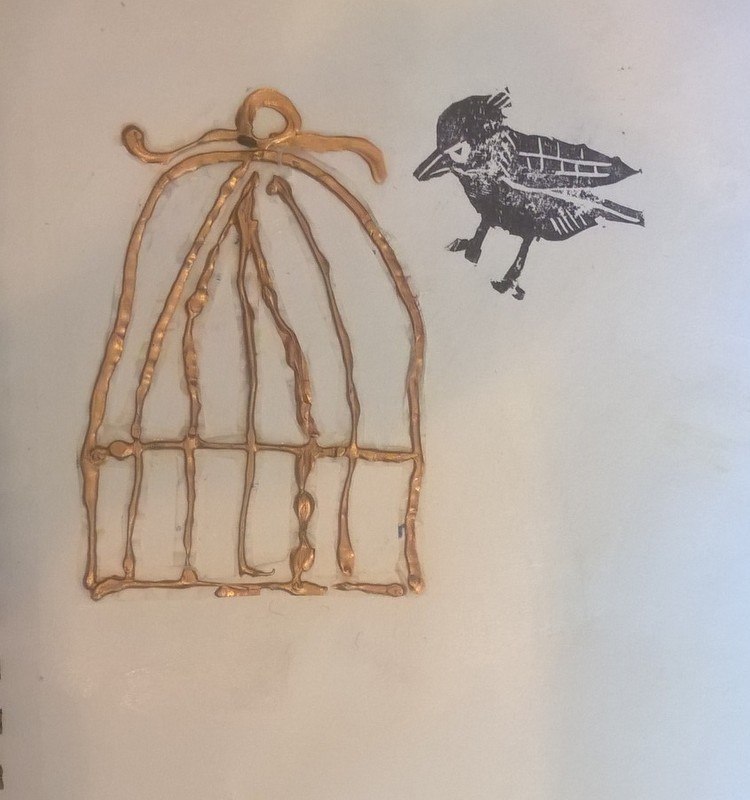
The one on the right is not finished and I shouldn't even post it here but I had this extra birdcage from another project so I pasted it on a page and then figured that my hand carved bird needs to be near the cage. I'll finish that one day too.
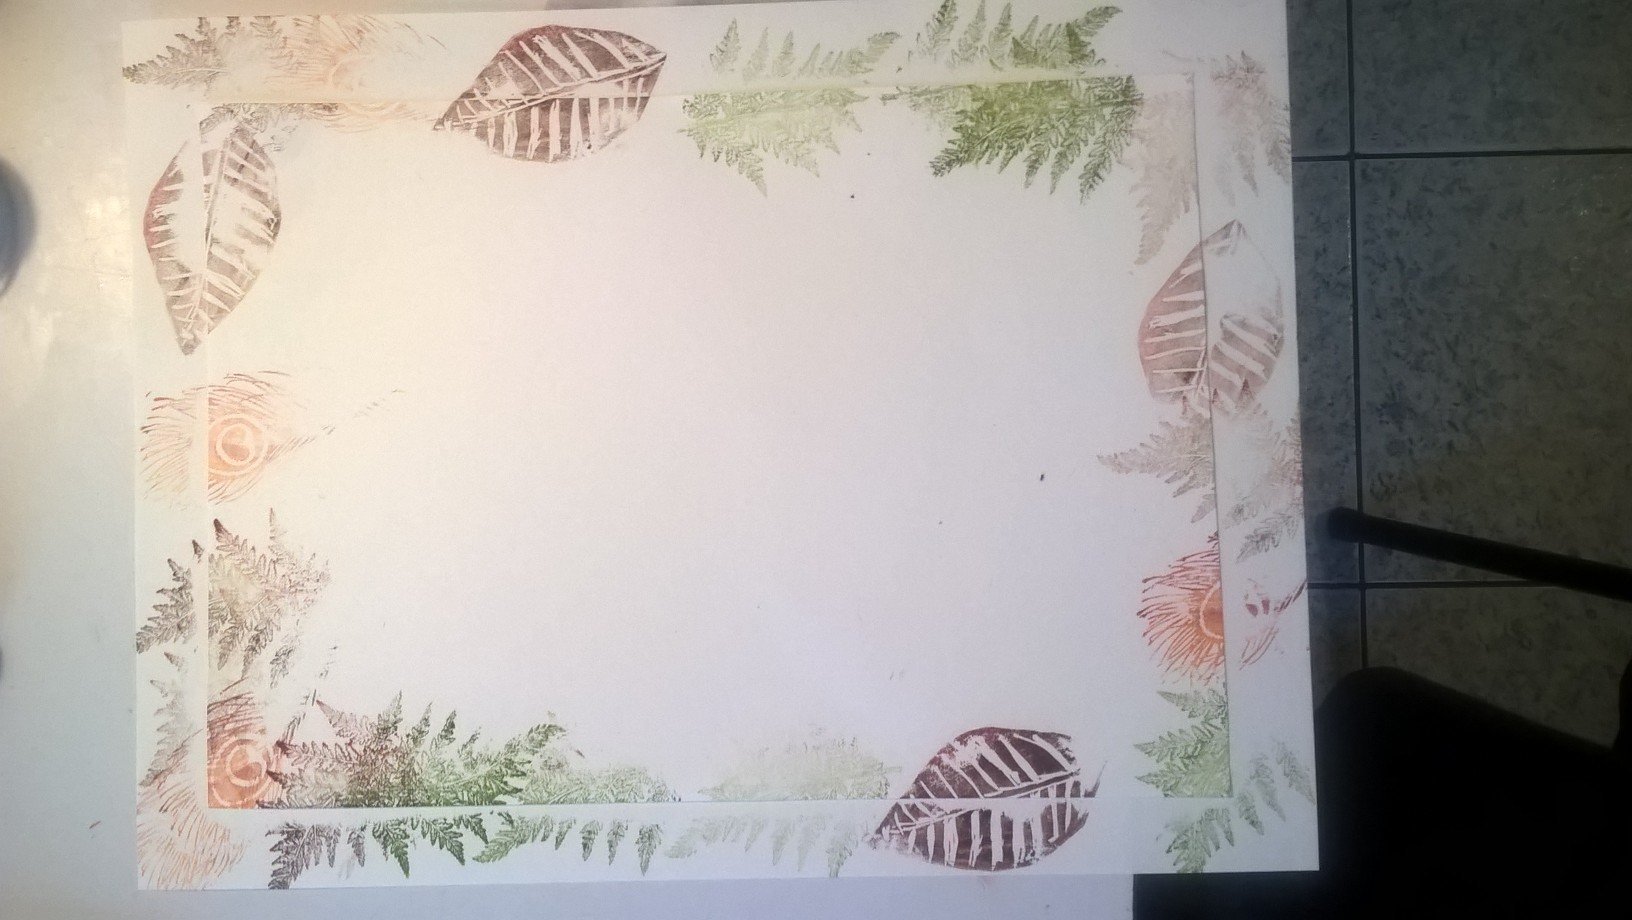
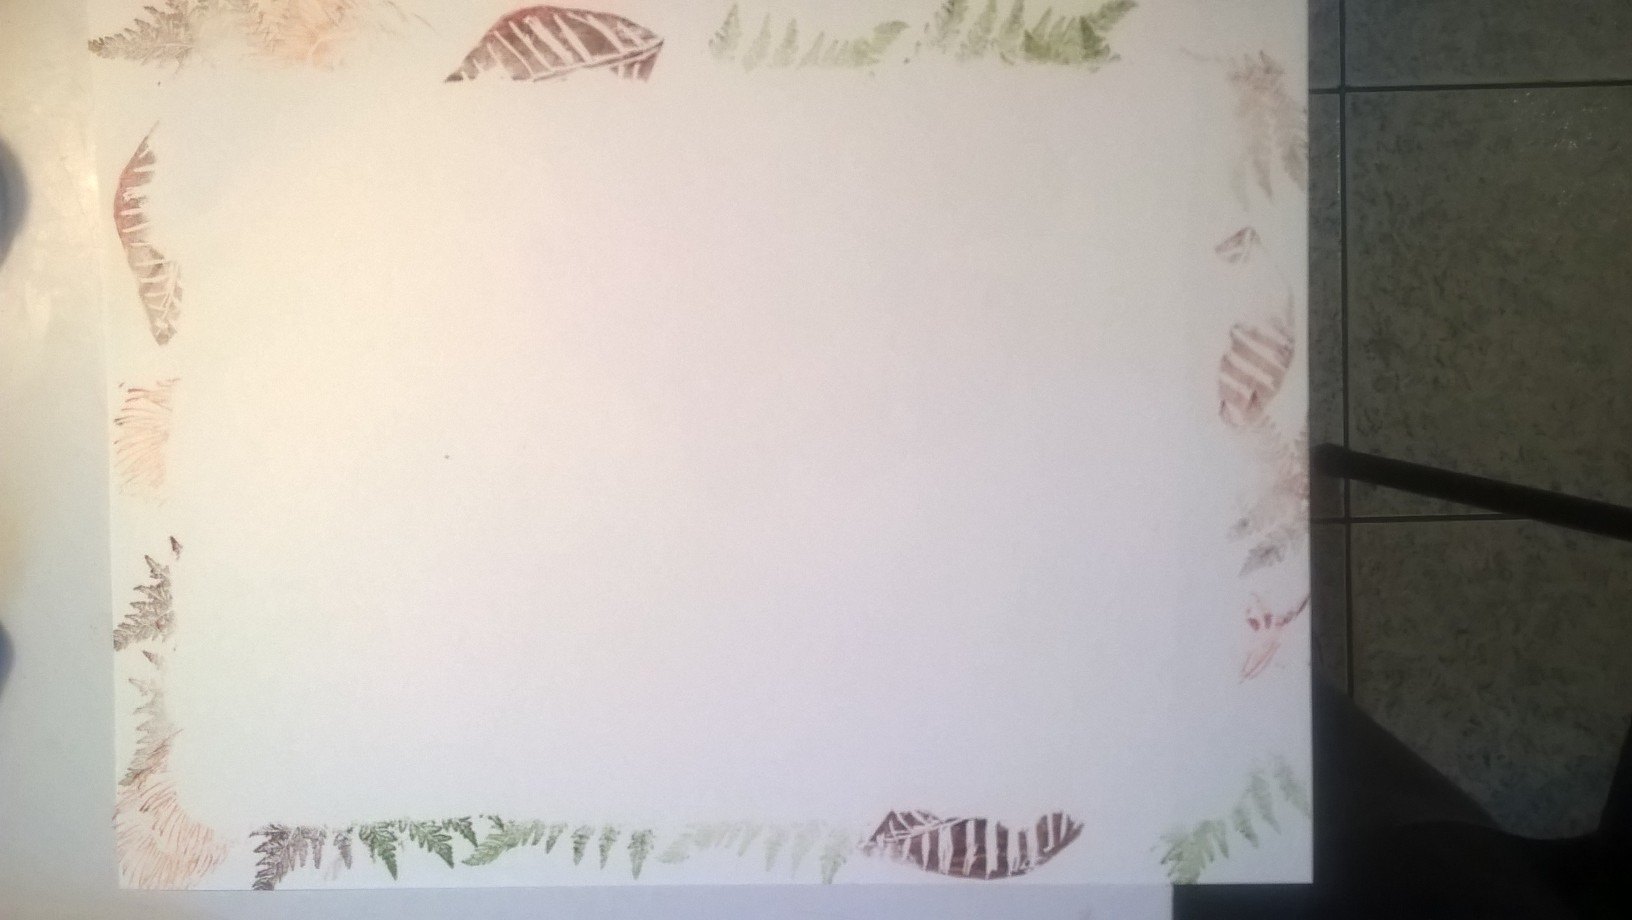
Another way to use stamps is to create borders. The borders can be for your card making, your scrapbook pages, your journal pages or if you want to make a pretty piece of stationary.
To make this border, I took a sheet of paper and then cut another smaller to fit in the middle. I stamped all around the edges, use a mixture of store bought and homemade leaf stamps and when it was done, lifted off the top page to show the near border around the edges.
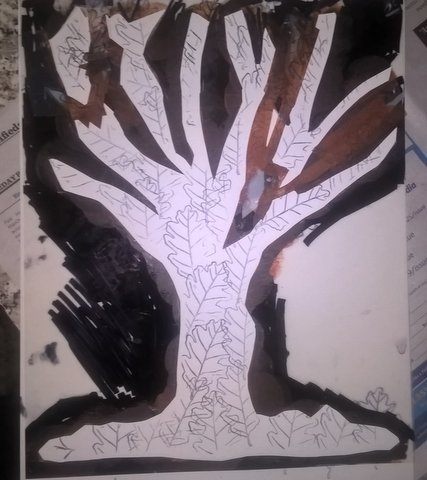
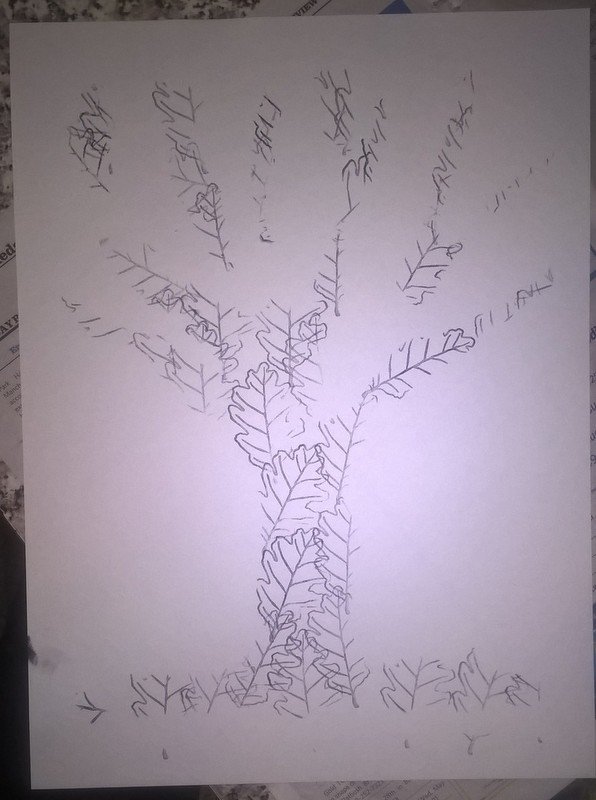
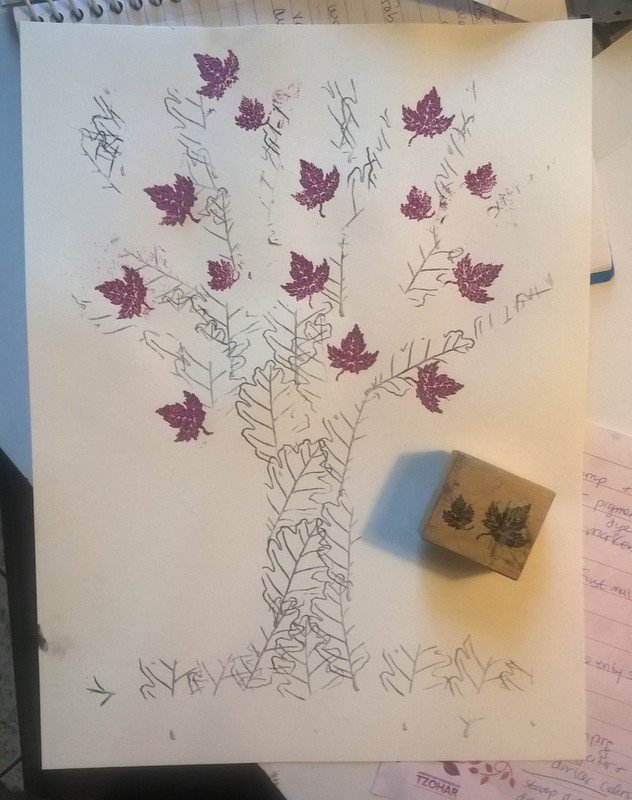
This activity is a fun way to combine stencils and stamping. In the first example I used a homemade tree stencil. I put it on top of the cardstock, chose a leaf stamp and stamped through the openings of the stencil.
When I removed the stencil you can see the shape of the tree with the leaf motif. I then took a small leaf stamp I had and added leaves with embossing powder. No question that this picture needs more work, I just wanted to show you the template idea.
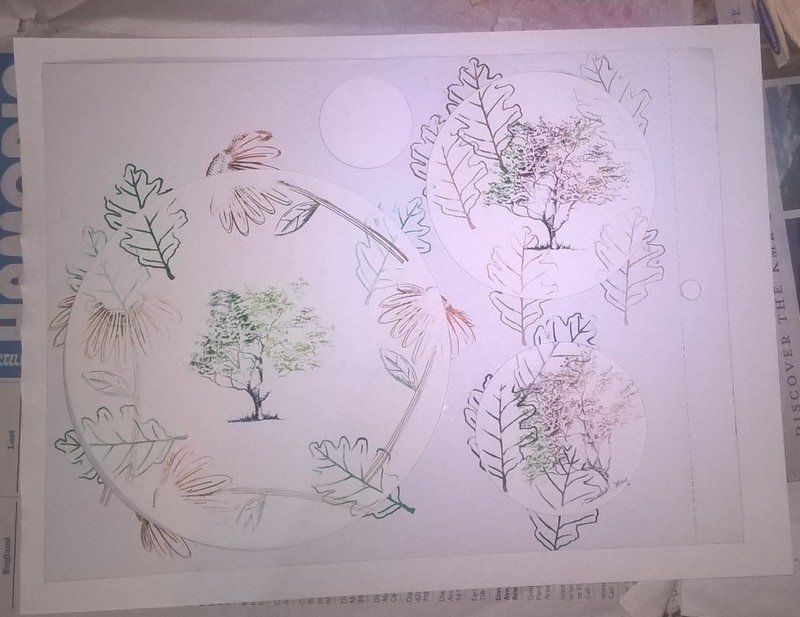
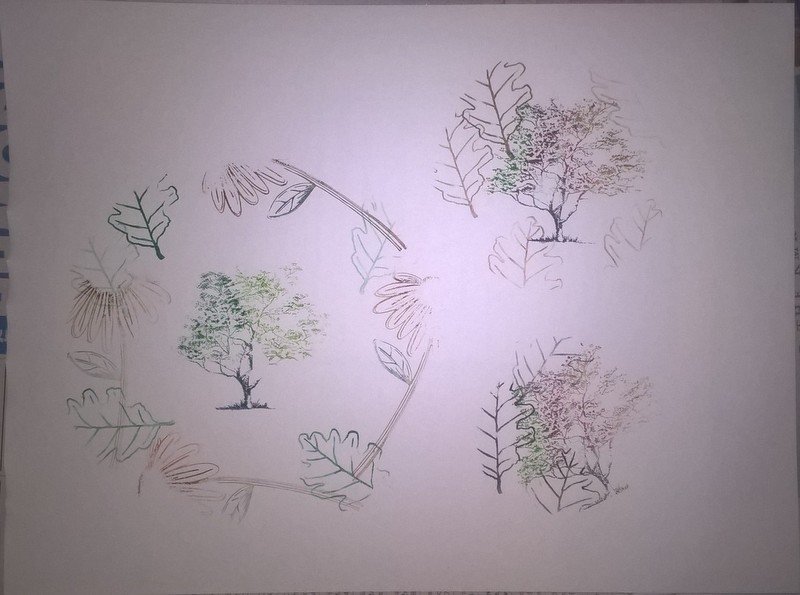
This idea also used templates but, plain circle ones. You can make your own templates out of cardboard based on any theme you like. (even letters and words)
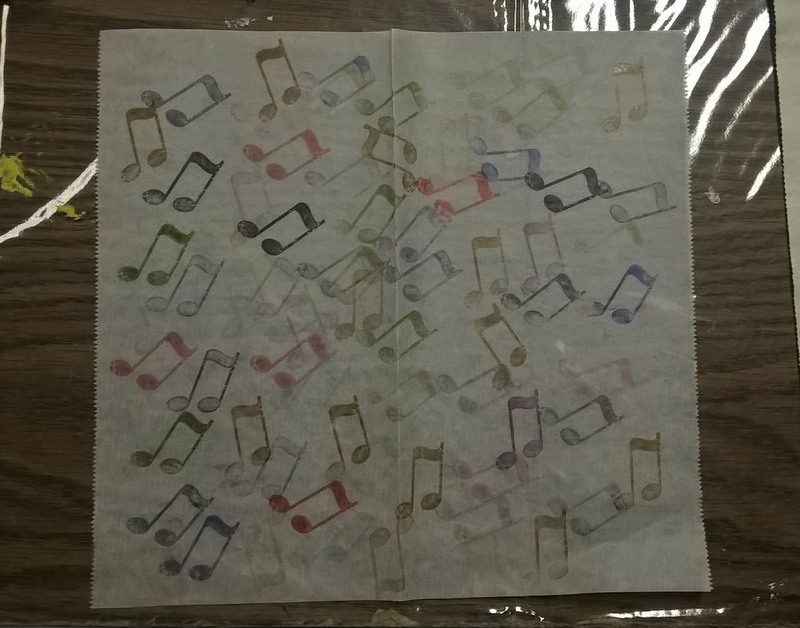
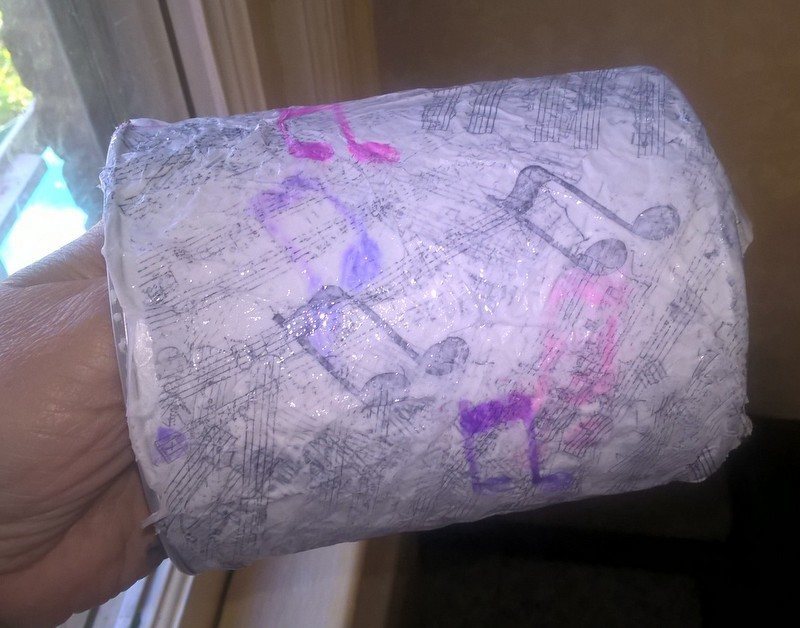
The last idea I have for you for using rubber stamps is when I stamped white tissue paper with my 2 musical stamps. The large one was stamped with black and the small musical note was stamped over it with shades of pink and purple. I then used the tissue paper to decoupage an empty container.
You can also stamp tissue paper or other types of paper for wrapping paper, collages or layers in a journal page.
These are just some of the ways you can use stamps.
(update)I have been in the process of create lots of journal landscape pages using homemade and store bought stamps. I showed some above when I explained about making your own stamps and below is another one example. The houses were made with craft foam and the trees are a combination of rubber stamps, thick foam stamps and eraser stamps.

I hope that these ideas will give you the impetus to jump in to start using stamps in your art making as it is really a lot of fun.
I'd love to see or hear about other ways you use stamps.


